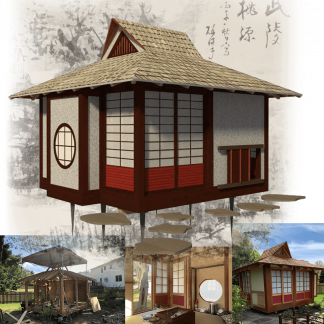

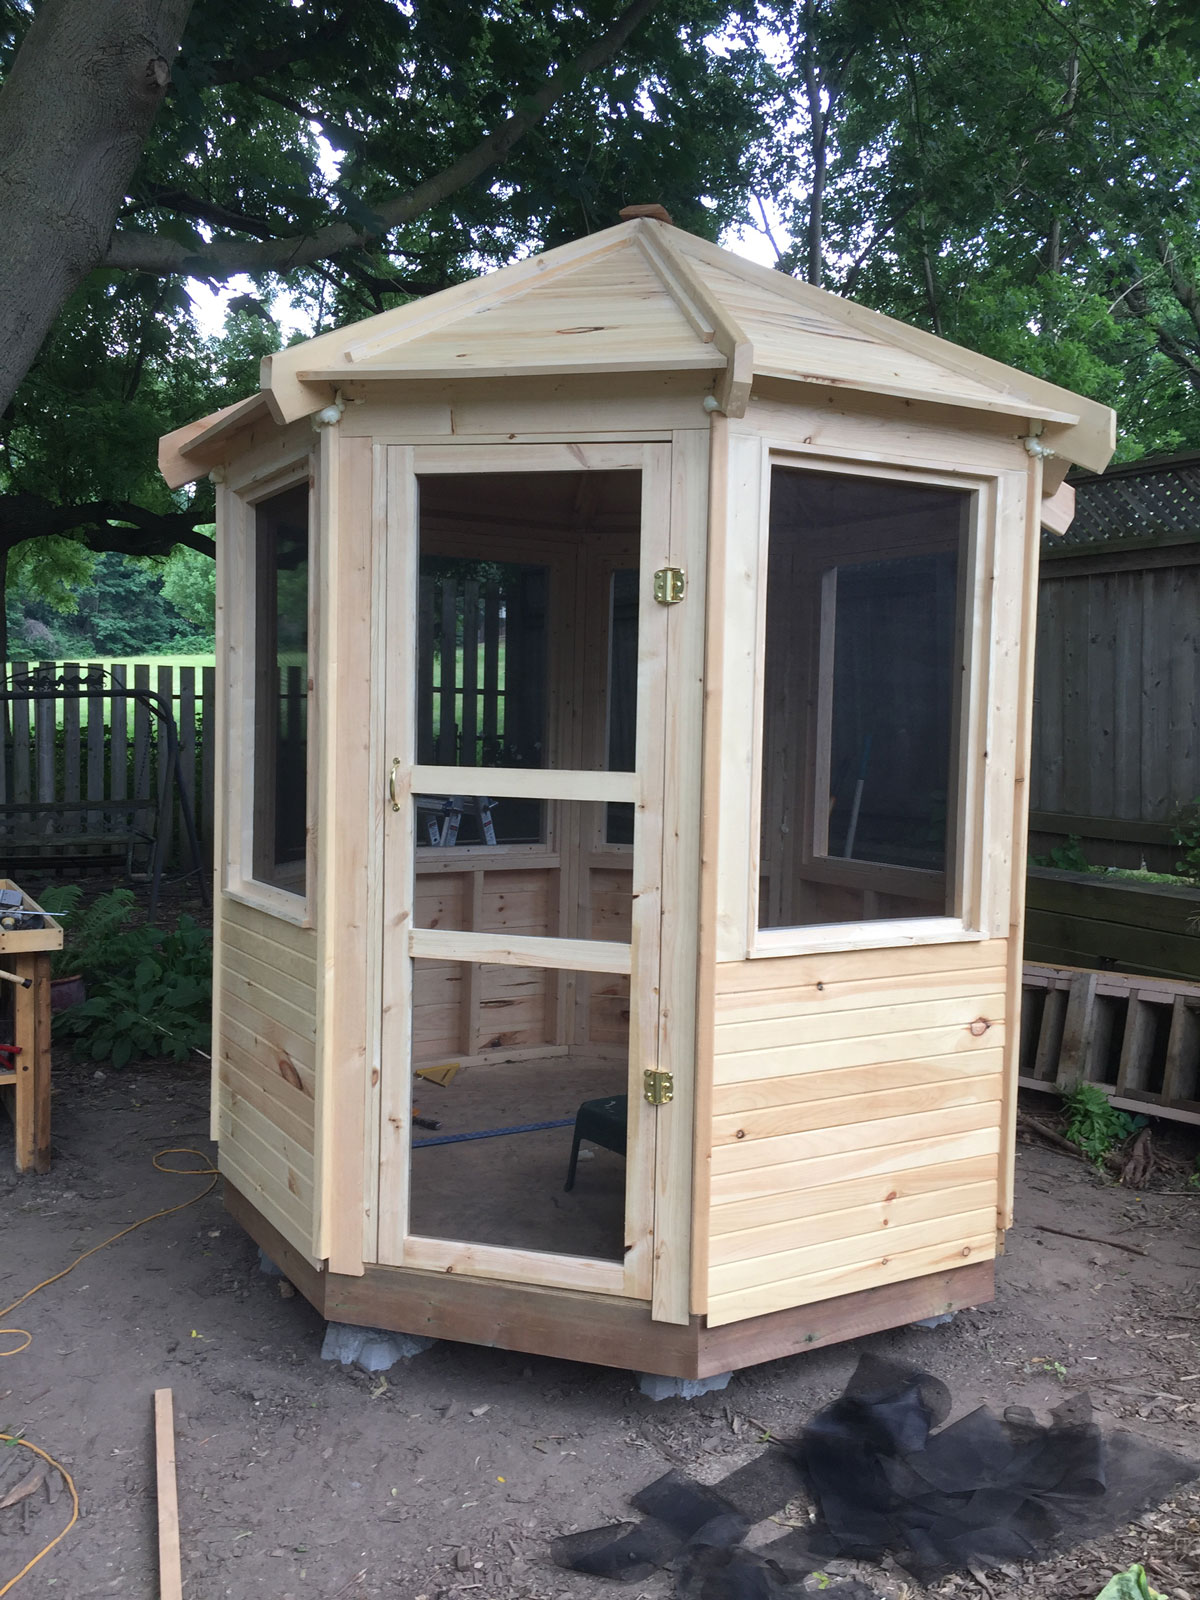
Jim, you have chosen Gazebo Plans Clara from our Pin-Up Houses Family. How did you find the website with our plans?
I have been looking at different plans for gazebos and teahouses but most of what was available looked like it was for larger projects. This plan came up through Pinterest and Google searches and looked like the right size for the space that I had available. The sample plan from Pin-Up houses had a good deal of detail so I purchased the plans for the Clara Gazebo.
Have you been building it DIY, or you found some professional builder?
This has been entirely my own project that I took on for my stay-at-home vacation during COVID. I have been doing other renovations in my home and felt that I could manage this plan. I have been accumulating some decent power tools that made the job easier (especially a table saw, a sliding miter saw, and a pneumatic brad/staple nailer).
Following our plans step by step, did you find it easy to follow? Or did you find some difficulties during construction?
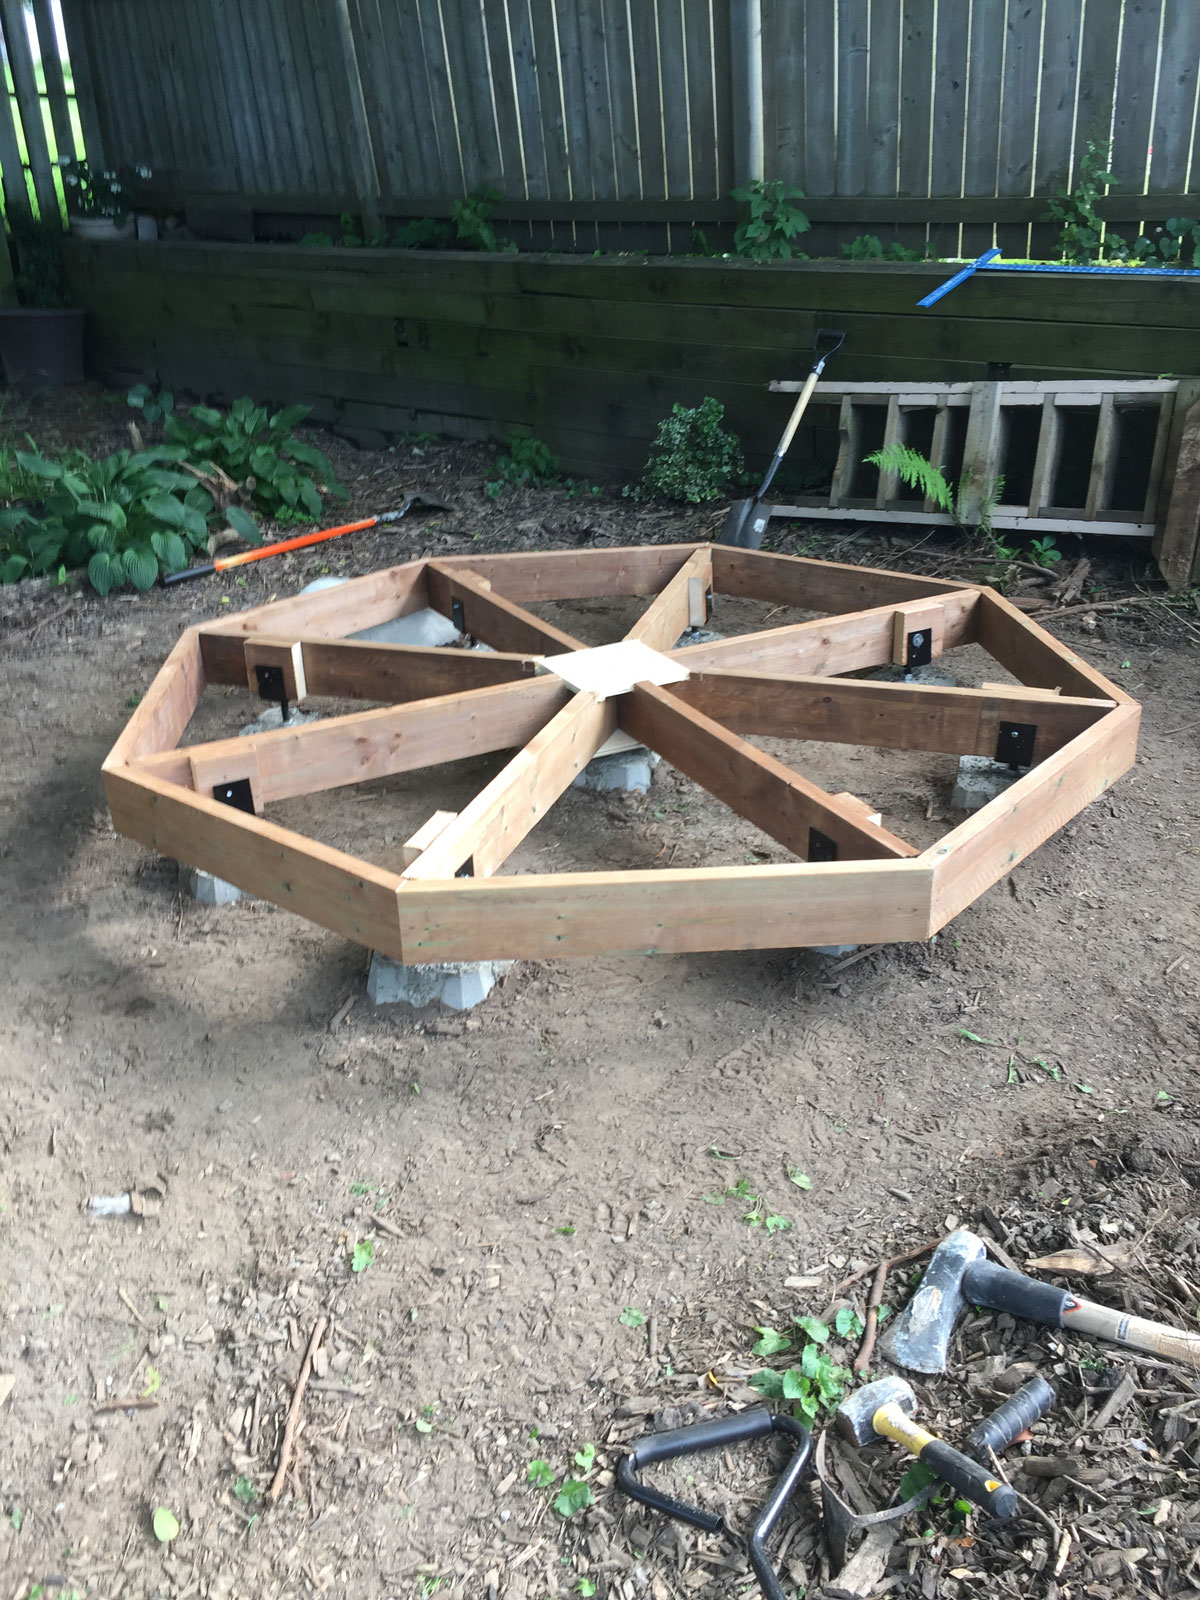
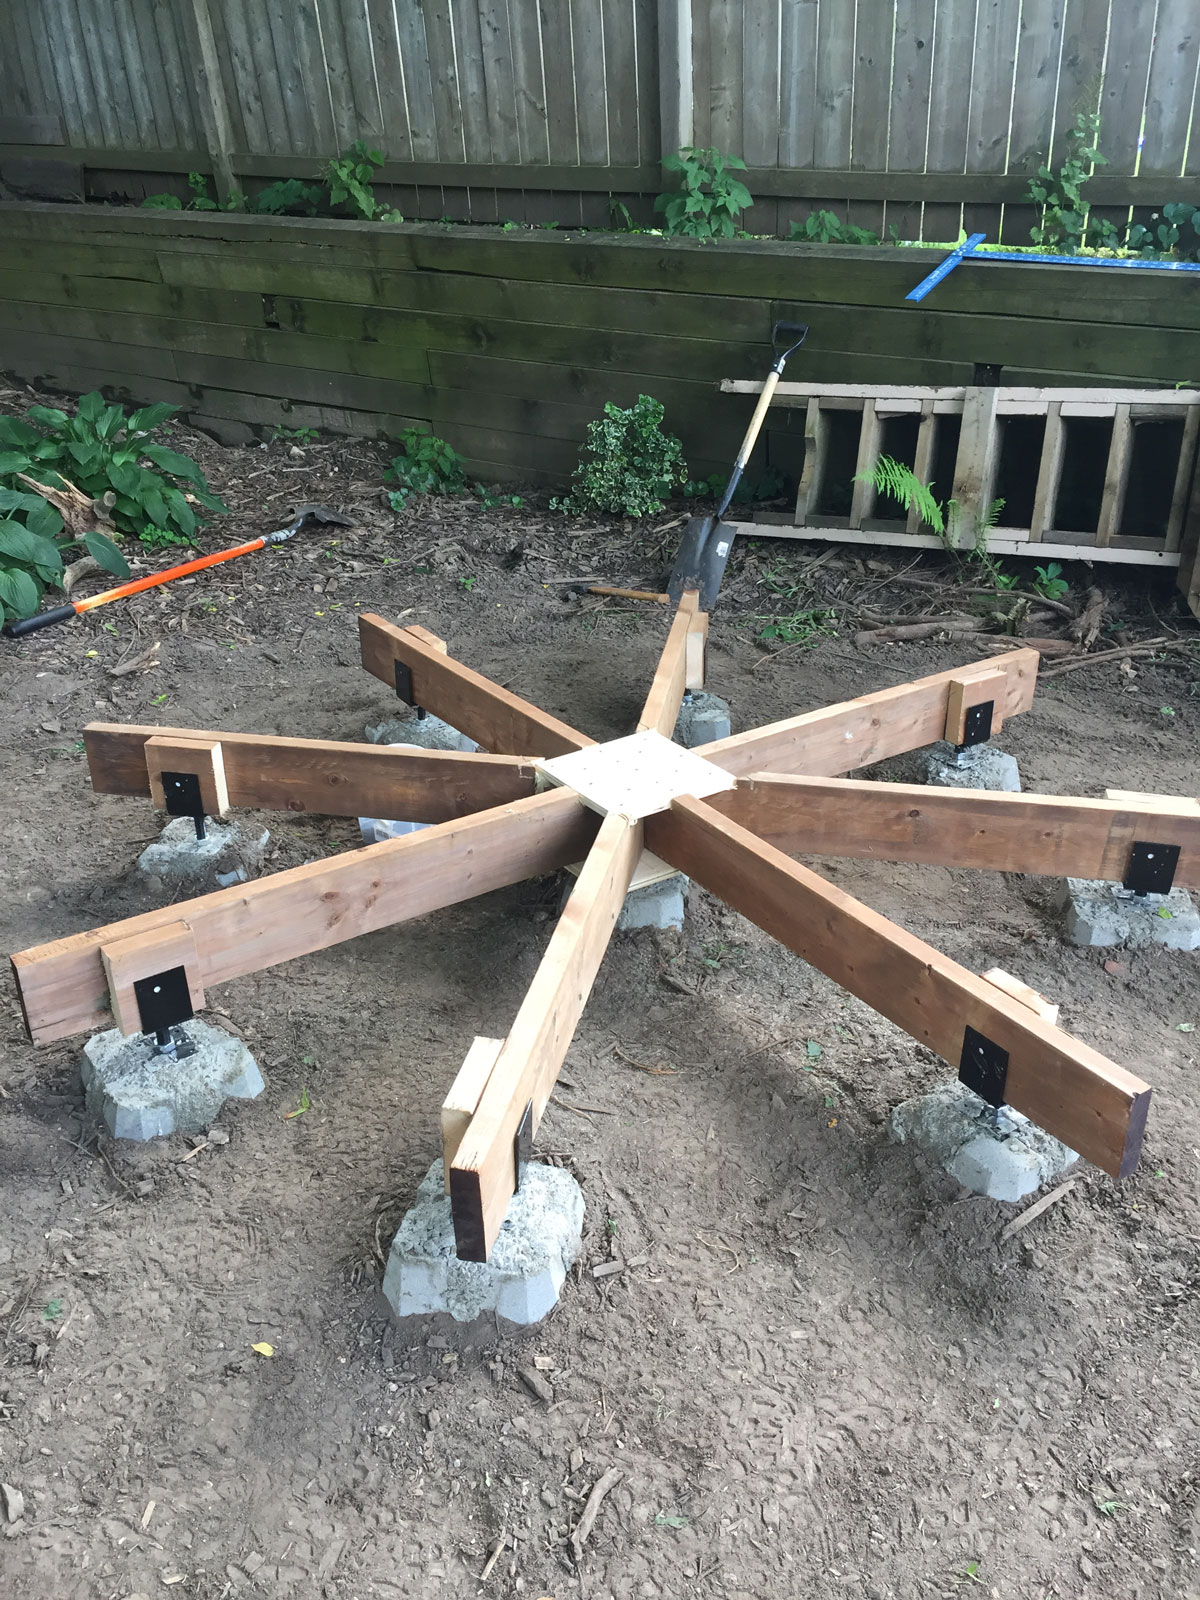
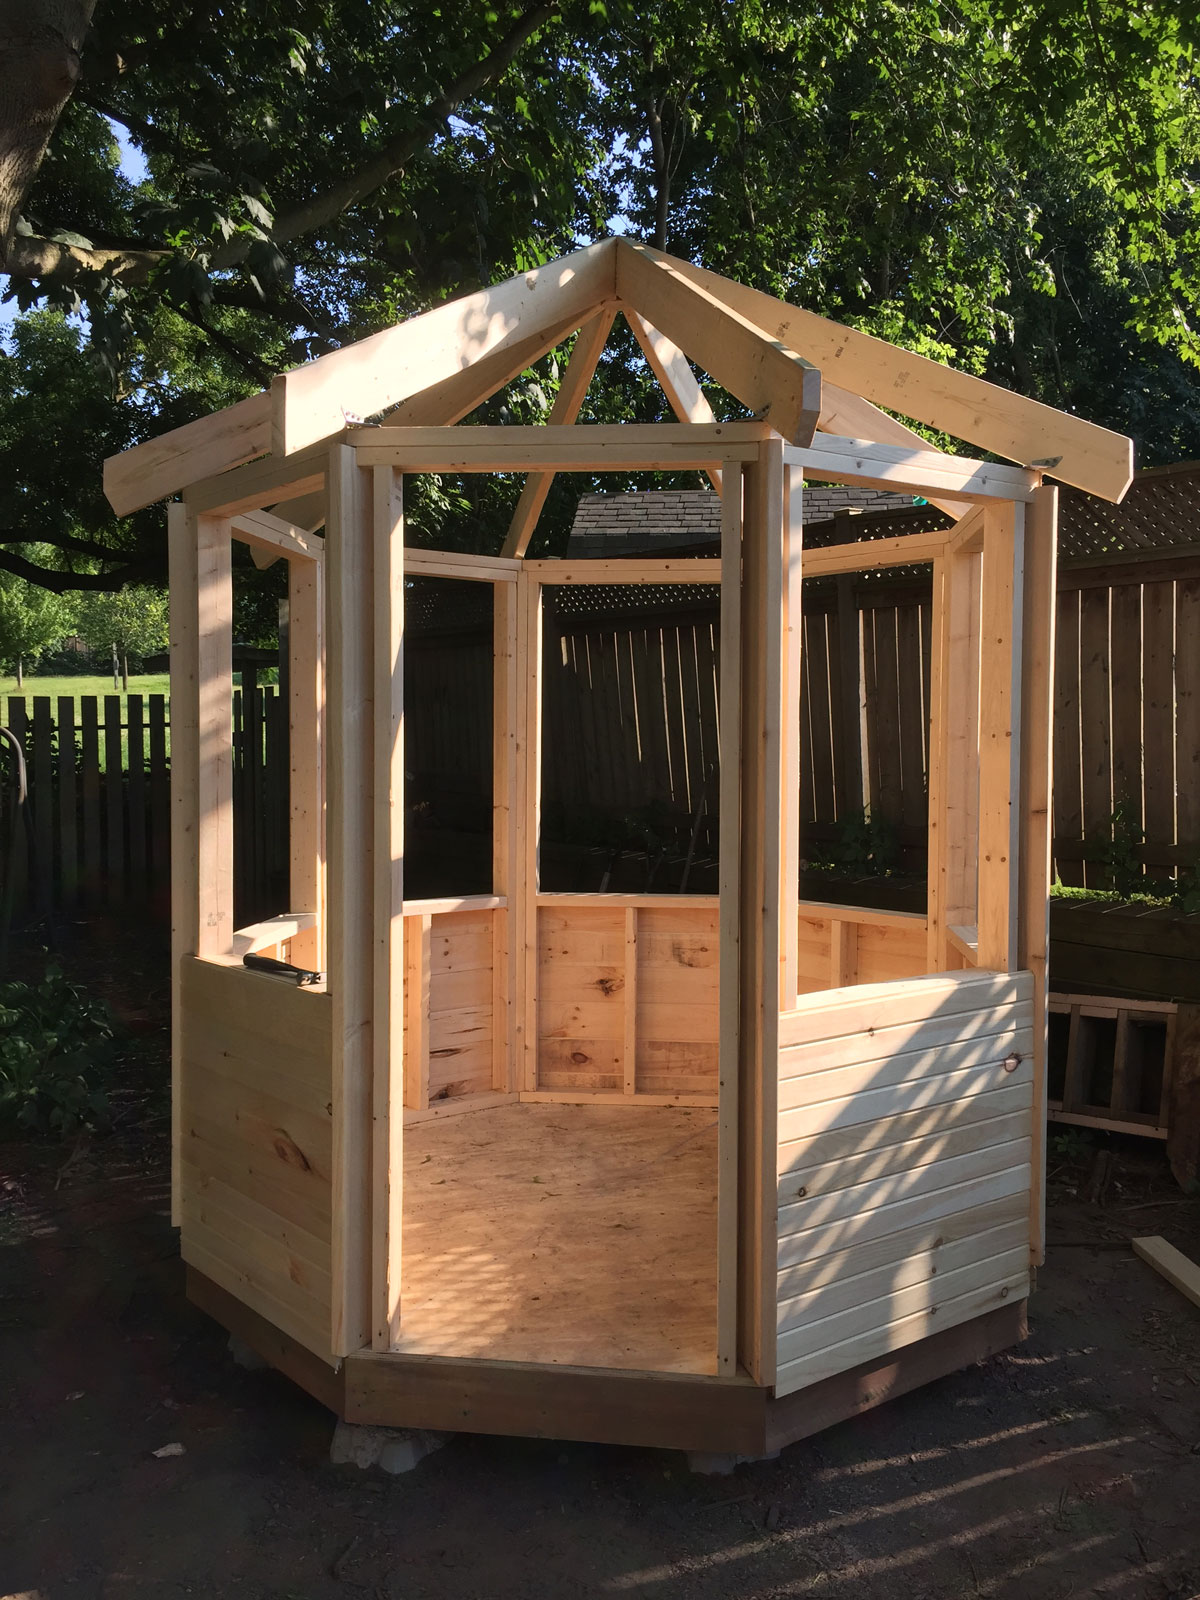
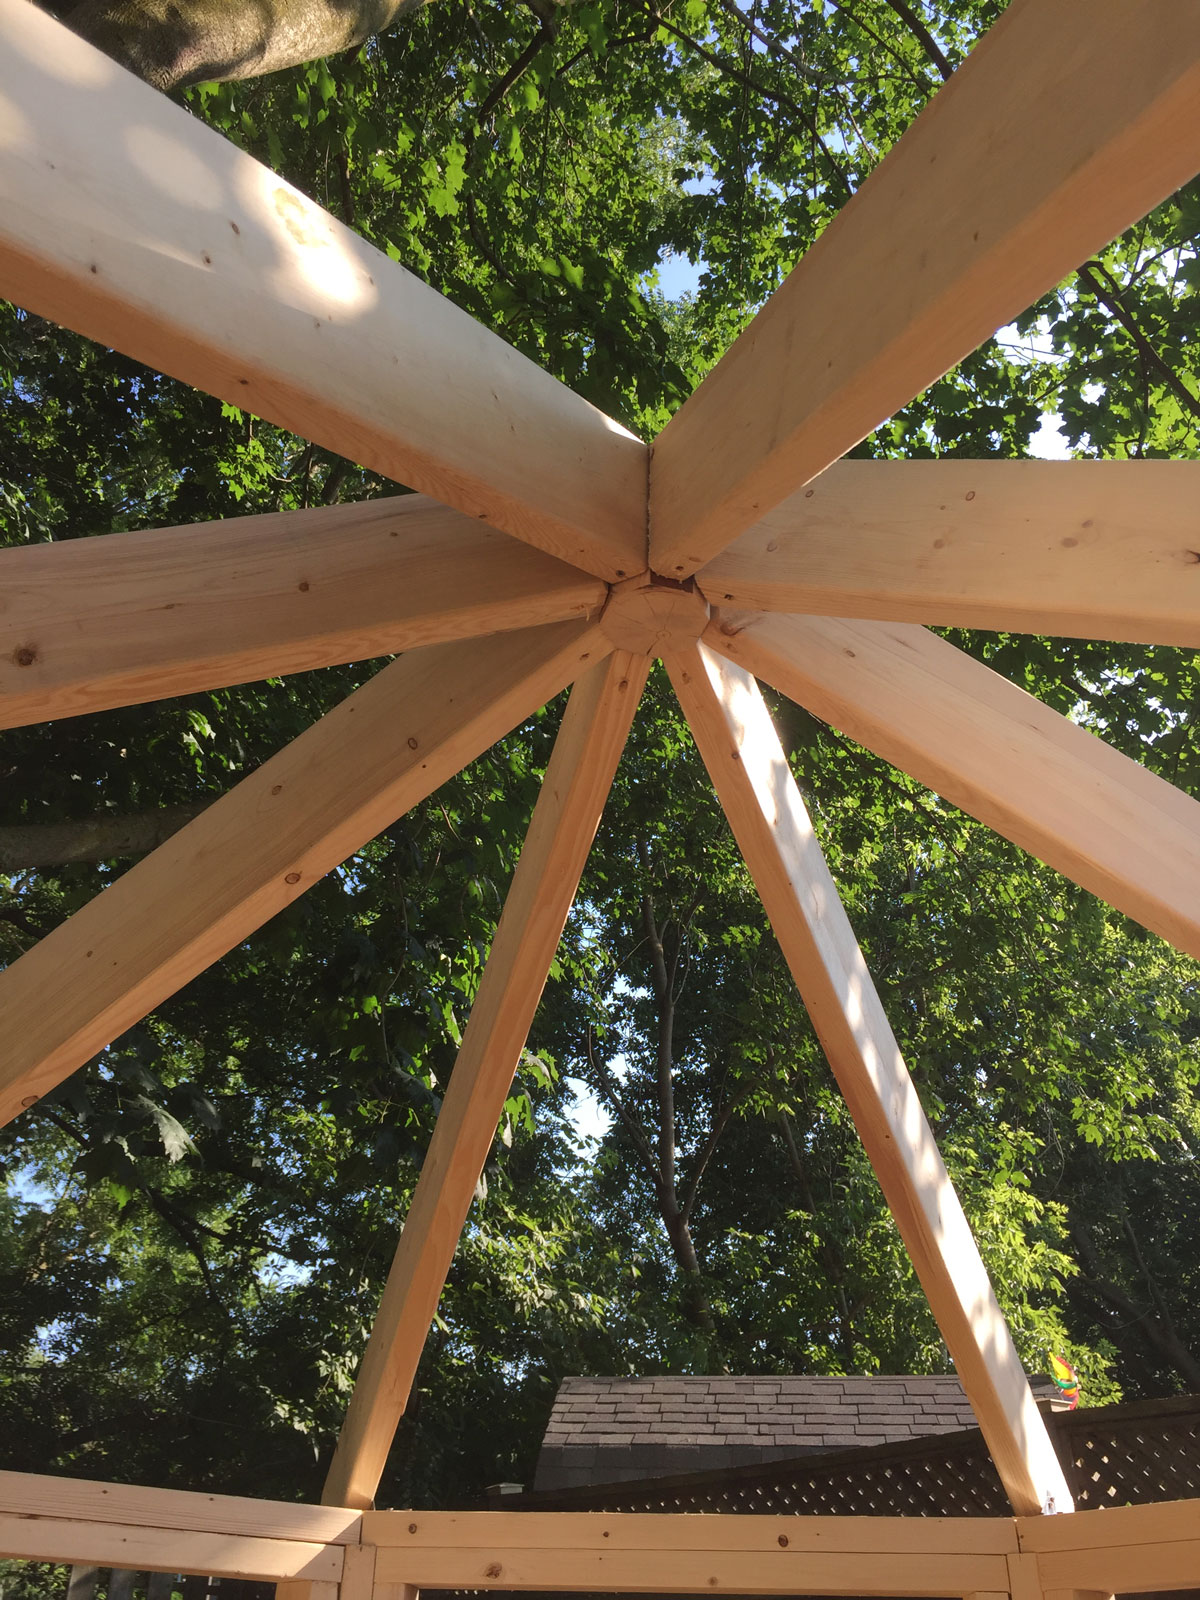
I found that the plans for this gazebo were more of a guideline and there were a few times that I needed to search around for some other solutions or more detail than was provided. For instance, there is very little detail as to how either the floor joists or the rafters come together in the center and I felt the need to add an additional footing in the center to provide support.


Did you make some changes in comparison with our original plans?
The plan called for ground spikes / screws. However, because I was buiding under a large maple tree there were many roots to conted with and using these products would have been impossible. Instead, I opted for ‘Dek-block’ concrete post supports. I actually modified these by setting an adjustable post support into each block with concrete. This gave (and will give) me the ability to fine-tune the level in case of future settling or frost heaving. On the downside, it doesn’t ‘tie’ the structure into the ground but I felt the risk of wind-lift to be minimal in this location.
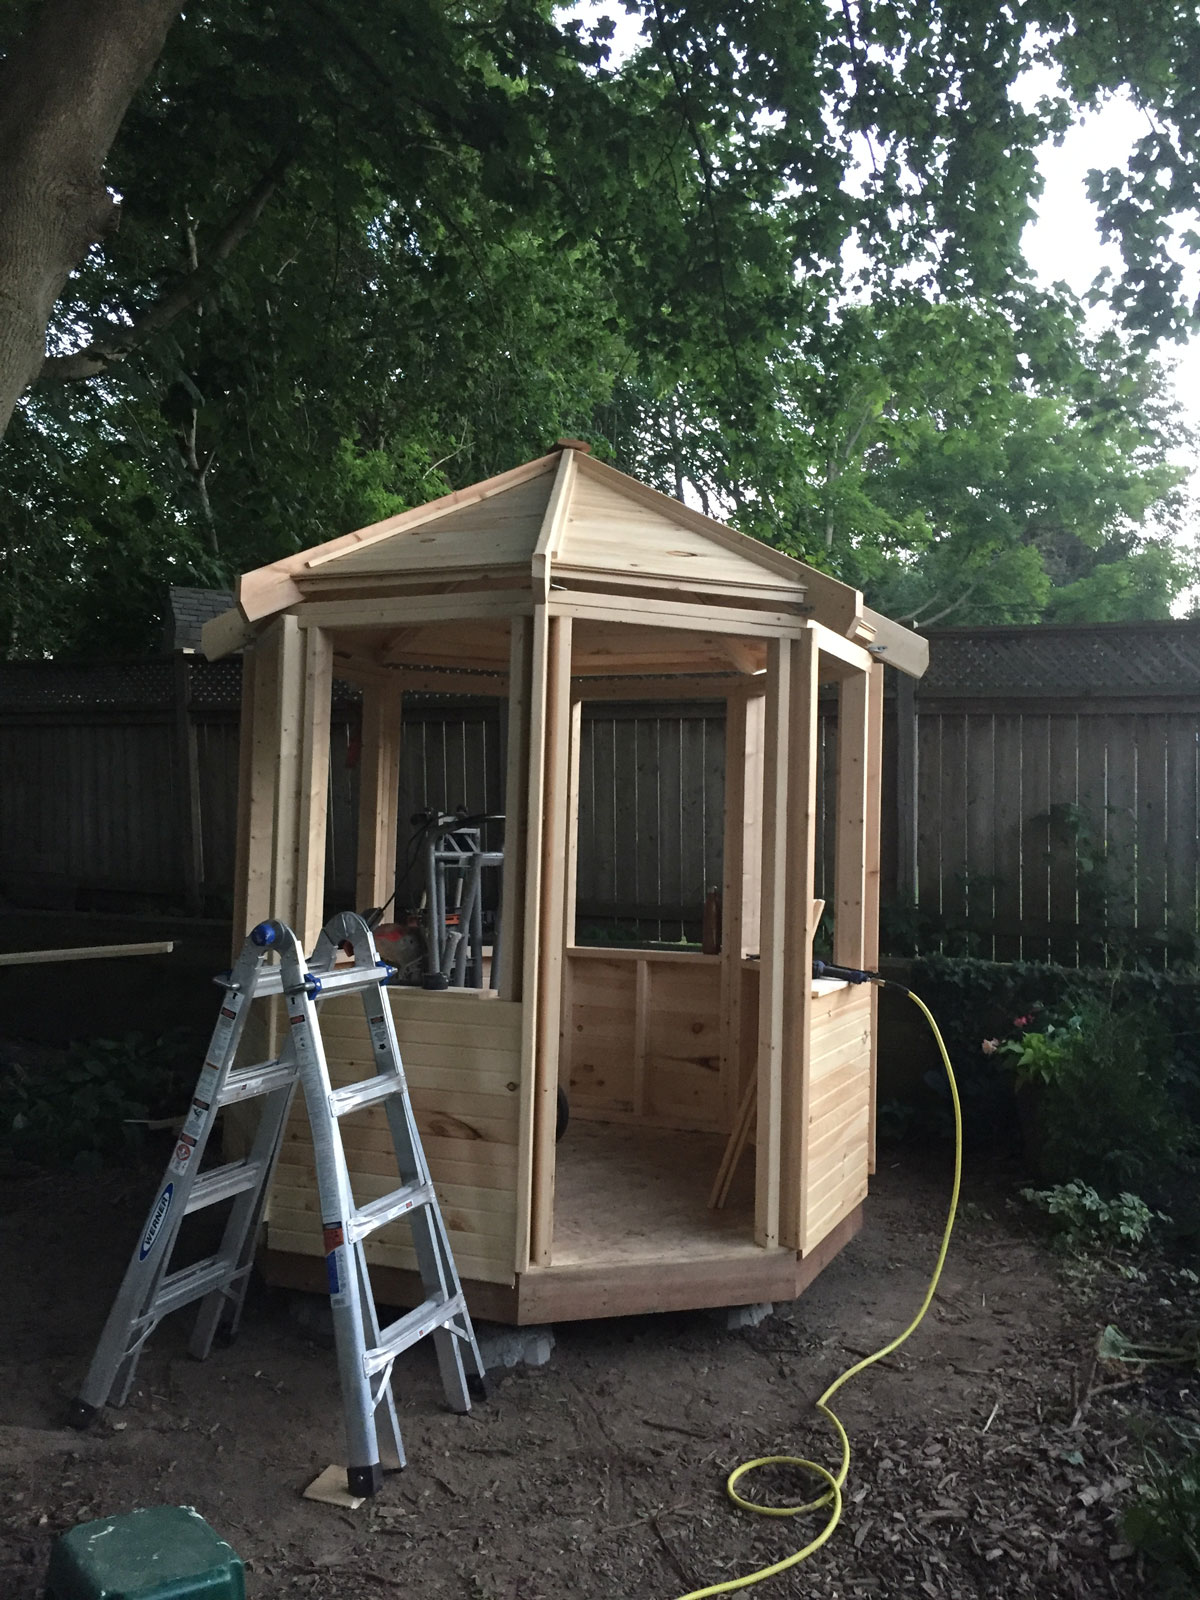
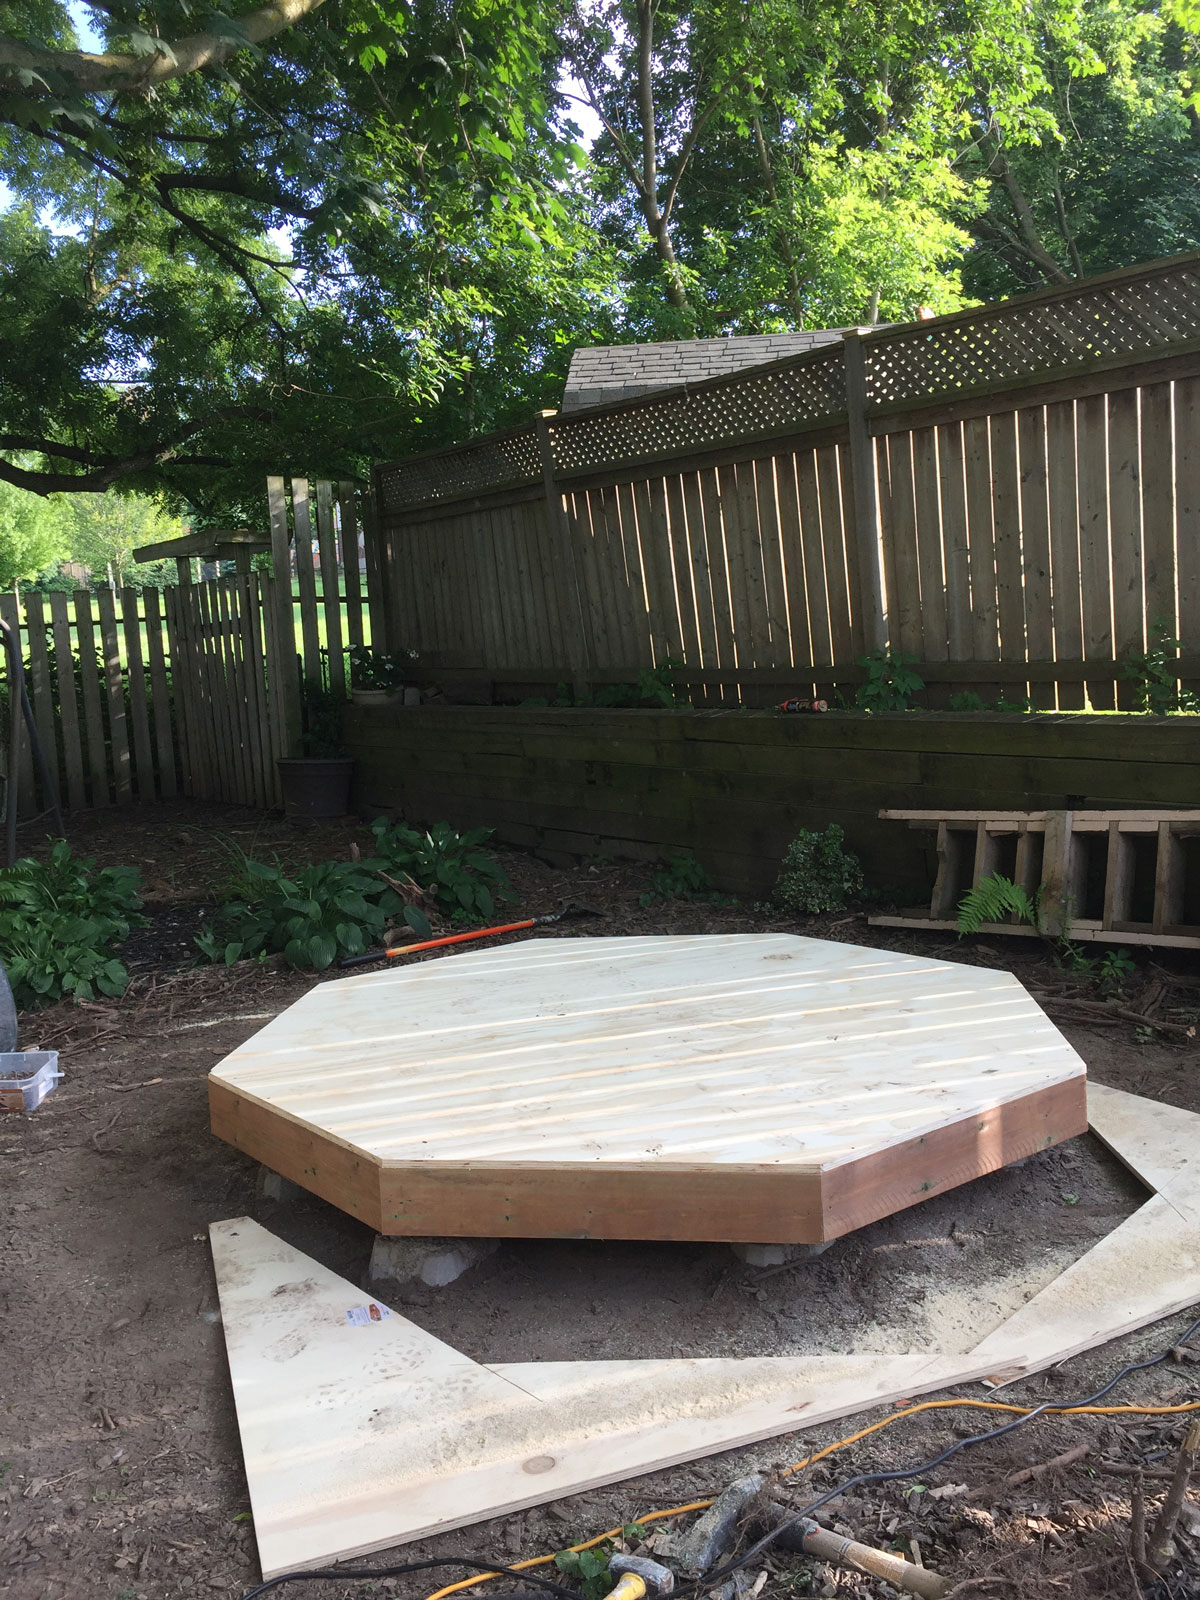
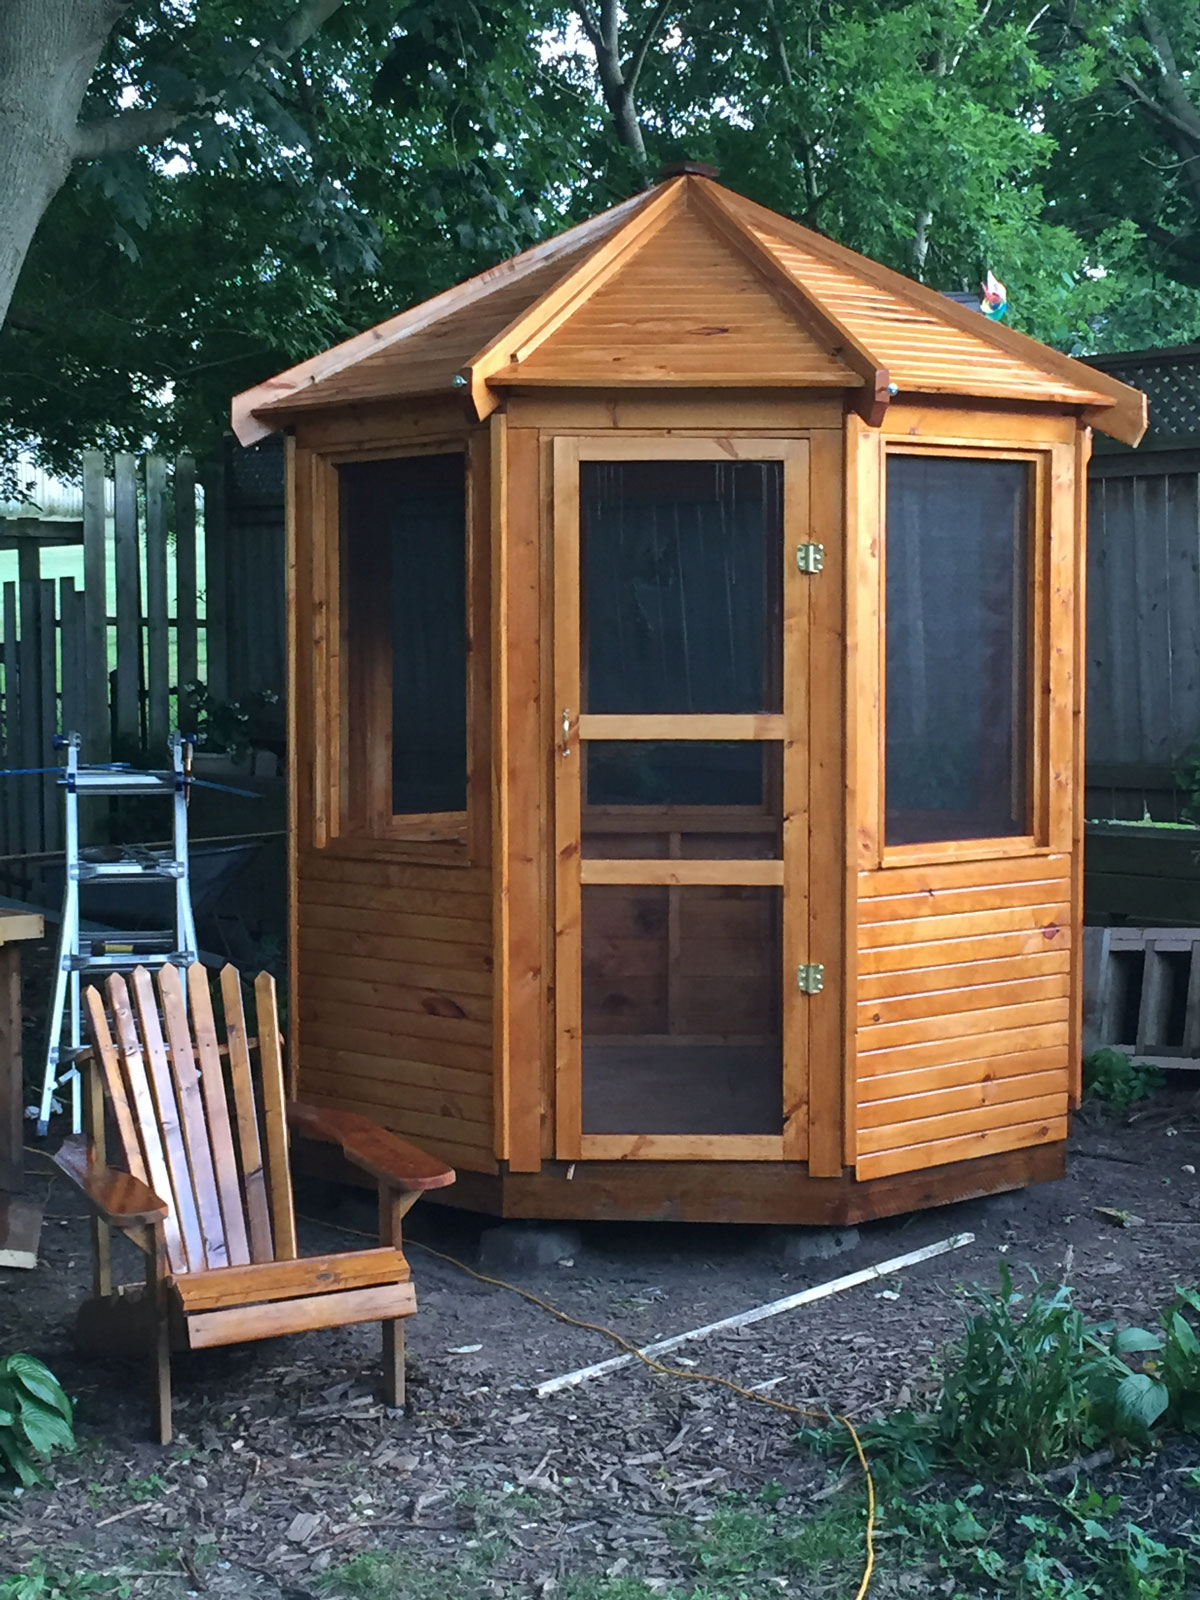
In addition to adding the central footing, I decided to make a screened-in enclosure instead of glass windows and I used a plywood sheet for the floor to assist with keeping mosquitos out. For the roof, I based the design on a kit that I saw online from the UK (https://www.gardensite.co.uk/garden-structures/regis-gazebo-from-grange-garden-products.htm) and we’ll have to see how it holds up to the rain and snow.
I also made a kingpost or roof center-block out of a 4×4 piece of lumber – it was a bit of trial and error but I set the table saw blade at 45¡ and slowly adjusted the cut until I had equal sides.
I designed the screens and the door on a simple pattern of ‘sandwiching’ screening between lumber. For the windows, I used wood screws to attach the inner frame of the screens so, if they need repair, I can easily gain access.
Our goal is to produce comprehensible and easy-to-follow plans with step by step guide. Did the plans fulfill your expectations?
As I mentioned above, I think that the plans were lacking some detail. I appreciated having the plans for the other gazebo included but I probably could have built this from the photos online if I’m being honest. Particular areas that need some improvement:
- Center of structure joist / rafter details. The use of plywood plates at the center was not clear and did not appear to provide enough support.
- Rafter details including center-post and wall/rafter junction (I used hurricane ties to attach the rafters to the walls)
Have you read our book “How to Build a Tiny House”? If yes, did you find it useful during constructing the gazebo?
I received the book later and was pleased to get it. It provided some more detail to supplement the plans.
How long did it take to build a whole gazebo?
From the digging of initial holes for the footings to the final finishing – about two weeks working mostly alone for 4-8 hours per day.
What about preparations before building? Did you follow our material list, or you made your own according to plans we sent?
I made my own materials list using standard lengths of lumber available to me at the local box store. Your list was a good starting point.
The total cost for the building was just over $1000 CAD
Anything you would change during construction?
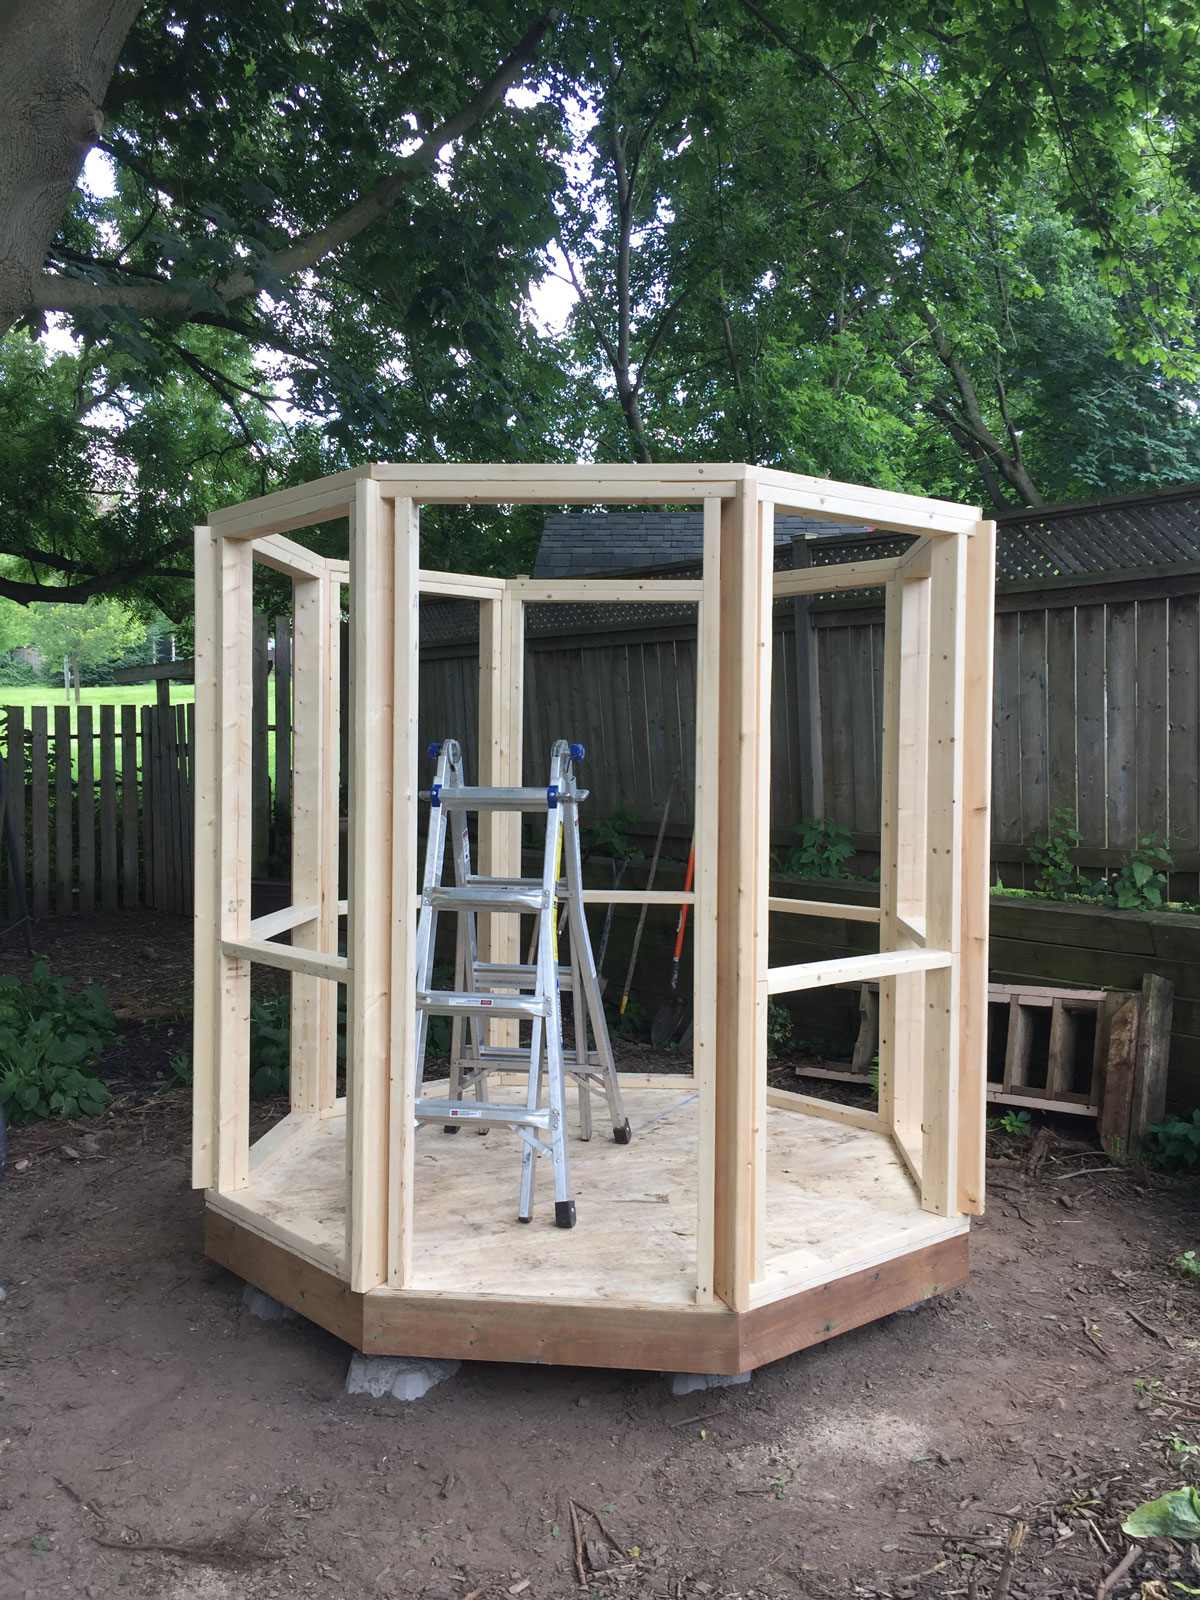
I think that the order of construction is fine. I certainly would recommend having an assistant to speed things along and measuring frequently.
Probably the most difficult part was laying out the footings and digging them in past the roots while keeping them lined up. At the end of the day, the structure was a little imperfect / out of proper proportion. My motto throughout was “I’m not building a piano!”
We love your photos presenting the whole construction process, are you considering build also another shed or cabin from Pin-Up Houses?
I don’t have any plans to build any more houses in the near future but you never know! I enjoyed this project and sharing my progress with you and others.
Thank you a lot for you answers. 😊