
Most kitchen design advice starts with style — countertop colors, cabinet finishes, backsplash trends. But a kitchen that looks great and a kitchen that actually works are two different projects, and the difference usually comes down to sequence. Style decisions matter, but they should come after the layout and workflow are already settled, not before.
Here’s a practical order to work through if you’re planning a kitchen design from scratch, whether you’re doing a full remodel or rethinking an existing space.
Start With a Plan, Not a Pinterest Board
Inspiration photos are useful for narrowing down a style direction, but they rarely show you whether a layout will actually function for how you cook, entertain, or move through your day. Before choosing finishes, it helps to define how the kitchen will primarily be used — a dedicated cooking space, a gathering spot for entertaining, a family hub that needs to handle homework and breakfast rushes at the same time. That single decision shapes everything that follows.
Step 1: Choose the Right Layout for Your Space
One-Wall and Galley Layouts
These work best in smaller kitchens, apartments, and compact homes where square footage is limited. Every counter, cabinet, and appliance sits along one or two walls, which keeps the footprint tight but can feel cramped with more than one cook in the space.
L-Shaped and U-Shaped Layouts
These are the most common configurations for mid-size kitchens because they create an efficient workflow while leaving room for two people to cook at once. U-shaped layouts in particular tend to offer the most usable counter space relative to their footprint.
Island Layouts
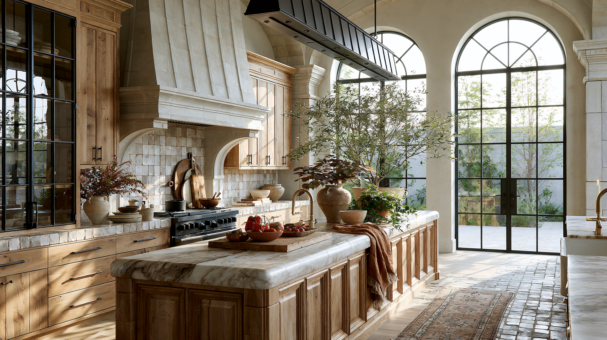
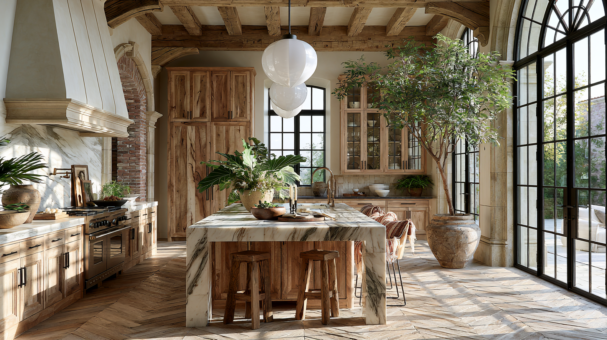
An island adds valuable prep space, storage, and a natural focal point, but it requires enough square footage to avoid disrupting movement through the room. A poorly placed island is one of the most common layout mistakes — it looks good in a rendering but creates a bottleneck in daily use.
Step 2: Apply the Work Triangle and Clearance Standards
The classic “work triangle” connects the sink, stove, and refrigerator, and it’s still one of the most reliable ways to keep a kitchen efficient. The idea is simple: minimize the distance between the three points you use most while cooking, without letting them overlap into a single cramped zone.
A few clearance standards are worth building your plan around:
- 36-inch walkways for general circulation
- 42 to 48 inches around islands, especially if more than one person cooks at a time
- Clear separation between prep, cooking, and cleanup zones so they don’t compete for the same space
A good rule of thumb: place the largest functional element — the island or the range wall — first, then design everything else around it.
Step 3: Plan Storage Around Daily Habits, Not Just Cabinets
Storage is a functional decision before it’s an aesthetic one. Instead of designing cabinetry first and figuring out what goes where later, map storage to how you actually use the kitchen. Everyday dishes near the dishwasher. Pantry staples near the prep area. Breakfast items near the space where breakfast actually happens.
This is also where family kitchens benefit from a bit of extra thought — lower, kid-accessible drawers for everyday items can make daily routines smoother without compromising the overall design.
Poor zoning is one of the most common complaints homeowners have after a renovation, and it’s almost always a planning issue, not a materials issue.
Step 4: Choose Materials and Surfaces With Function in Mind
Once the layout and workflow are settled, it’s time to think about countertops, cabinetry finishes, flooring, and backsplash. Each of these needs to balance durability with the style direction you settled on earlier.
Tile is one of the highest-impact material choices in a kitchen, since it affects both day-to-day maintenance and the room’s overall focal point. Working with a specialist like Vasko Tile Co, a Sacramento-area tile installation company, can help you choose a backsplash or flooring tile that holds up to daily kitchen use without sacrificing the design you’re going for.
Step 5: Layer Your Lighting
Lighting is often treated as an afterthought, but it does real work in a kitchen:
- Task lighting — under-cabinet lights over prep areas and the sink
- Ambient lighting — general room lighting for overall visibility
- Accent lighting — highlighting a focal point, like a range wall, island, or open shelving
Layering these three types, rather than relying on a single overhead fixture, is what makes a finished kitchen feel intentional instead of flat.
Step 6: Know When to Bring in a Professional
Cosmetic updates — paint, hardware, lighting swaps, even a backsplash refresh — are reasonable DIY projects for most homeowners. But once your plan involves moving plumbing, changing the layout, or reworking cabinetry structurally, it’s worth bringing in a licensed remodeler to execute the design correctly. A company like Revana Homes in the Greater Sacramento area can help translate your kitchen plan into a buildable, code-compliant project, which matters most once electrical, plumbing, or structural work enters the picture.
Final Thoughts: Design With Sequence, Not Just Style
A kitchen that works well isn’t designed by picking finishes first and hoping the layout falls into place. It’s designed in order: layout, then workflow, then storage, then materials, then lighting, then execution. Following that sequence won’t guarantee a perfect kitchen, but it will keep you from making expensive layout mistakes that no amount of nice tile can fix later.