By Sławomir Trześniowski, founder of Ledson, a European manufacturer of aluminum LED profiles.
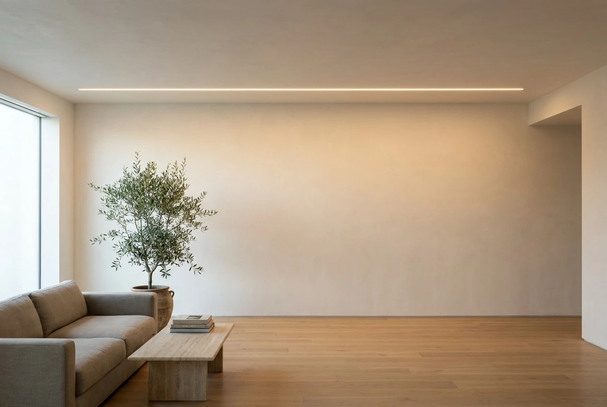
Run an LED strip in a channel screwed to the ceiling and you get a clean line, but you also get a visible aluminum frame. The detail people actually want – a glowing line that looks cut straight into the drywall, with no trim around it – is a mud-in, or plaster-in, channel. It costs a little more planning and a base that goes in before the drywall is finished. Done right, it disappears into the ceiling.
Work in two stages, not one
A mud-in channel is two parts installed at two different times, and getting the sequence right is most of the job.
The first part is the base, or framing profile. It goes up with the framing, before tape and mud, in what is effectively the dirty stage. It carries perforated or flanged edges that the drywall butts into and that you then mud over, sand and feather flush, the same way you would treat a corner bead. After the ceiling is finished and painted, the second part, the lit insert with its diffuser, drops into the base. That is the clean stage, and on better systems the insert is held by magnets, so the strip can be pulled later for service without touching the ceiling.
Ranges built specifically for plasterboard are designed around exactly this method. A no-edge base leaves no visible aluminum once the gypsum is applied, and cove profiles use a screw-in base in the wall-ceiling joint with a slide-in insert. The wider bodies add a junction-box mounting rail and premade angle modules, which save real time when you are turning a corner or landing a driver near the channel.
Match the profile to your ceiling depth
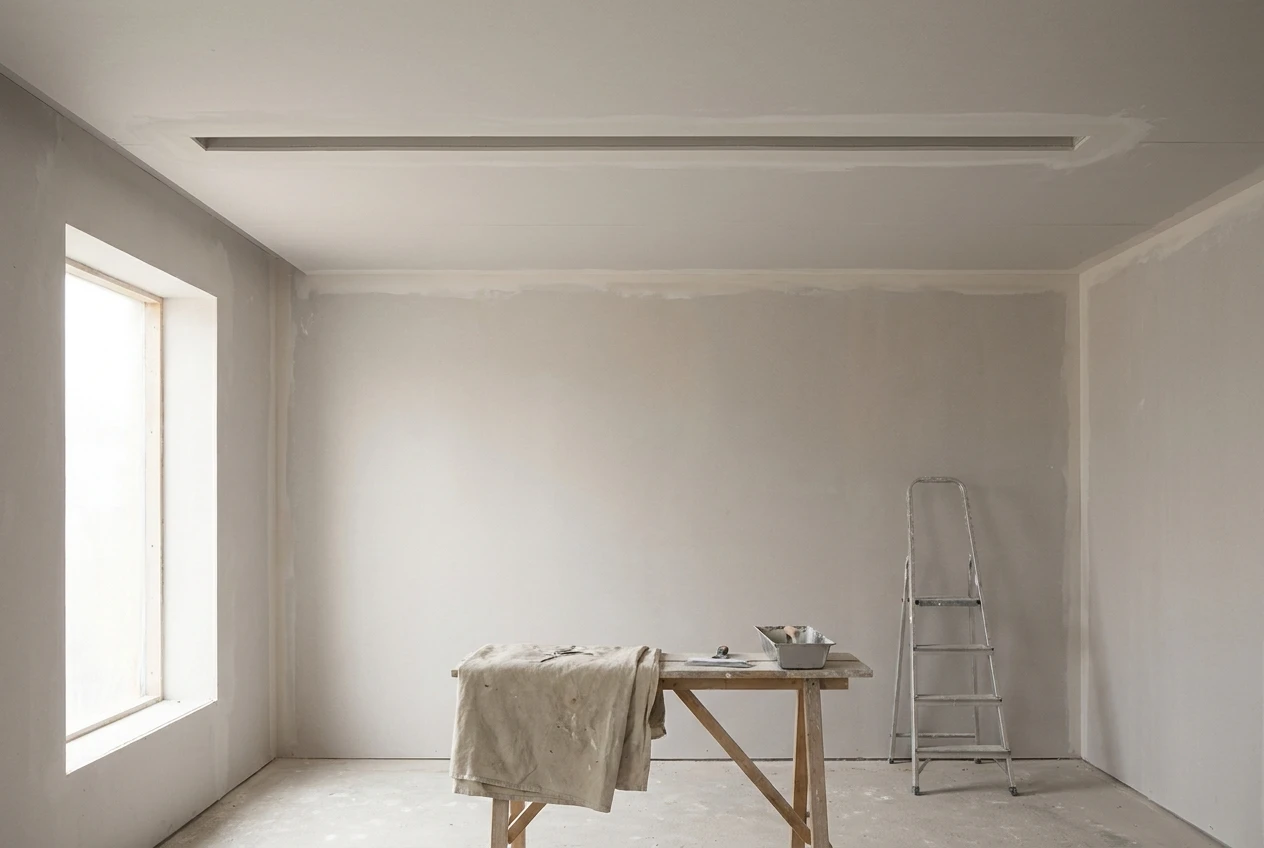
The constraint that bites first is the cavity behind the drywall. A deep channel needs plenum; a shallow ceiling needs a low-profile base.
Shallow bases designed for standard 15 mm drywall produce roughly a 30 mm line of light and carry around 30 W/m, which is what you reach for over a soffit or a furred-down ceiling. Where you have room and a longer throw, a tall ceiling or a longer wall wash, a wider body spreads light better and carries more strip: about 45 W/m at 55 mm and 50 W/m at 70 mm. Those are published figures at a stated ambient, which matters, because a ceiling void frequently sits at 30–35 °C rather than the 25 °C on the datasheet.
Keep the line clean, not dotty
The failure people notice from across a room is a string of dots instead of a solid line. Two things prevent it.
The first is the diffuser. An opal cover gives a soft, dot-free line, while a micro-prismatic film keeps glare down – recessed plasterboard bodies are now published at UGR < 17, tighter than the UGR ≤ 19 that EN 12464-1 asks for in rooms where people work. The second is the optics inside the extrusion: polished-aluminum reflectors recover roughly 20% of output and even it out along the run. Beyond that, use the matched end caps and linear or corner connectors, so a long run reads as one continuous line rather than a series of segments with gaps at every joint.
A few things that go wrong on site
Leave service access. A strip is a consumable and it will need replacing long before the drywall does, so use a system where the insert lifts out rather than one you have mudded permanently shut.
Size the channel to the strip’s real wattage, not its headline maximum. A channel run at its thermal limit in a warm ceiling cavity will dim and drift early, and the symptom shows up as color shift a year in, long after anyone connects it to the install.
And when you mud the base, work in thin coats and feather the joint wide. Any ridge along a grazing light line throws a shadow the moment the LEDs come on, which is the one defect you cannot fix later without opening the ceiling. If you want to see how a drywall-specific range is put together, with shallow bases, no-edge finishes and cove inserts, one European manufacturer publishes its full plasterboard line at ledson.eu/led-profiles/plasterboard-led-profiles.
Get the sequence and the depth right, and a mud-in channel turns a strip of LEDs into something that looks like it was always part of the house.