You can frame, sheathe, and roof a small cabin from a good set of plans and still get tripped up by the finish work inside — especially the kitchen sink and the seating. These are the two things you touch every day, and the two most self-builders leave to the end and then settle on. They are worth a little more planning than that.
When you build small, every interior decision is magnified. There is no spare wall to hide a mistake and no second bathroom to make up for a cramped kitchen. By the time the shell is weathertight, most of us are tired and over budget, and the temptation is to grab whatever sink and whatever cushion will do. But the sink and the seating are the two surfaces your hands and your back are on every single day in a small house. Here is how to get both right the first time, so you are not redoing them a year in.
The sink: a small kitchen’s hardest-working fixture
In a cabin or tiny-house kitchen, the sink competes with the counter for the scarcest resource you have — linear inches. Spend time in the tiny-house forums and you will see the same argument on repeat: people almost always wish they had kept more counter space rather than gone bigger on the basin. That tension is the whole design problem, and it has a good answer.
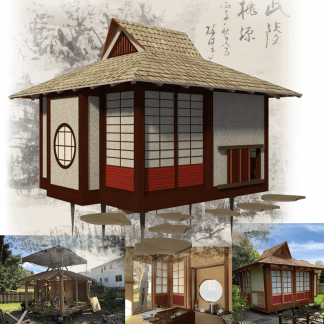
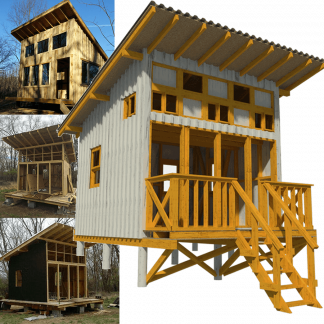
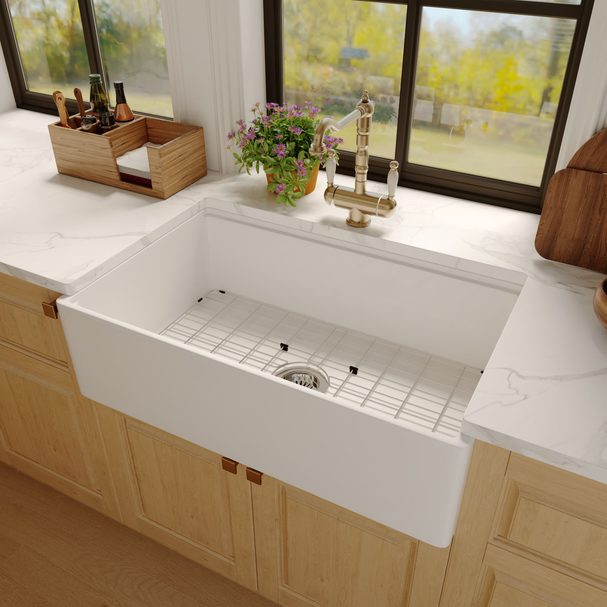
First, size it to the cabinet, not to the picture in your head. A farmhouse apron sink’s face is wider than its bowl, and the bowl still has to sit in a base cabinet: a 30-inch apron sink wants roughly a 33-inch base, a 33-inch sink wants a 36-inch base. For the tightest galley kitchens a 30-inch model is the sweet spot — generous enough to wash a stockpot, small enough to leave you working counter. But plenty of the plans builders start from here — a two-bedroom cabin, a barndominium, a farmhouse layout — have room for a full 36-inch sink base, and that is where the larger bowl earns its width. In a small build where base cabinets are often shallower than the 24-inch standard, confirm both the width and the depth your sink needs before you cut cabinetry.
Second, think about what the sink is made of, because in a remote or off-grid build, replacing one is a genuine ordeal. This is the case for fireclay over thin stainless or cheap composite: it is a dense ceramic finished with a fused glaze, it shrugs off the daily abuse of a working kitchen, and it keeps its surface for decades rather than scratching to a dull gray. If your plan has the 36-inch base for it, a line of 33-inch farmhouse sinks shows the range worth considering — single bowl, 50/50 double, and workstation models — and the maker publishes controlled surface-contact, stain, and heat demonstrations on those pages, a more useful gauge of a glaze than a styled catalog photo. Buy the sink once, buy it on evidence.
A builder’s quick sink checklist
- Measure the base cabinet — width and depth. Small-house cabinets are often 16 to 18 inches deep instead of 24; make sure the bowl actually fits before the plywood is cut.
- Reclaim the counter you lost. A “workstation” sink with an integrated ledge takes a cutting board or drying rack over the bowl, turning the basin itself into prep space — the single best trick for a tiny kitchen.
- Protect the drain from vibration. If you are running a garbage disposal, isolate its weight rather than hanging it rigidly off the flange, don’t overtighten, and keep a bottom grid in the basin. Fireclay cracks from stress and impact, almost never from ordinary use.
- Single bowl beats a divided one in a small kitchen. One deep basin washes a sheet pan; a 50/50 split just gives you two bowls too small for anything.
The seating: why an off-the-shelf cushion never fits a built-in
Almost every small house ends up with built-in seating — a bench along the wall, a window seat over storage, a dinette, a daybed under the loft. It is the most space-efficient way to sit in a tight footprint, and if you are working from a good set of furniture plans you have probably already framed one. Then comes the part nobody warns you about: you cannot buy a cushion that fits it.
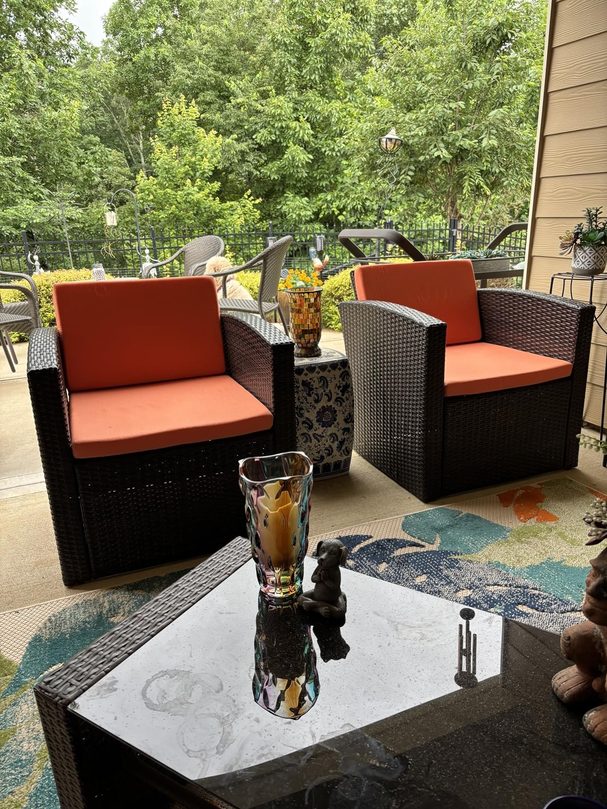
This is the single most common seating complaint in the DIY and home forums: someone builds a window seat or a nook bench, then spends weeks hunting for a cushion, because stock sizes are built for standard furniture and a built-in is never standard. Irregular depths, a bench tucked under a sloped loft wall, a bay or trapezoid window — none of it matches a rectangle off a shelf. Your options come down to three: sew your own from craft-store foam (cheap, but rarely holds up or looks sharp), pay a local upholstery shop (good, often pricey), or order cushions cut to your exact measurements.
For most self-builders the last route is the sanest, and it is exactly what a service like custom couch & sofa cushions is for: you give them your seam-to-seam dimensions and the shape, pick the foam and the fabric, and the cushion arrives filling the frame you built instead of fighting it. A cushion cut to the opening sits flat and square, doesn’t slide, and makes the bench look like part of the house rather than an afterthought thrown on top.
Measuring and speccing a built-in cushion
- Measure the frame, not a guess. Take the inside dimensions seam-to-seam, and for an odd shape (trapezoid bay, angled corner) template it on paper or cardboard rather than trusting the numbers.
- Match foam to the job. A seat you sit on for hours wants a firmer, higher-density foam so it doesn’t bottom out; a backrest can be softer. Four inches is a common seat thickness, more if you have the depth under the window.
- Pick fabric for the life it will live. In a cabin or off-grid build, lean toward durable, low-maintenance, moisture-tolerant fabrics over delicate upholstery — it earns its keep when the woodstove drips or wet coats land on it.
Tying it together on a small footprint
In a house you take in with a single glance, the kitchen and the seating are part of the same picture, so let them agree. Pull the cushion fabric toward the wood and stone tones already in the room, keep one metal across the faucet and the hardware, and the inside of a small cabin starts to read as designed rather than assembled from whatever was in stock. The structure is the hard part, and you have done it. These last two decisions are what you actually live with — so size them to fit, build them to last, and get them right once.