
How to Build an A-Frame Small House
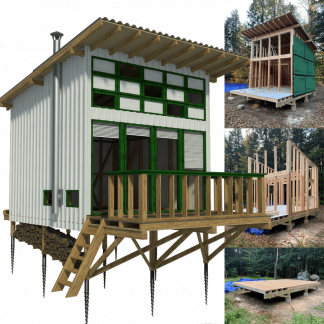
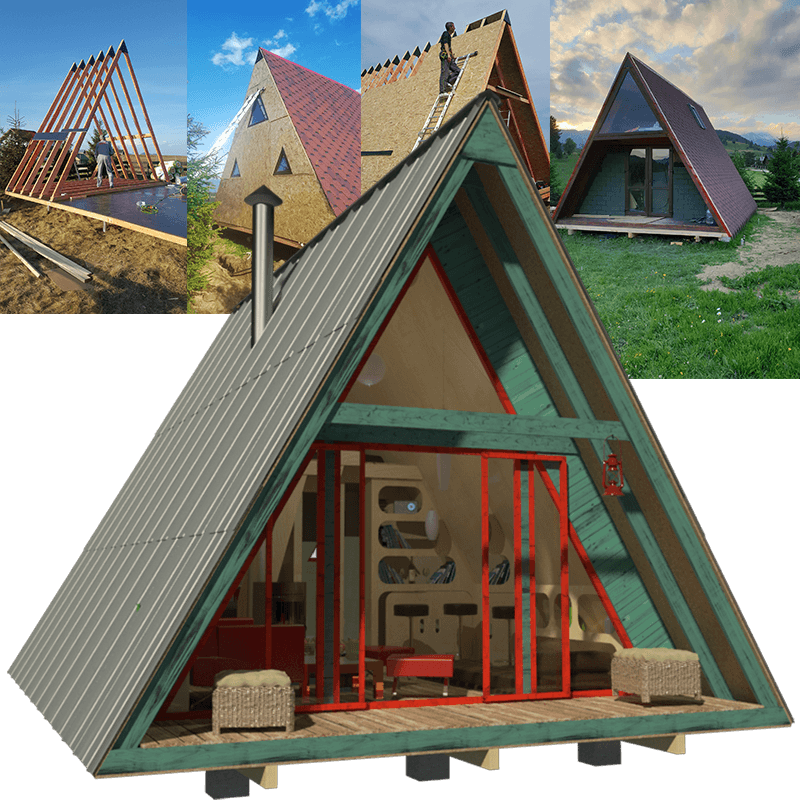
 Dan Baban bought floor plans for Alexis, a small wooden A-frame house, from the website pinuphouses.com. Thanks to the detailed documentation of the process made by Dan, you can now see what it takes to build your own tiny wooden house. Since we have a substantial number of pictures to discuss, we decided to create a small series about the process of building a tiny house. This is the first chapter, where we will discuss the initial part of the process – the foundations, the construction of the baseboard for the floor, and the construction of triangular wall structures. Then we will look into the interior of the house and at the construction of partitions, and finally, we will show you how Dan installed windows and doors into their openings in the walls.
First steps: The Foundations
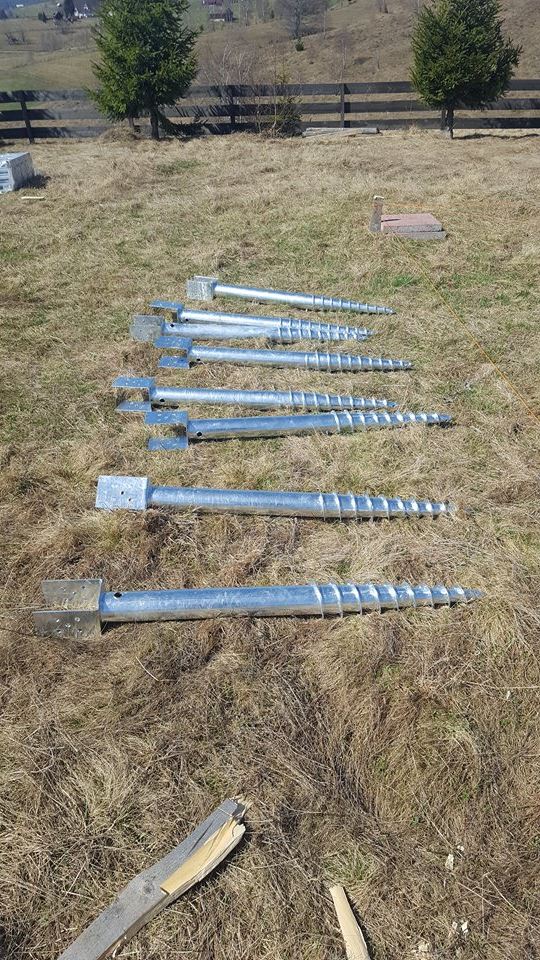
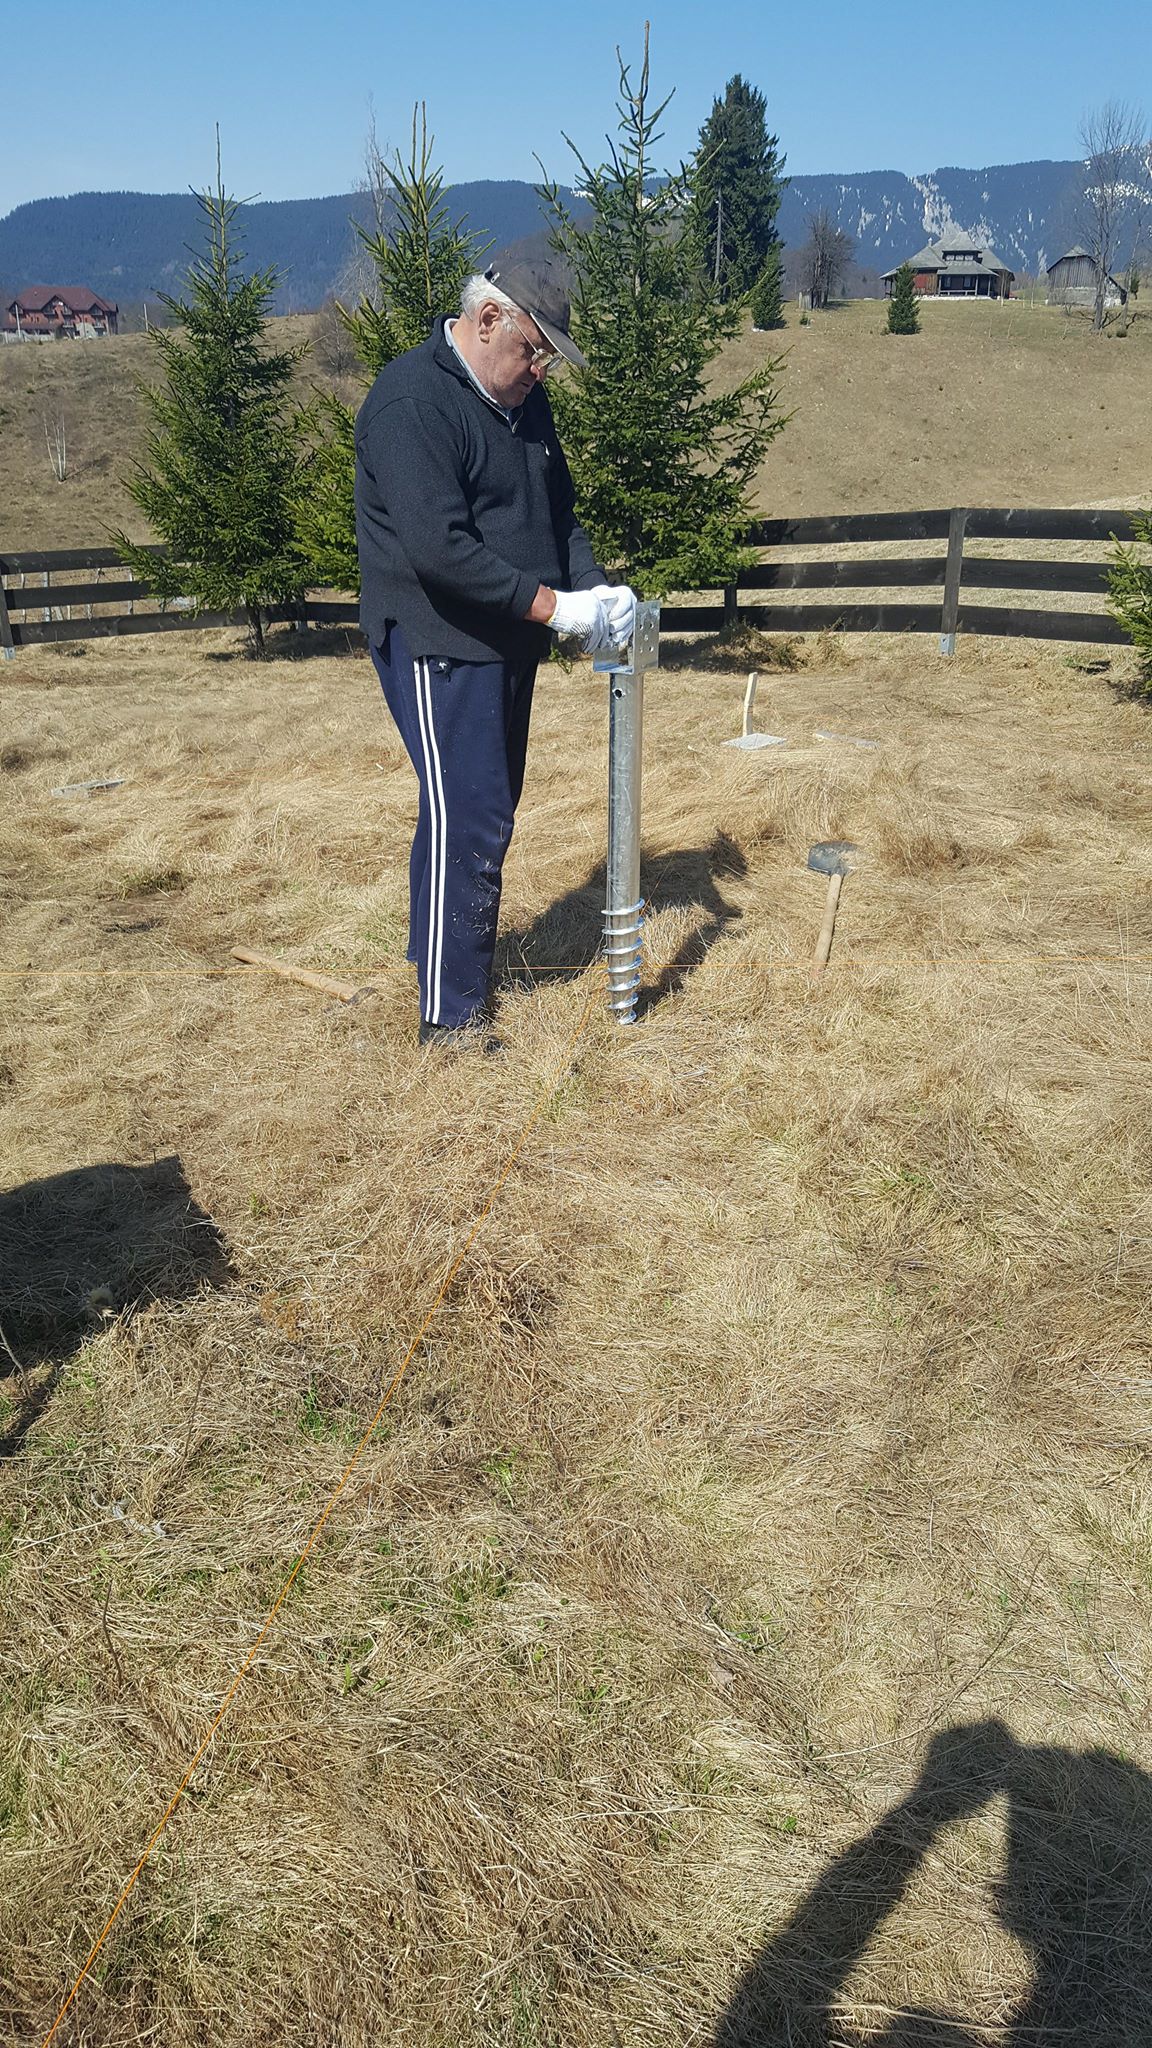
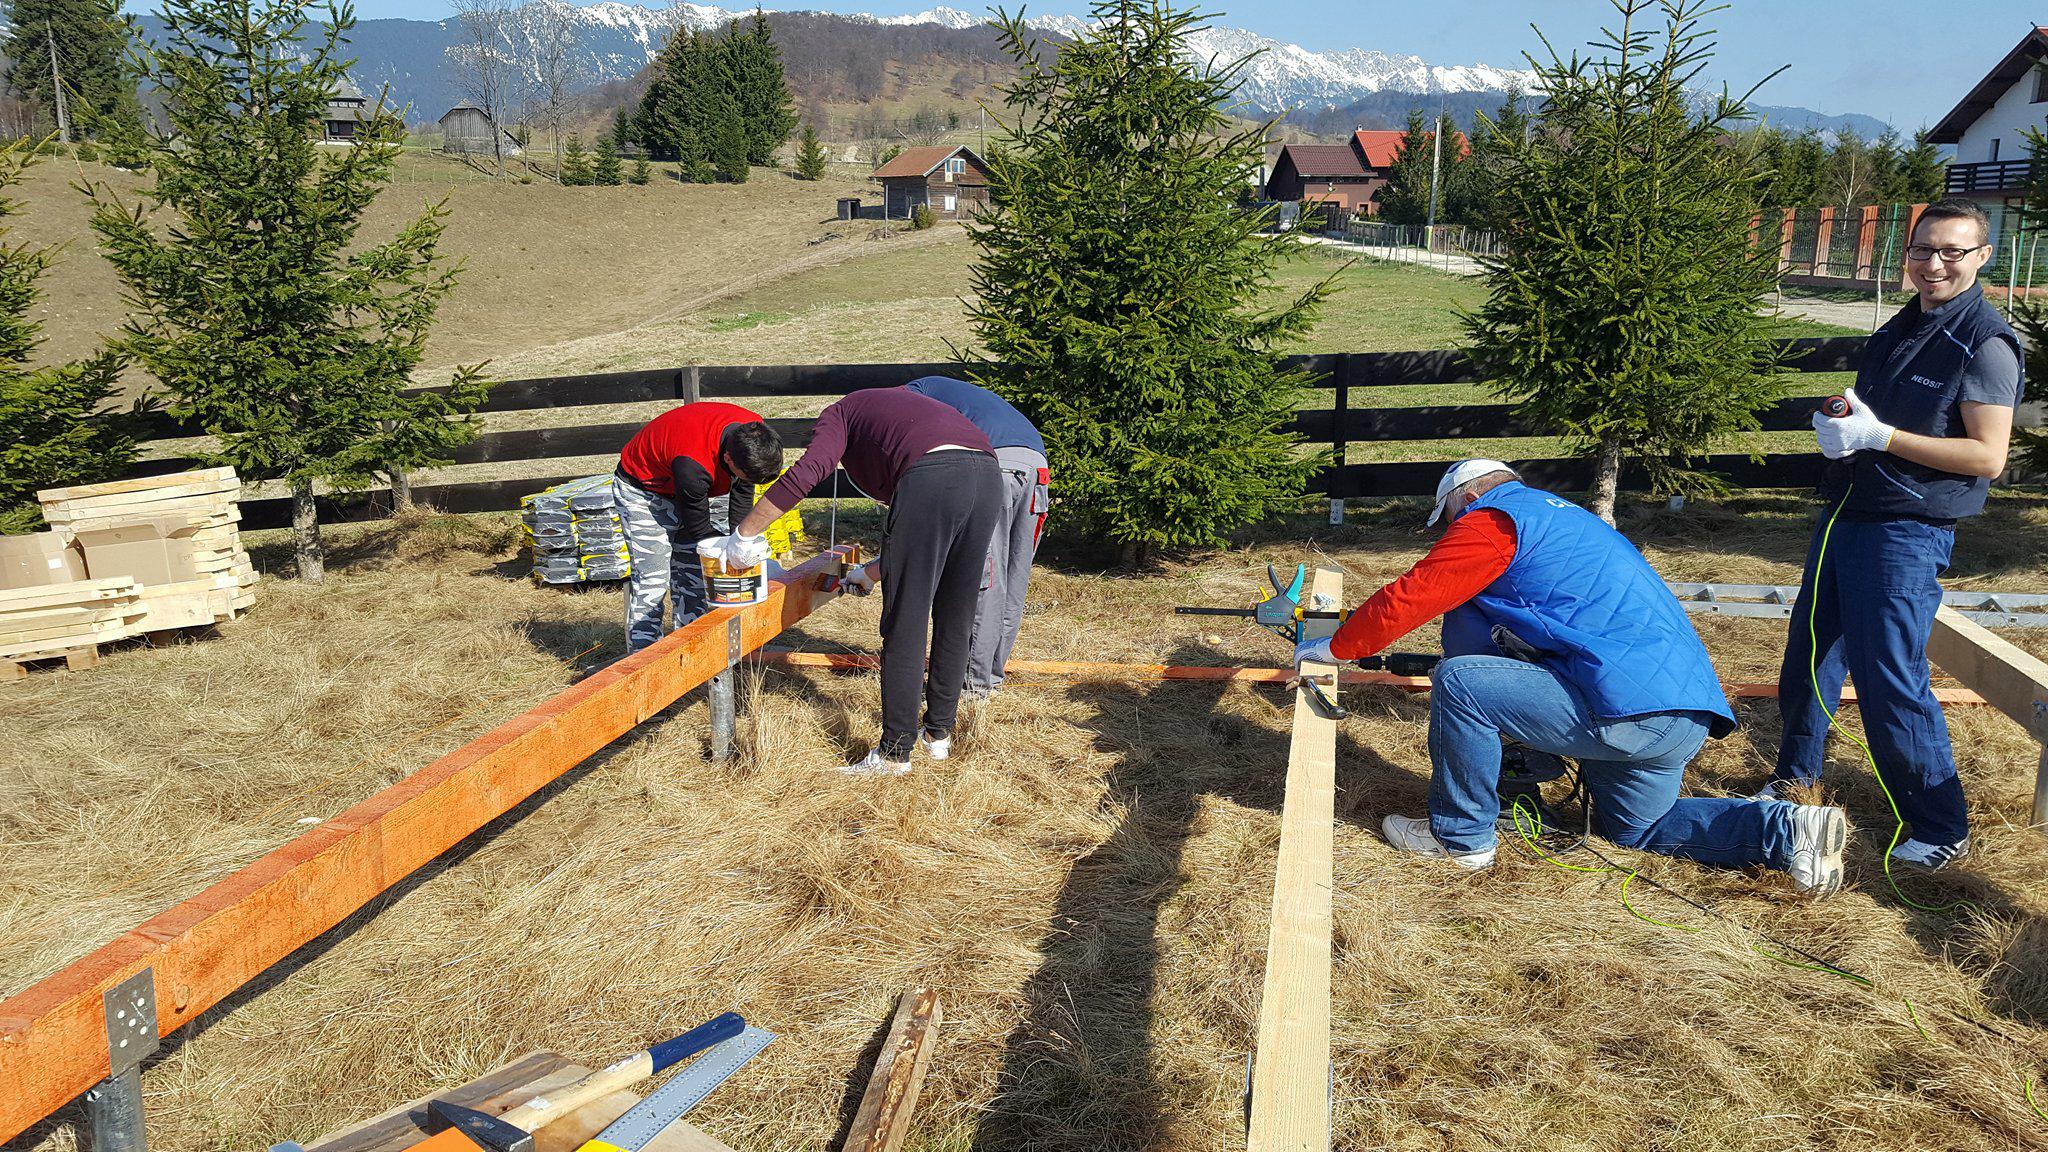
This house stands on approx—1 m tall ground screws, upon which multiple joists were installed. Ground screws are one of the fastest-built foundations for tiny houses. They are easy to get, but their prices range. For example, Dan used high-quality zinc-reinforced ground screws, which drill quite easily into the ground, and you do not need to bother yourself with digging. You can find out more advantages and information about this anchoring for your house on page 90 in the book How to Build a Tiny House.
Construction of the Floor Base Board
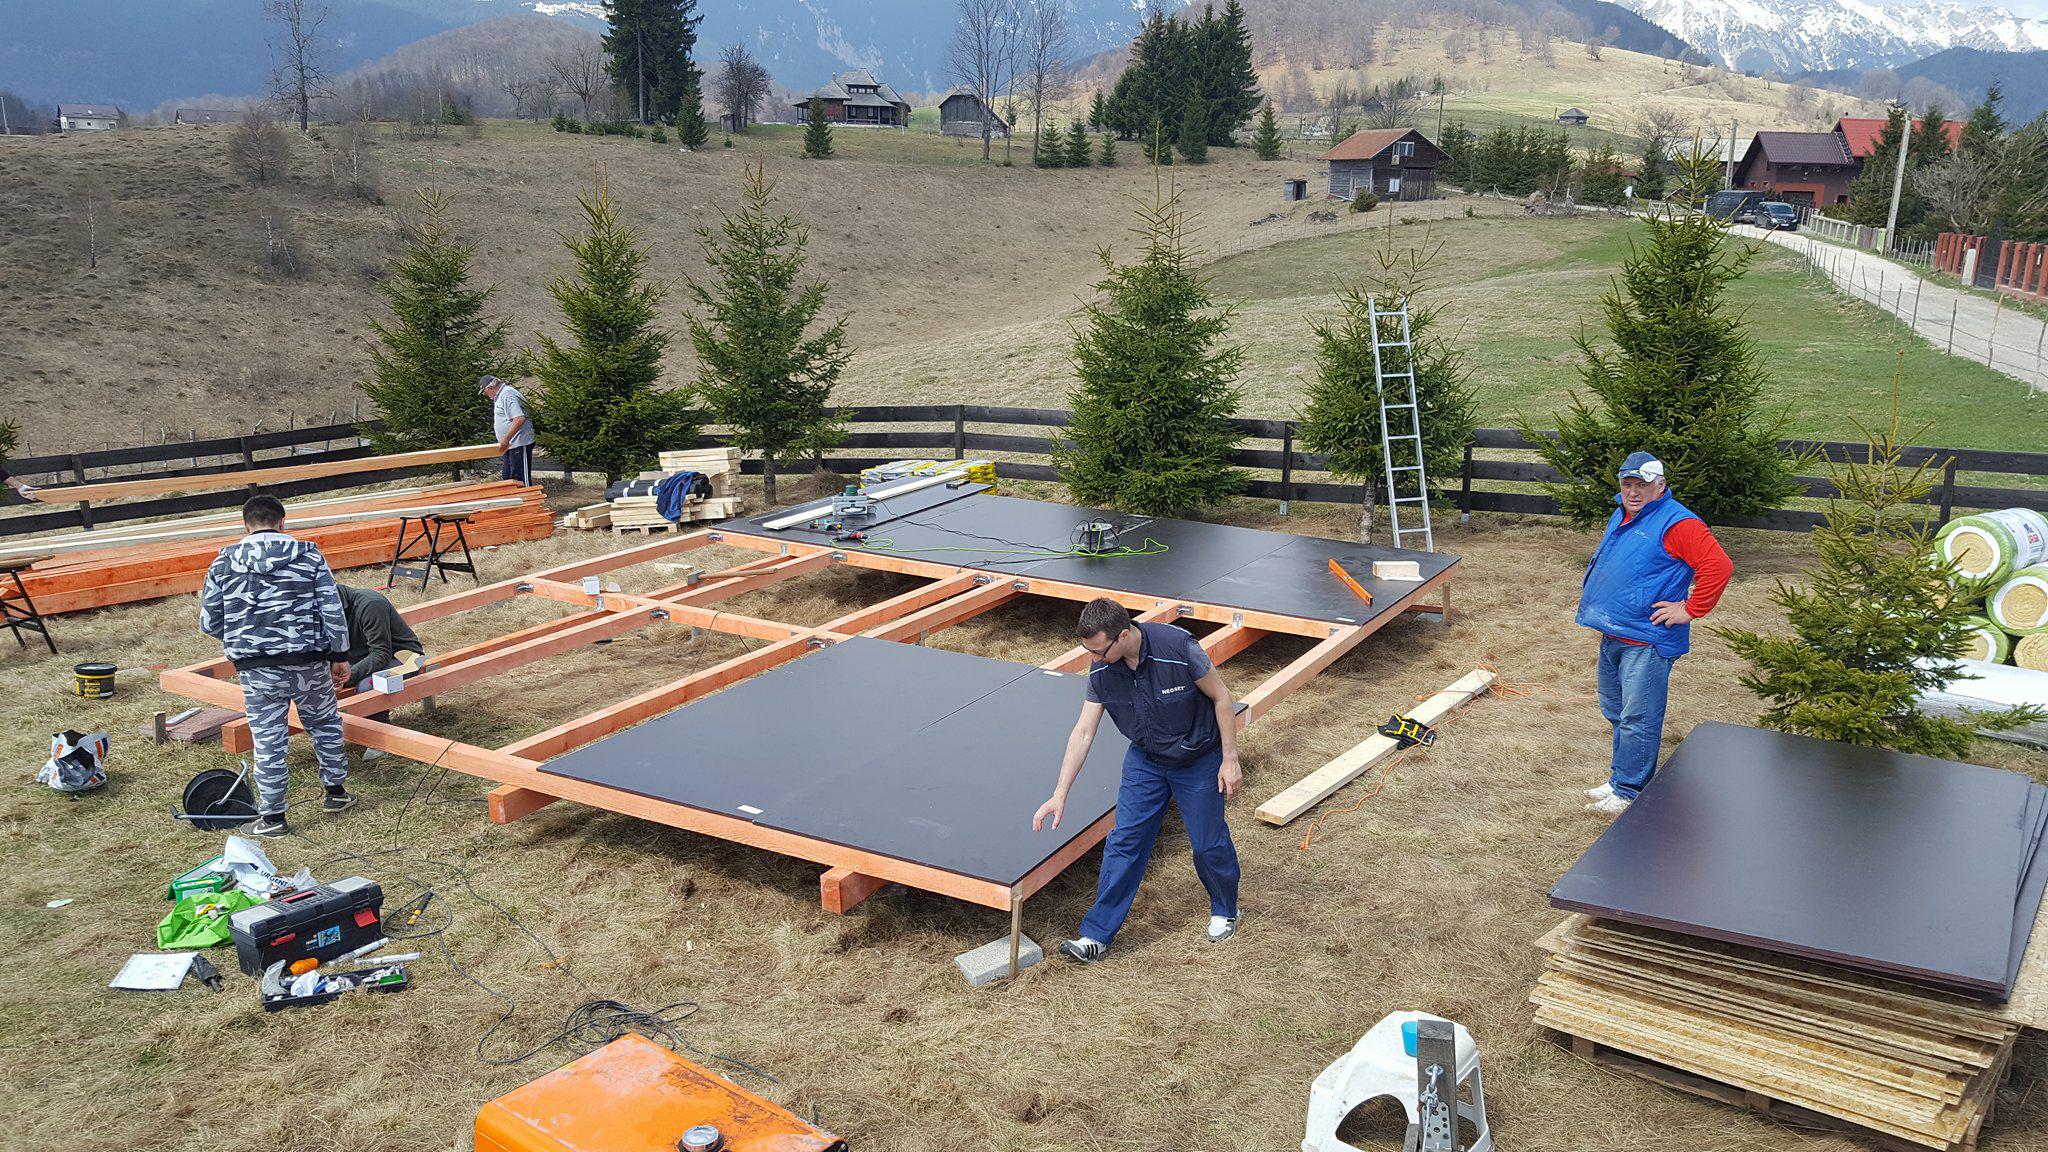
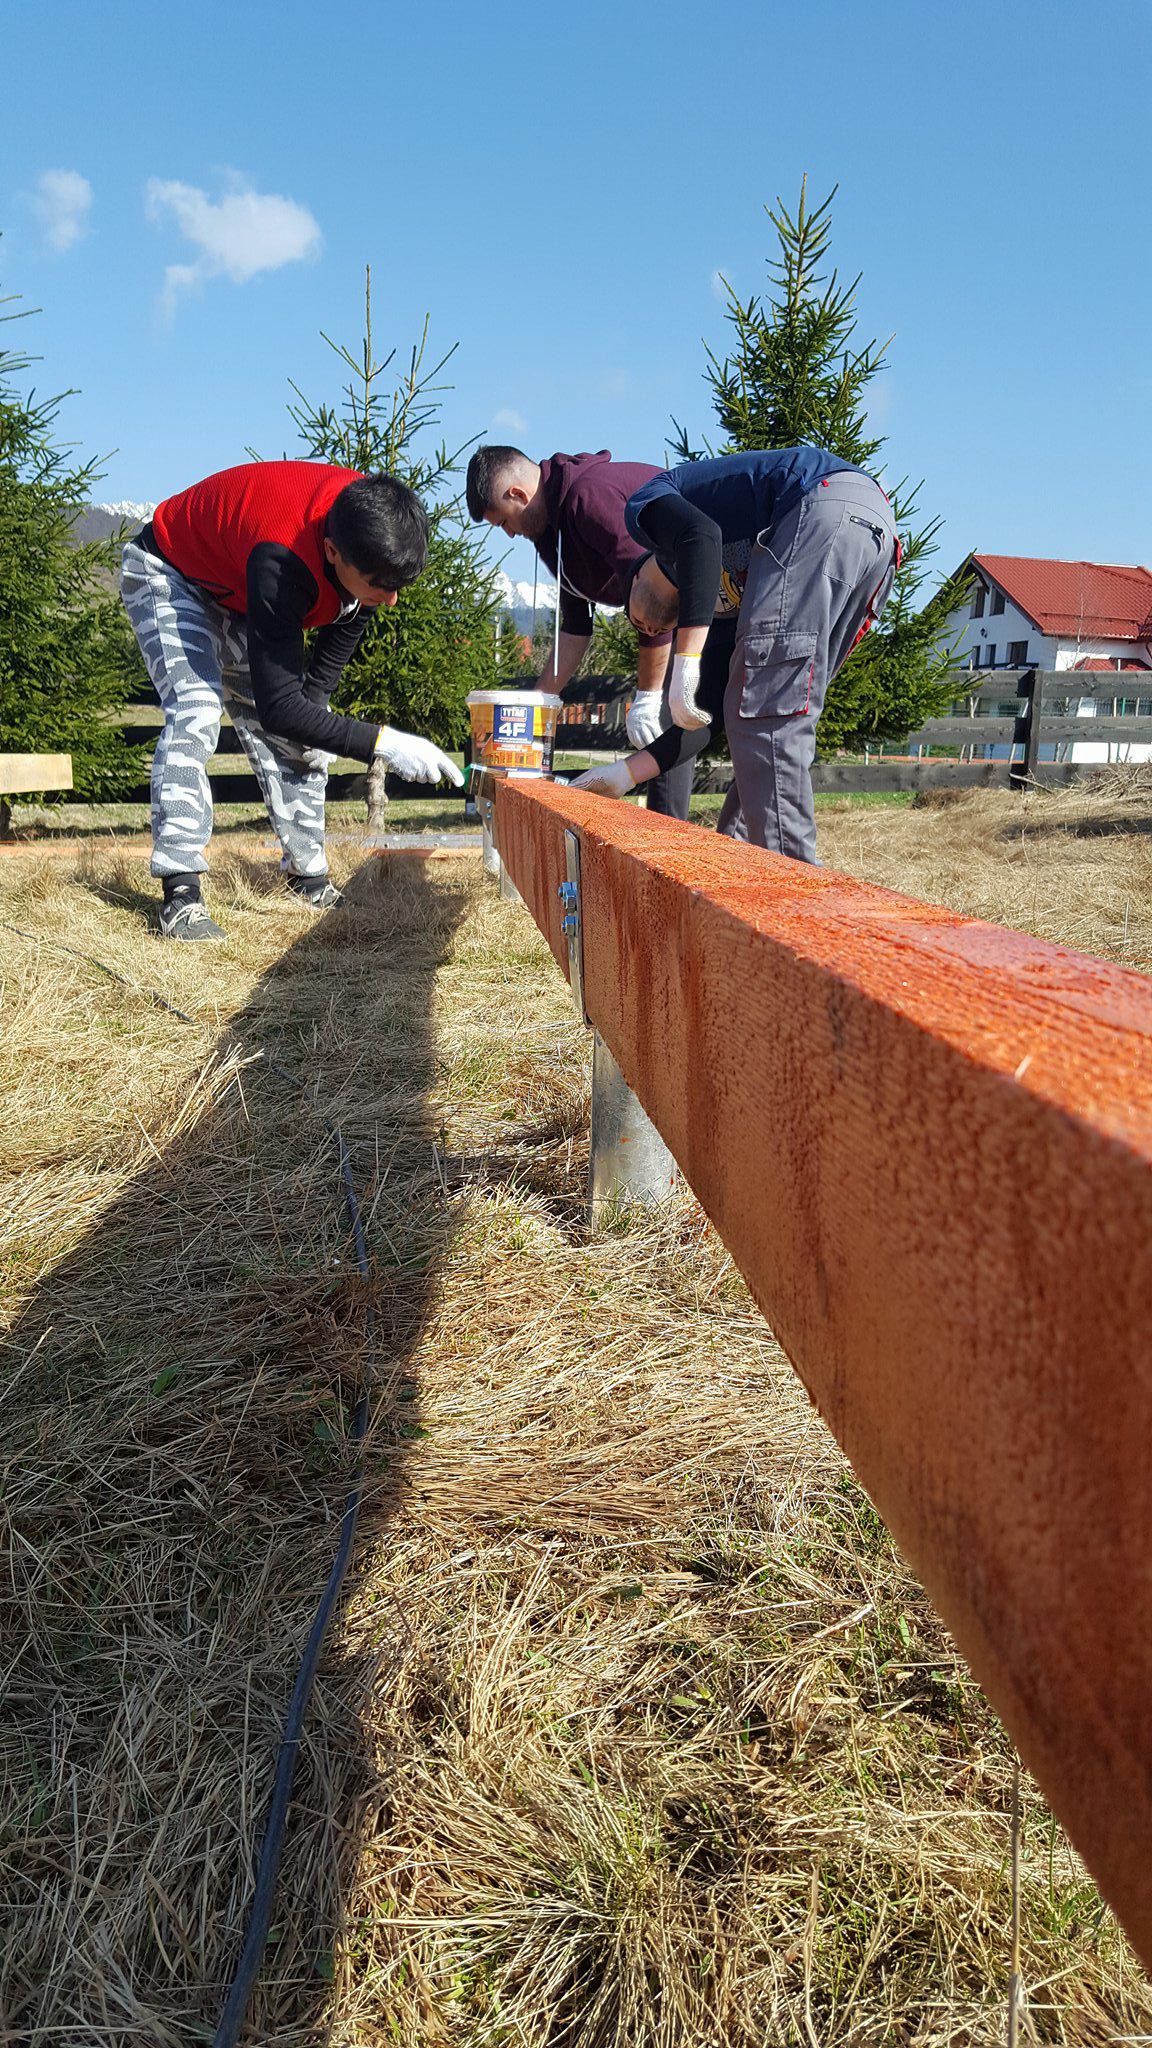
Once the ground screws are aligned so that they are perfectly even, it is time for multiple joists. The joists were coated with a special formula to protect the wood from mold, fungus, and other dangers. On the joists came floor joists, on which then came black baseboards. The baseboards later came in handy as a platform for building triangular wall structures. If you would like to know more, such as what the floor joists’ ideal span is, have a look at pages 100-101 in the guidebook, or check out the blog entry dedicated to floor span.


Montage of the triangular wall framing
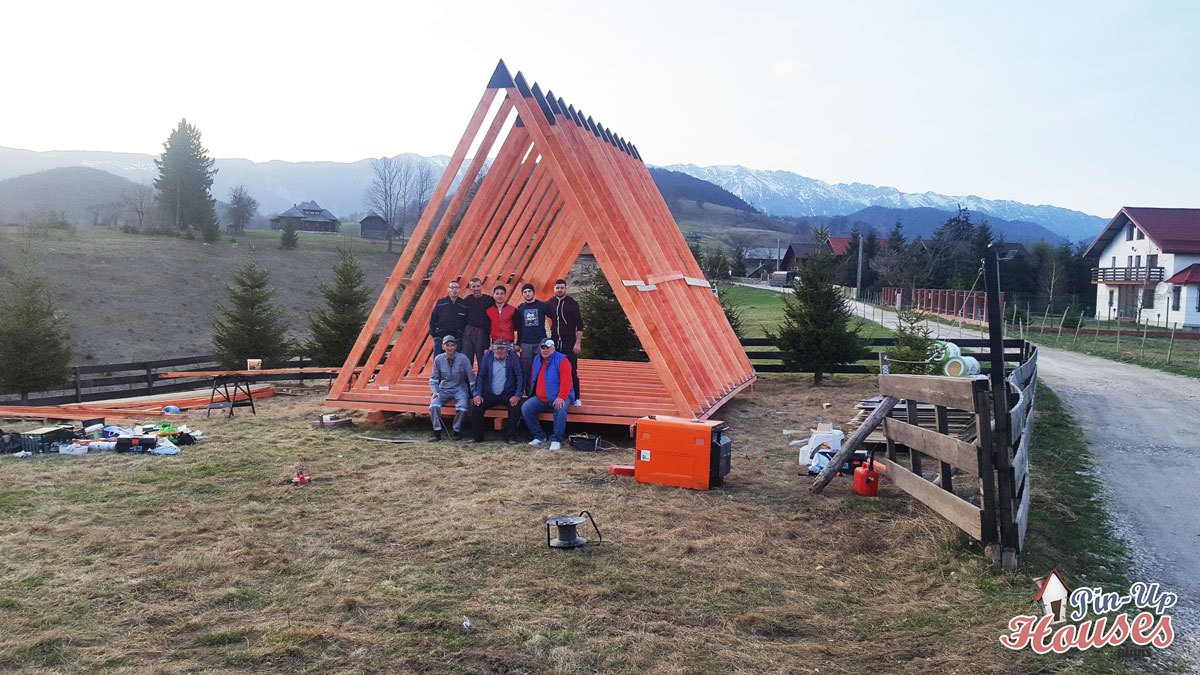
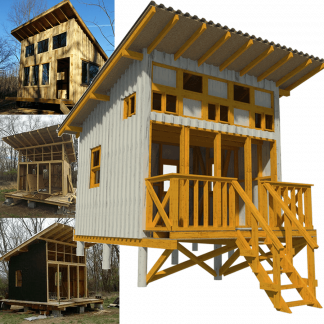
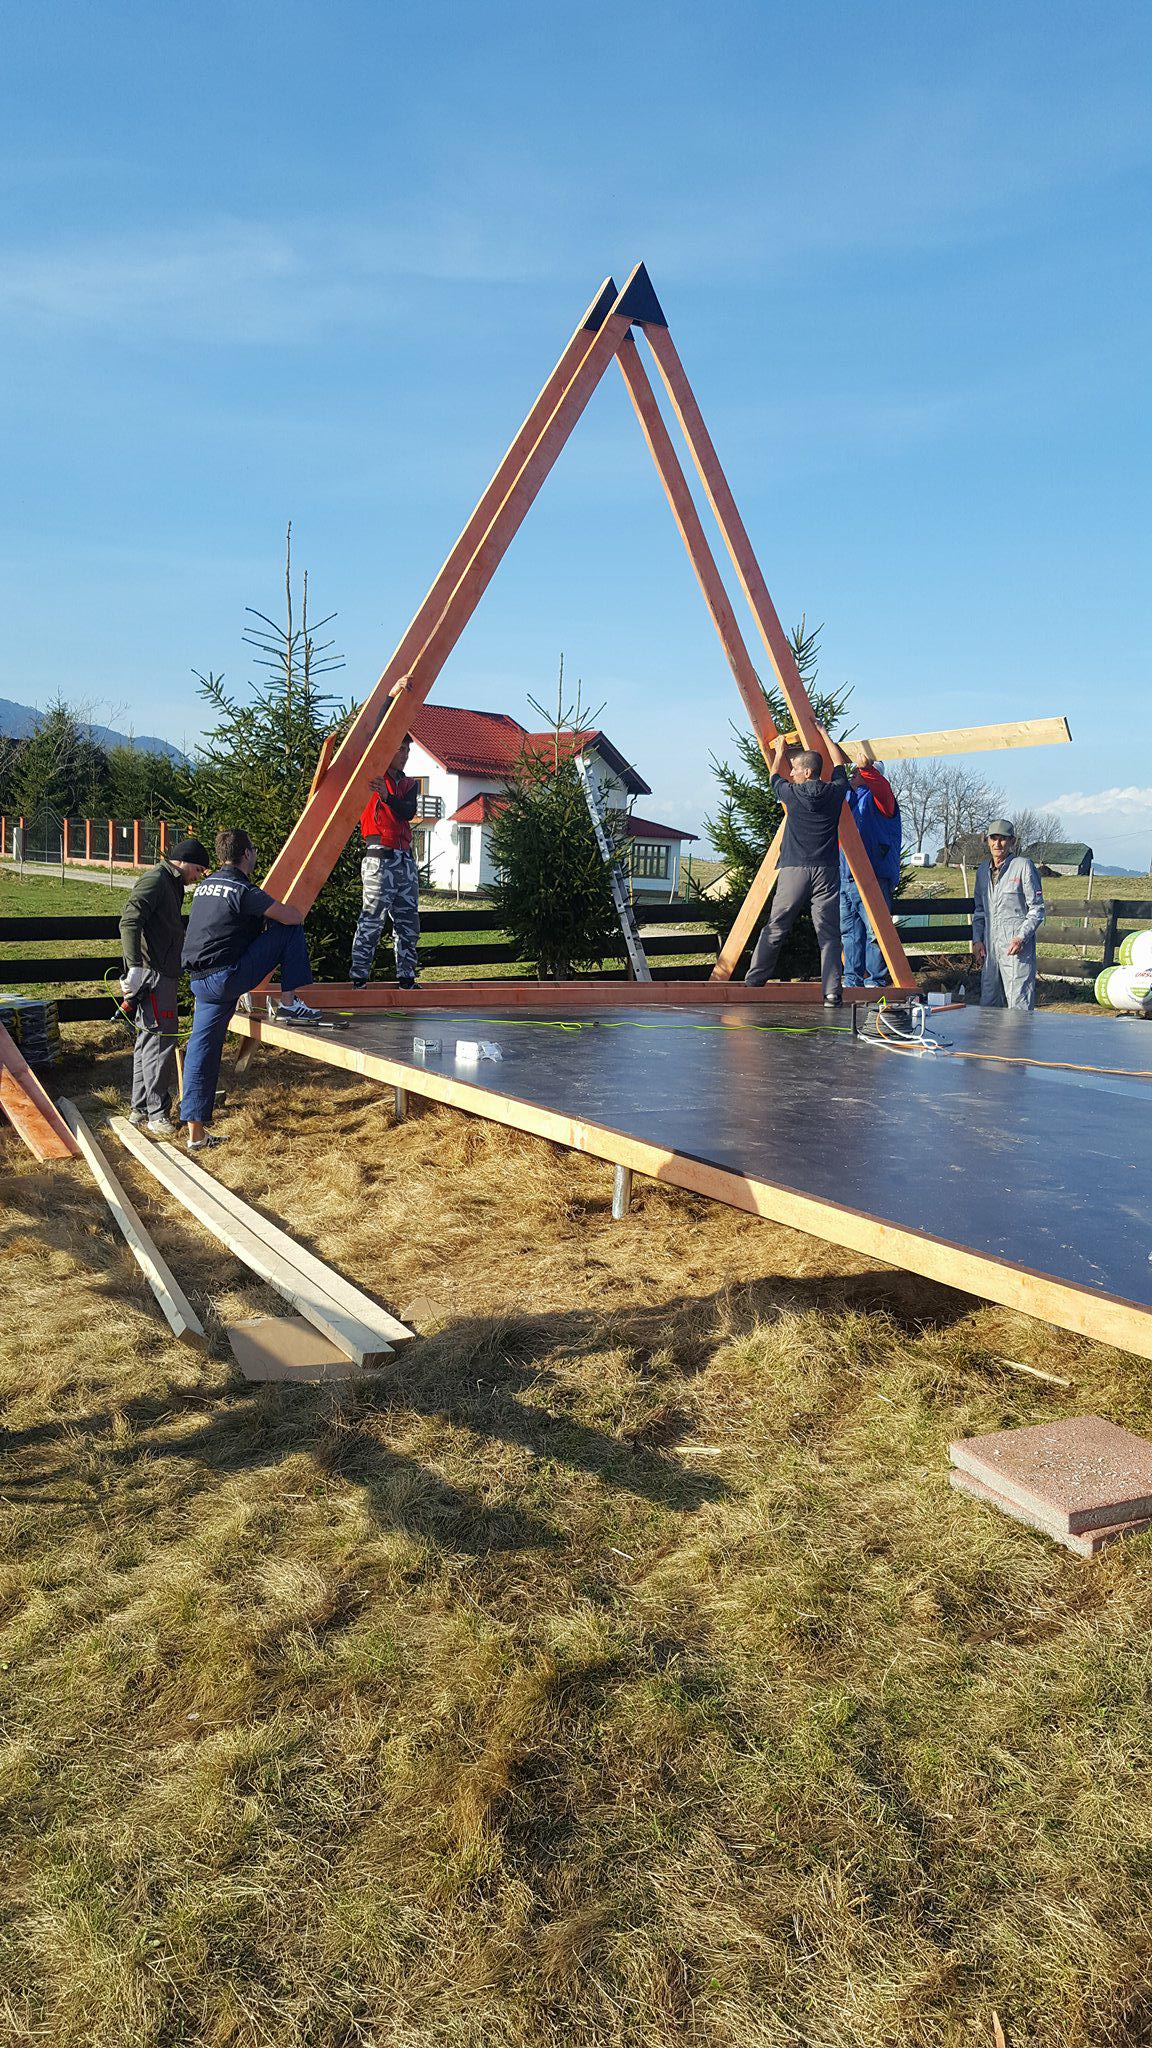
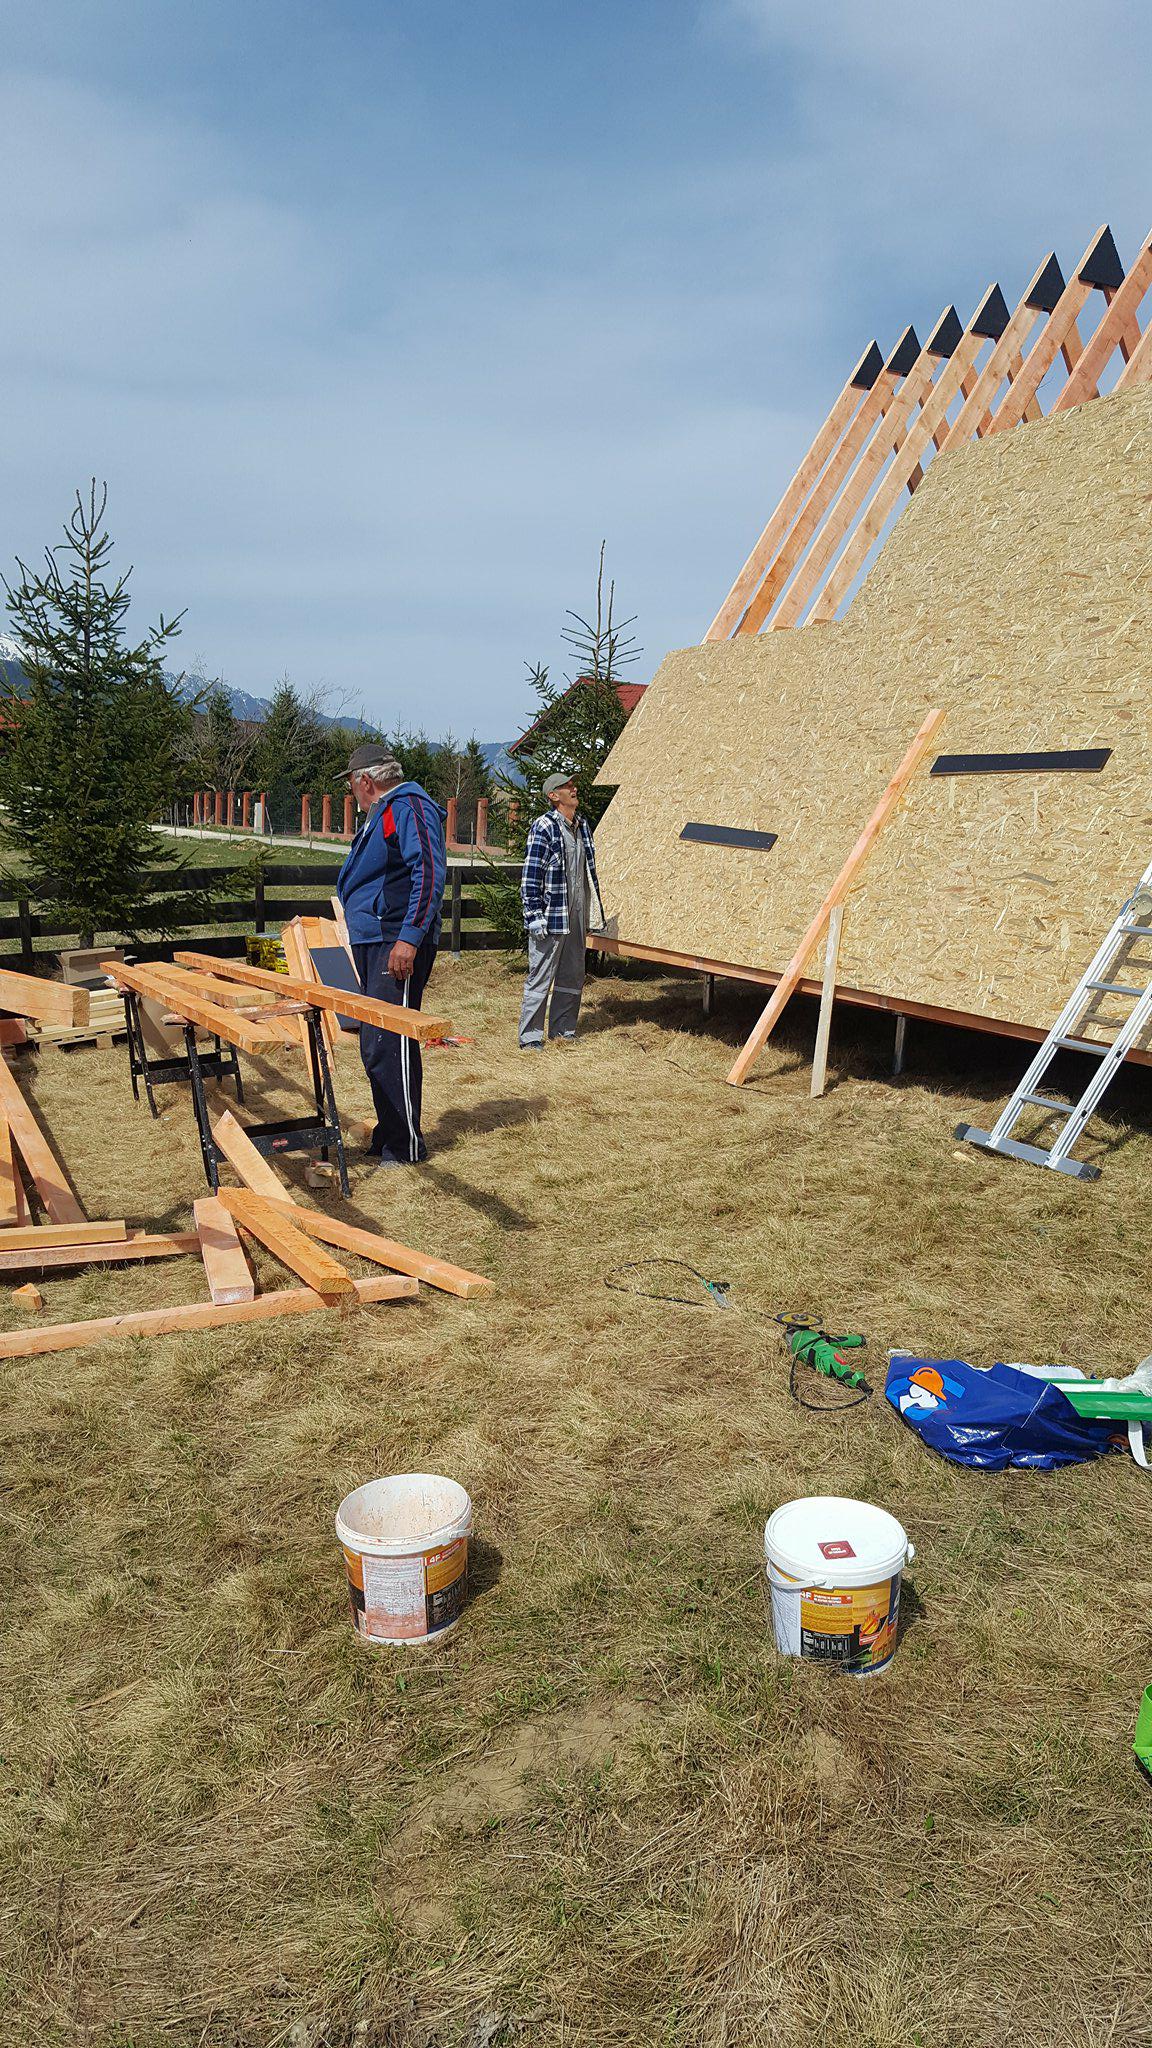
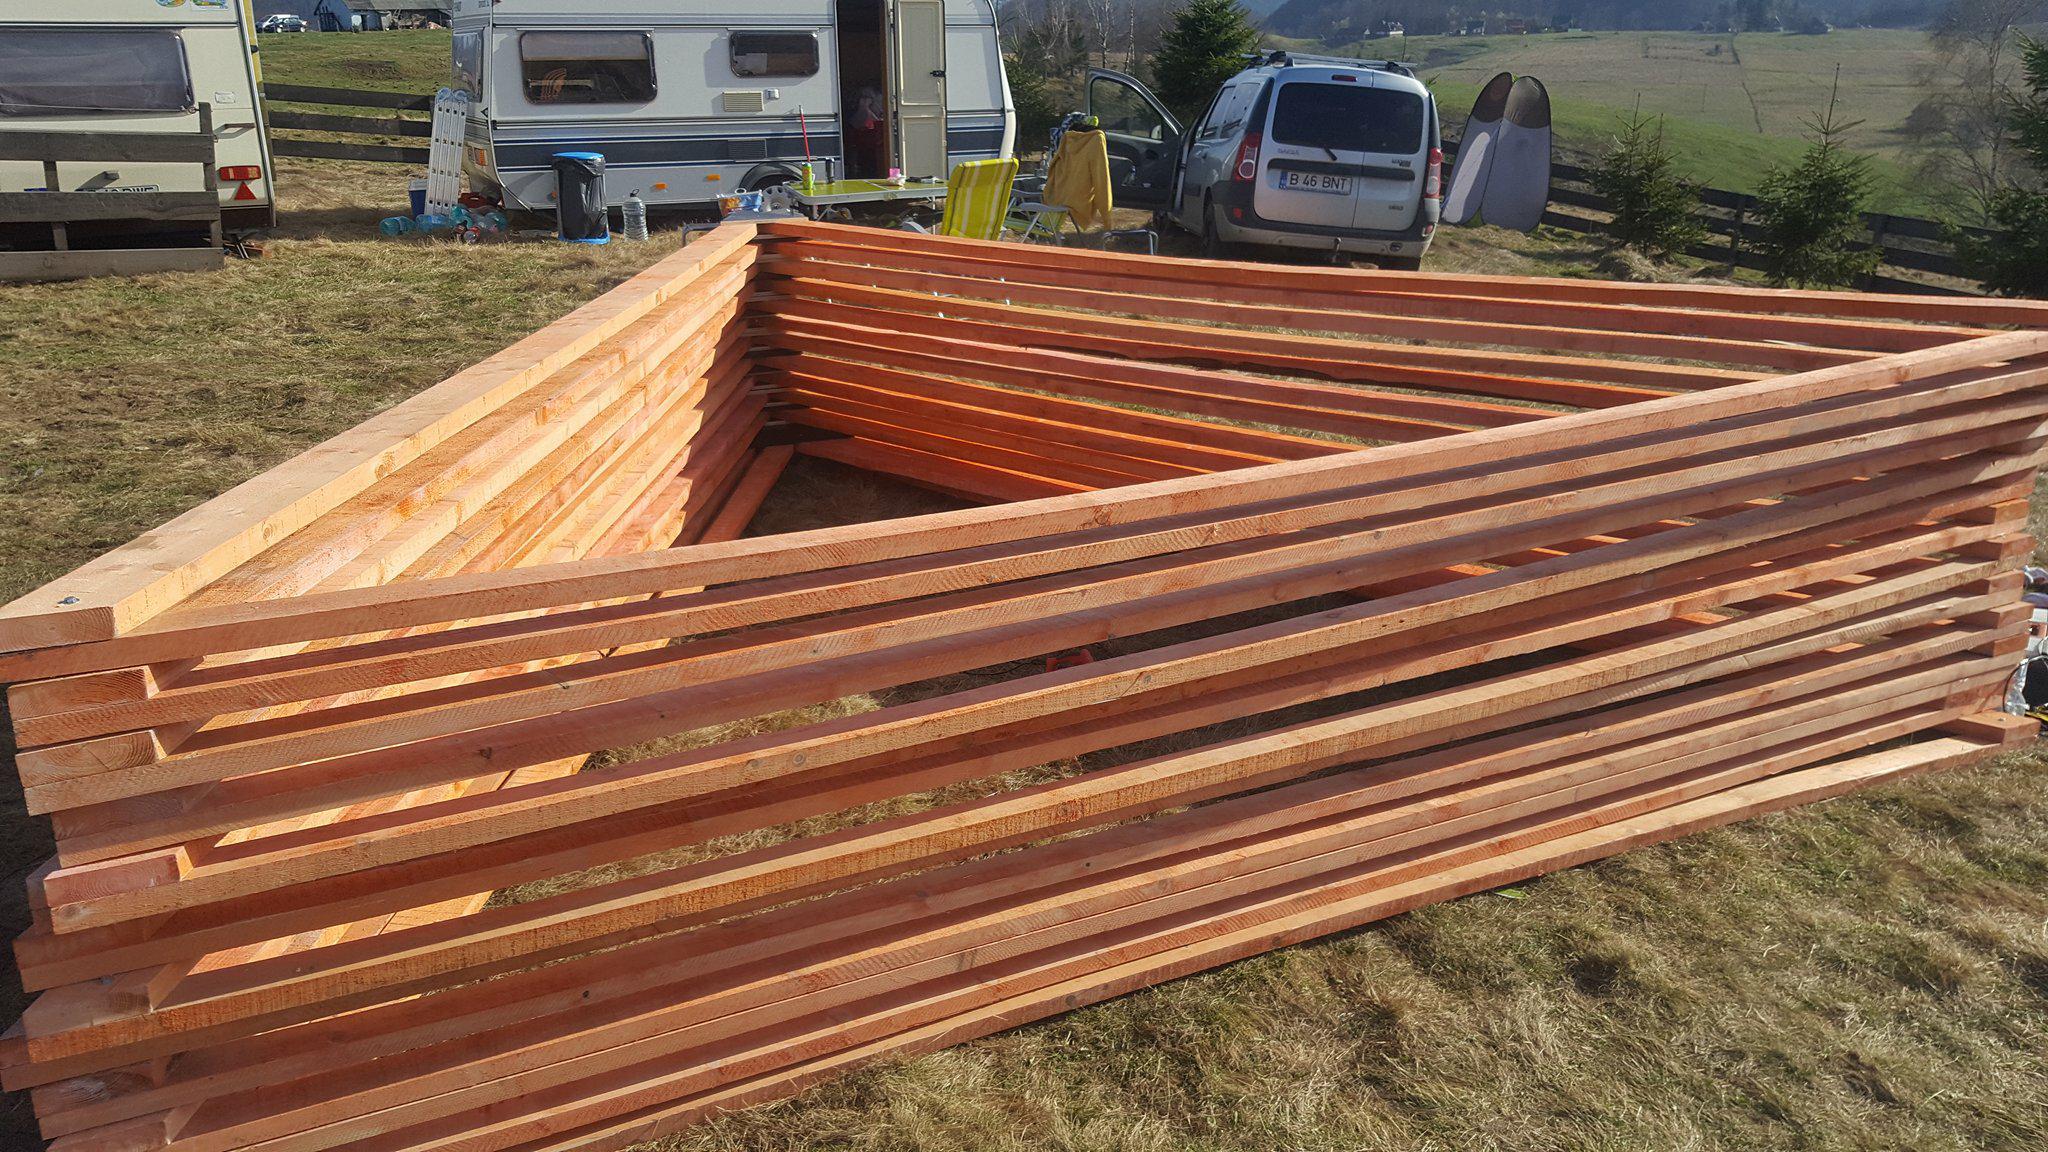
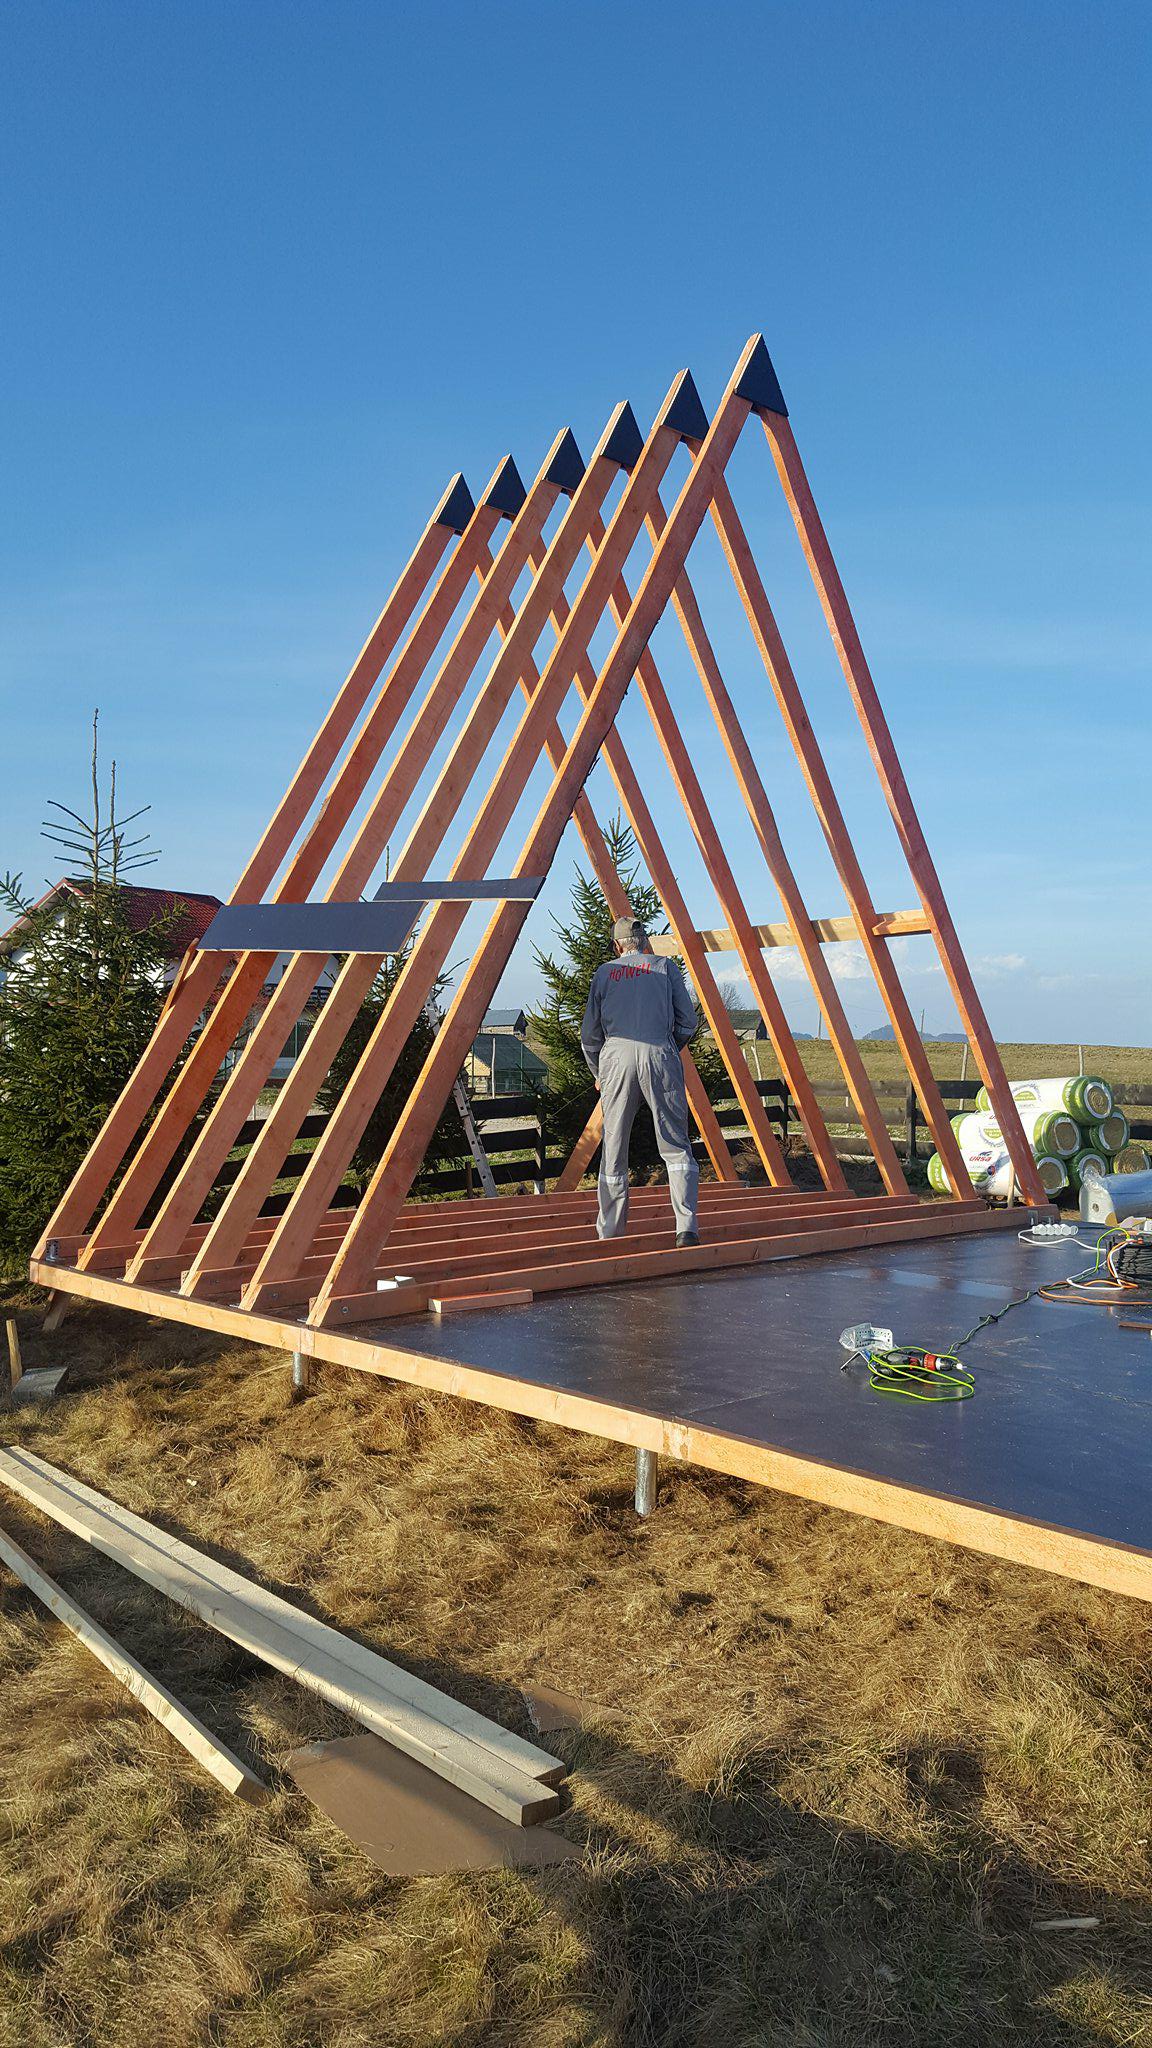
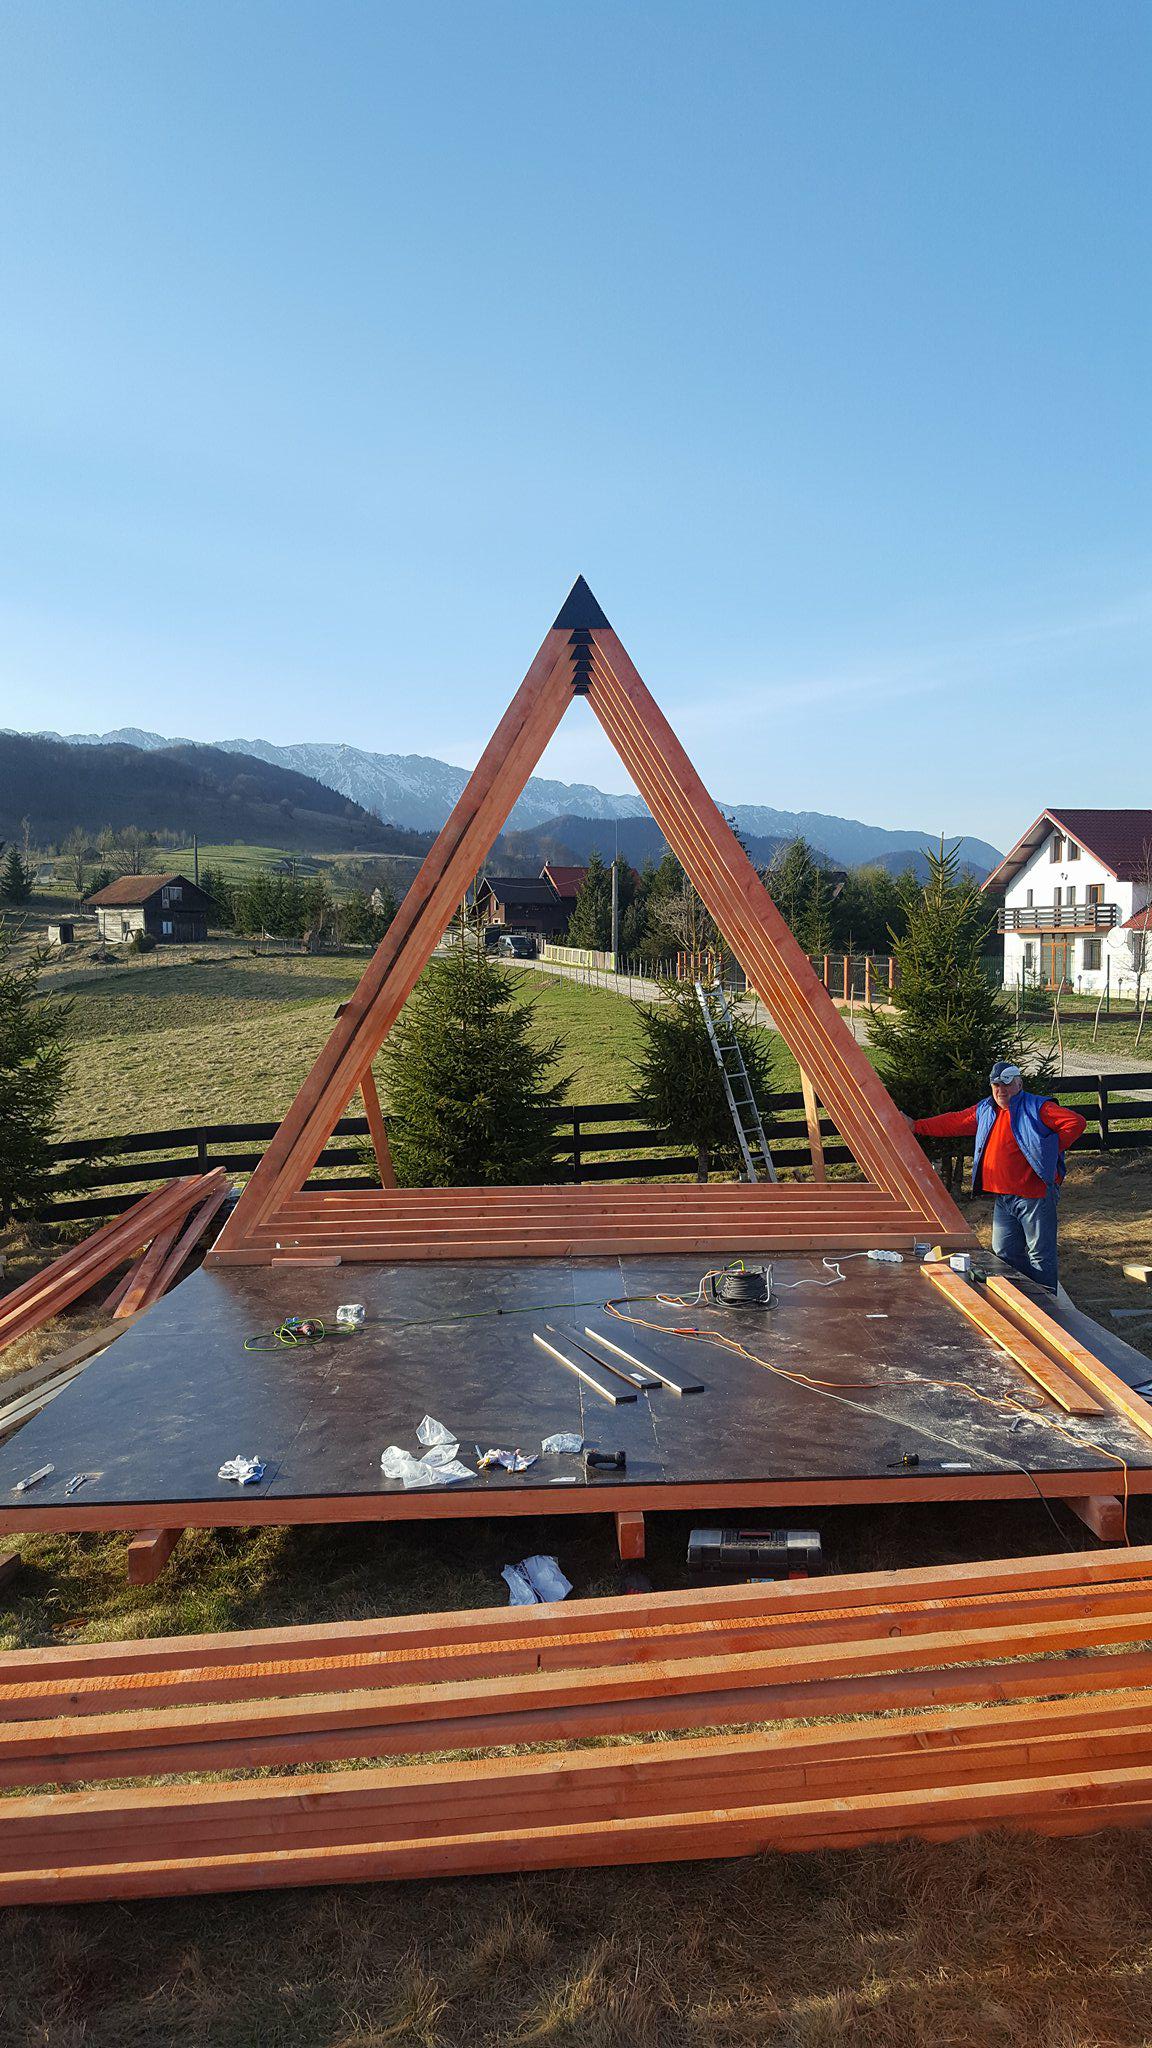
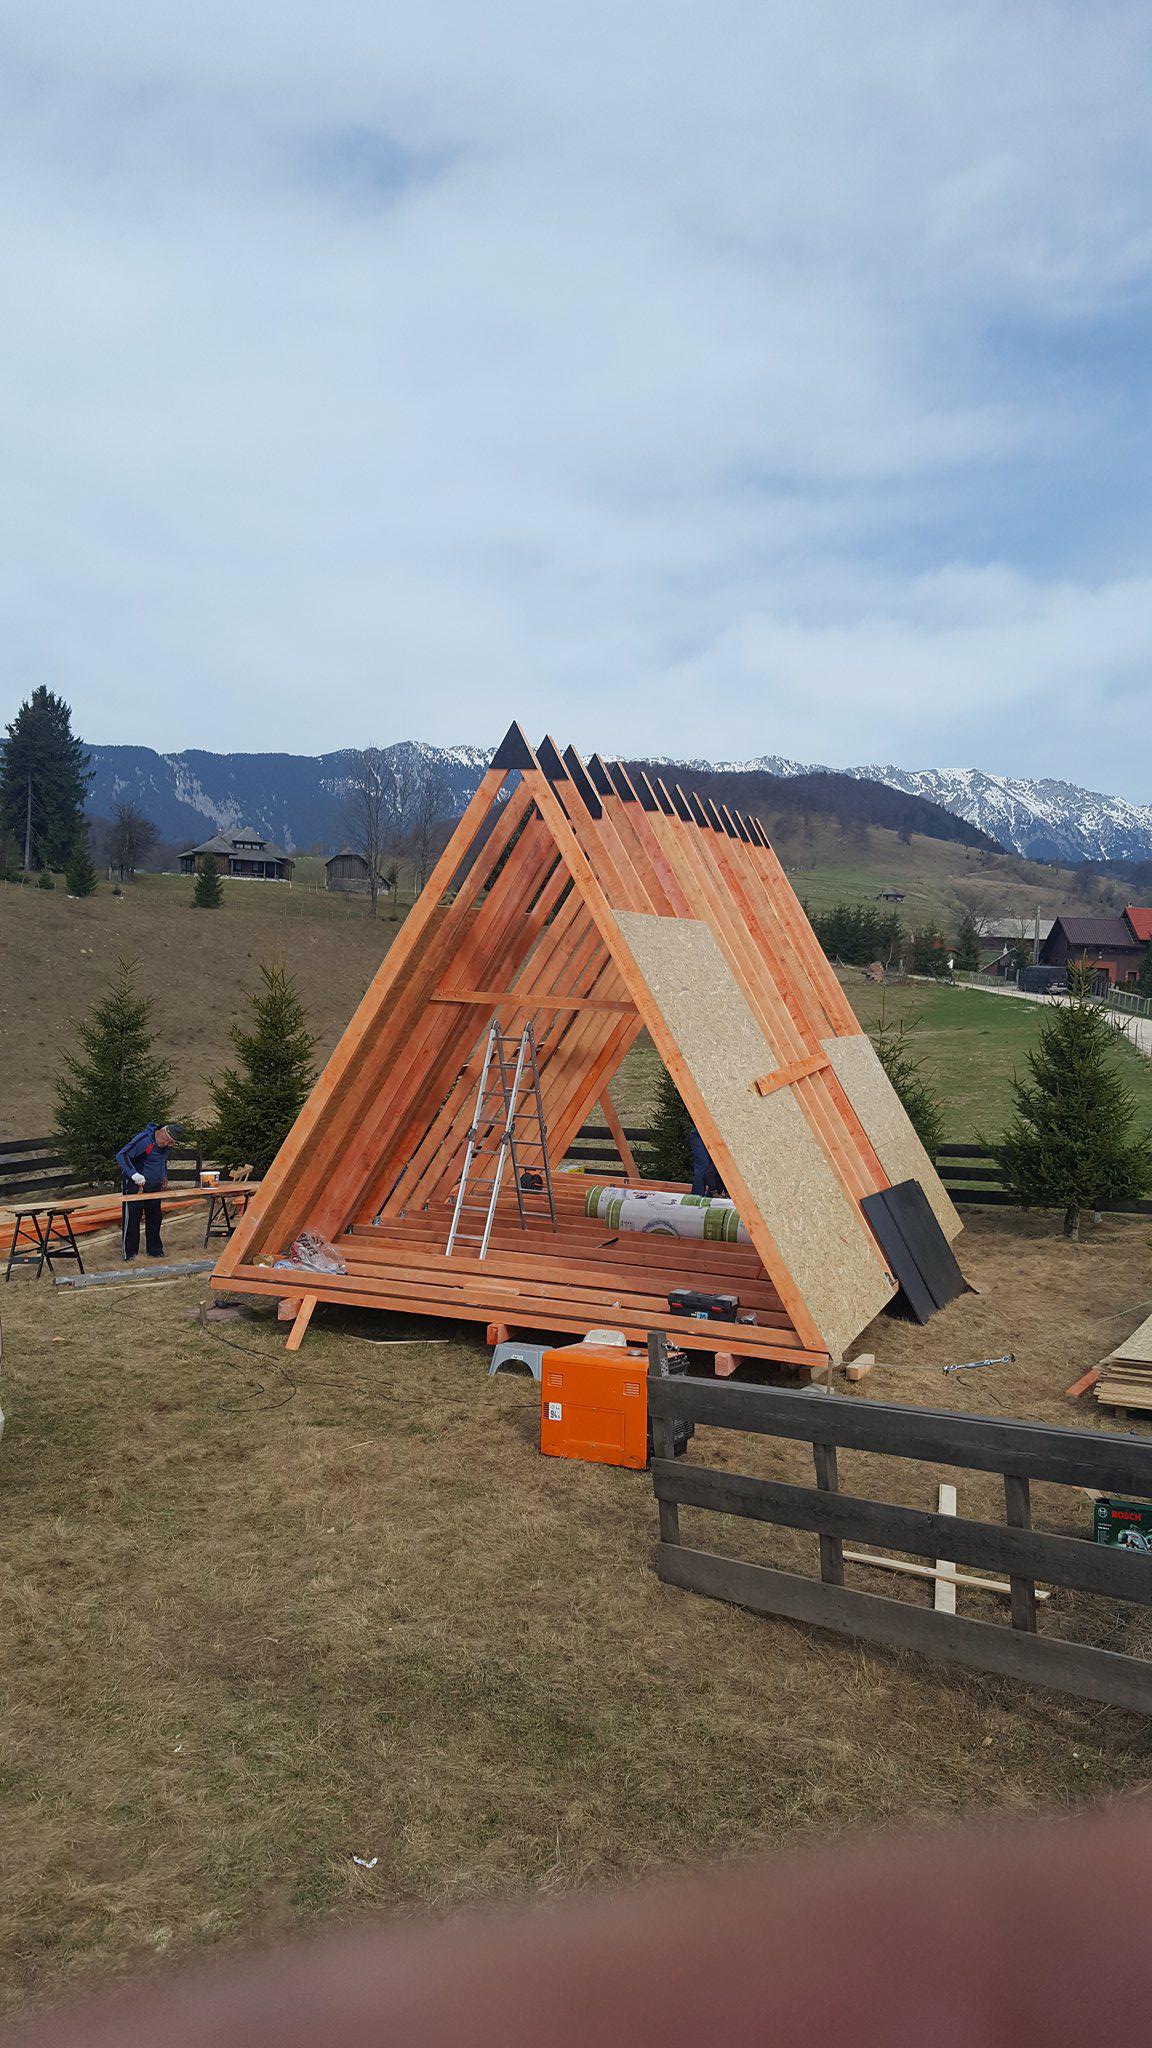
As the house’s design suggests, if you look at the house from the cross-section, you will see one large triangle. All the sides of the triangle are of the same length, so the framing is not that difficult. The average procedure is to construct the first frame and then mimic that for all the others. However, to do so, you will need a large flat and even area, as otherwise, you risk inaccuracies that could later cost you have to go through the building process all over again. But this was not Dan’s case, and so you can see the perfectly accurate triangles in the pictures below.
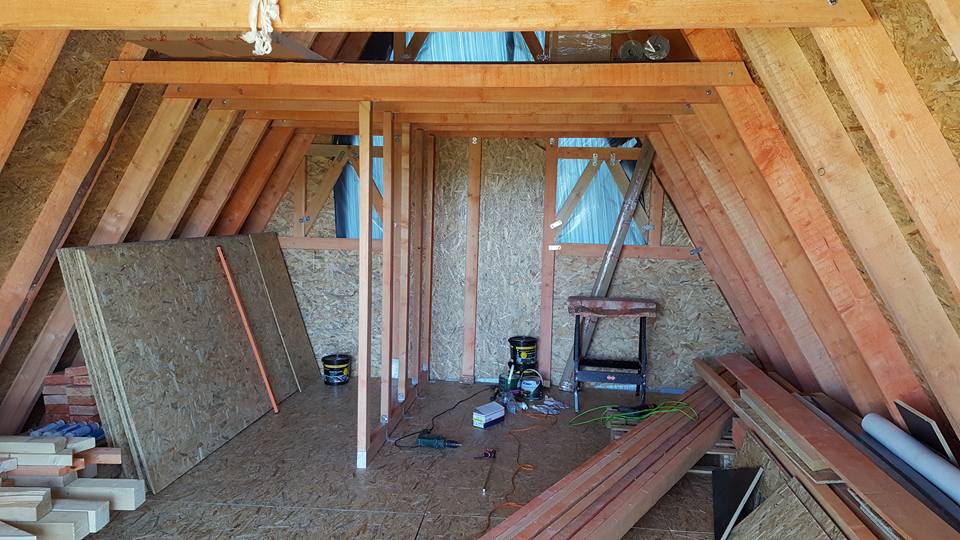
If you take a closer look, you can also see the construction of the frames. The side which lays on the platform is formed of two smaller frames joined and fastened together by rafters. The rafters are then connected to the roof ridge, which is reinforced by blackboards. Some of the a-frames are equipped with collets, which will then hold the upstairs floor. The individual frames were then raised, anchored, and aligned with temporary bracing.

Building the Roof
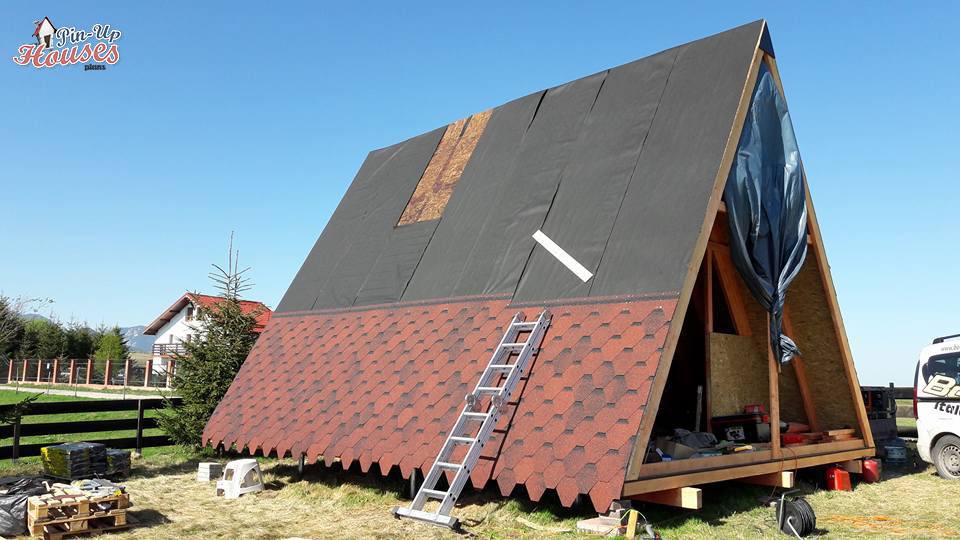
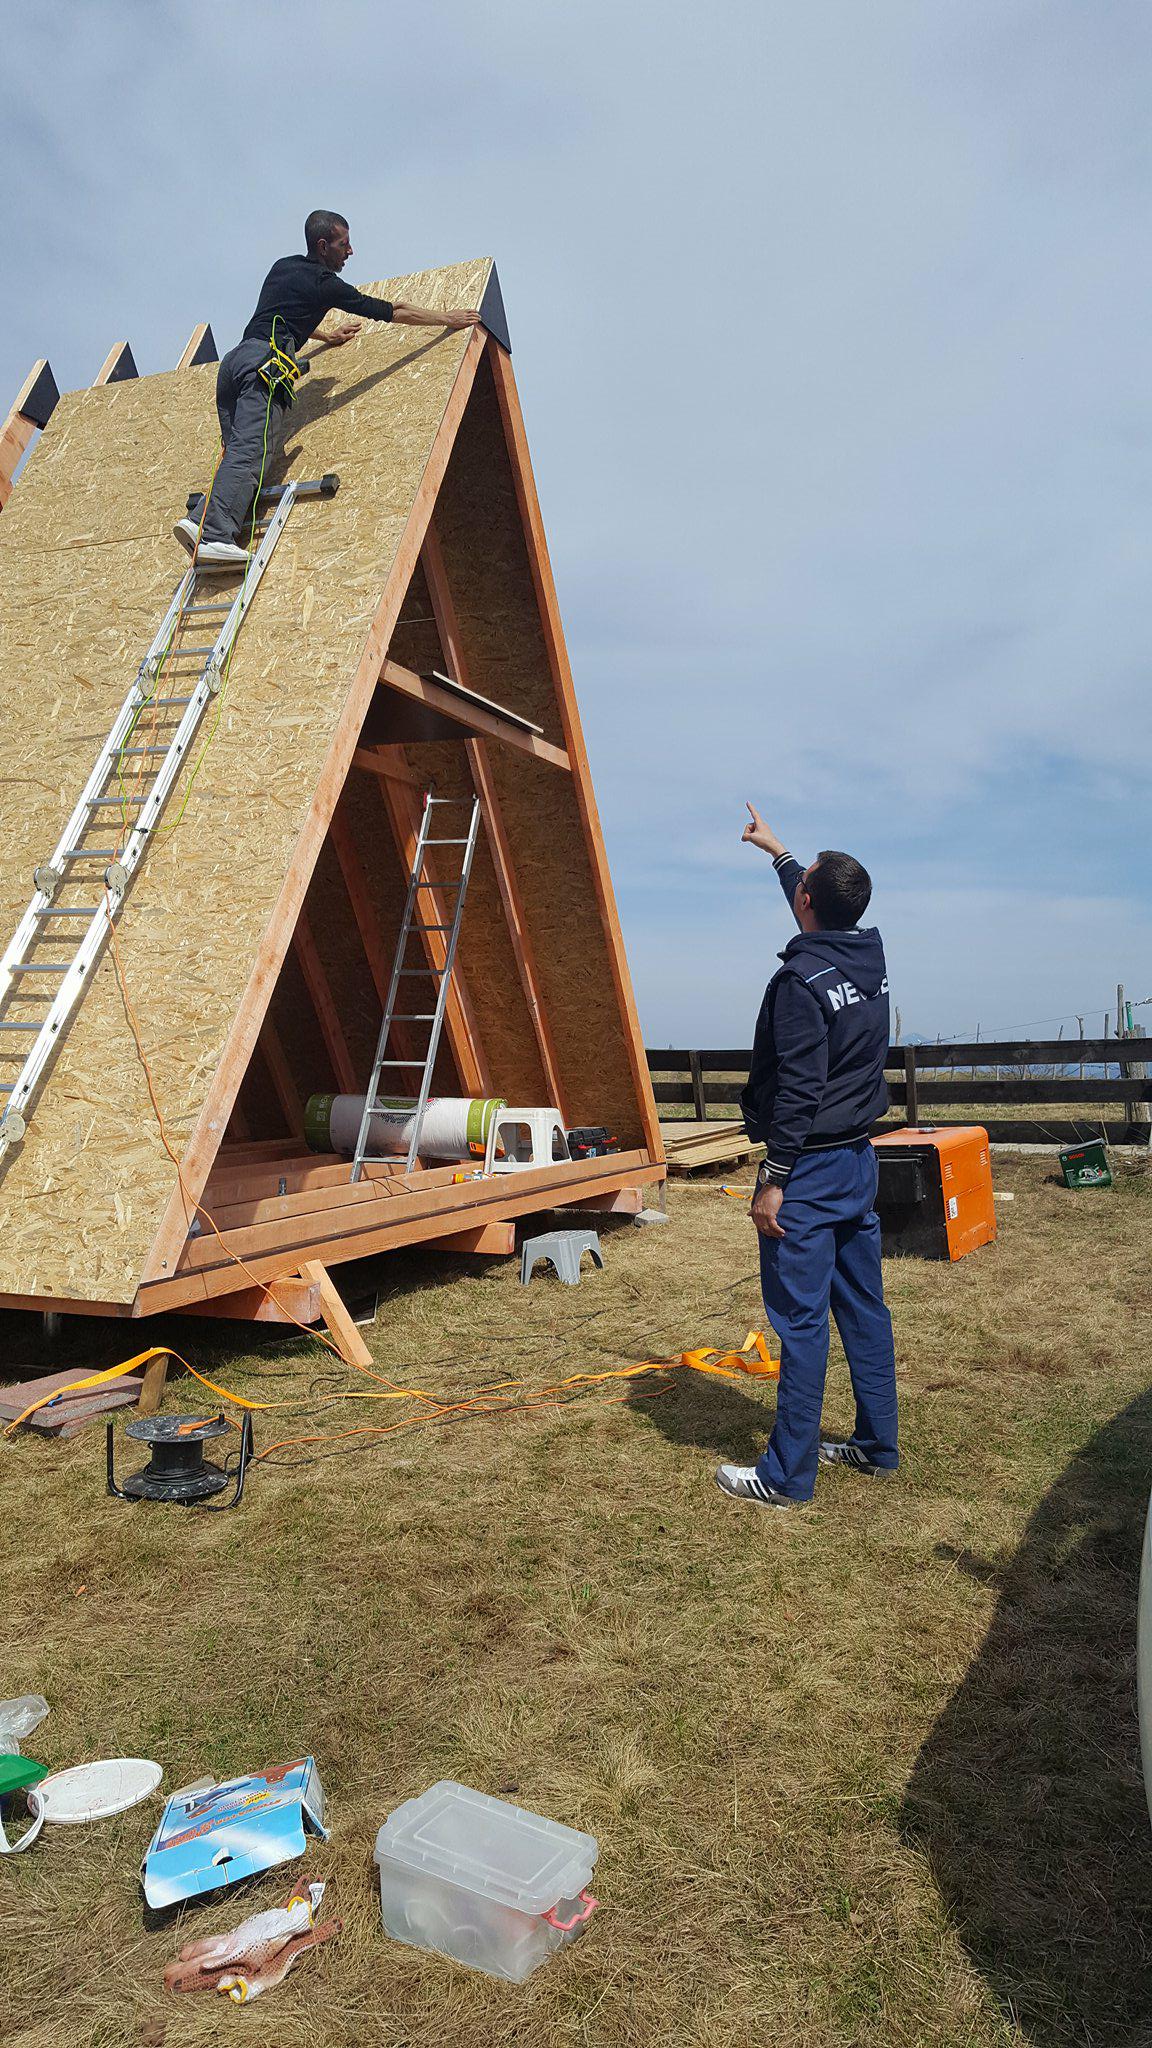
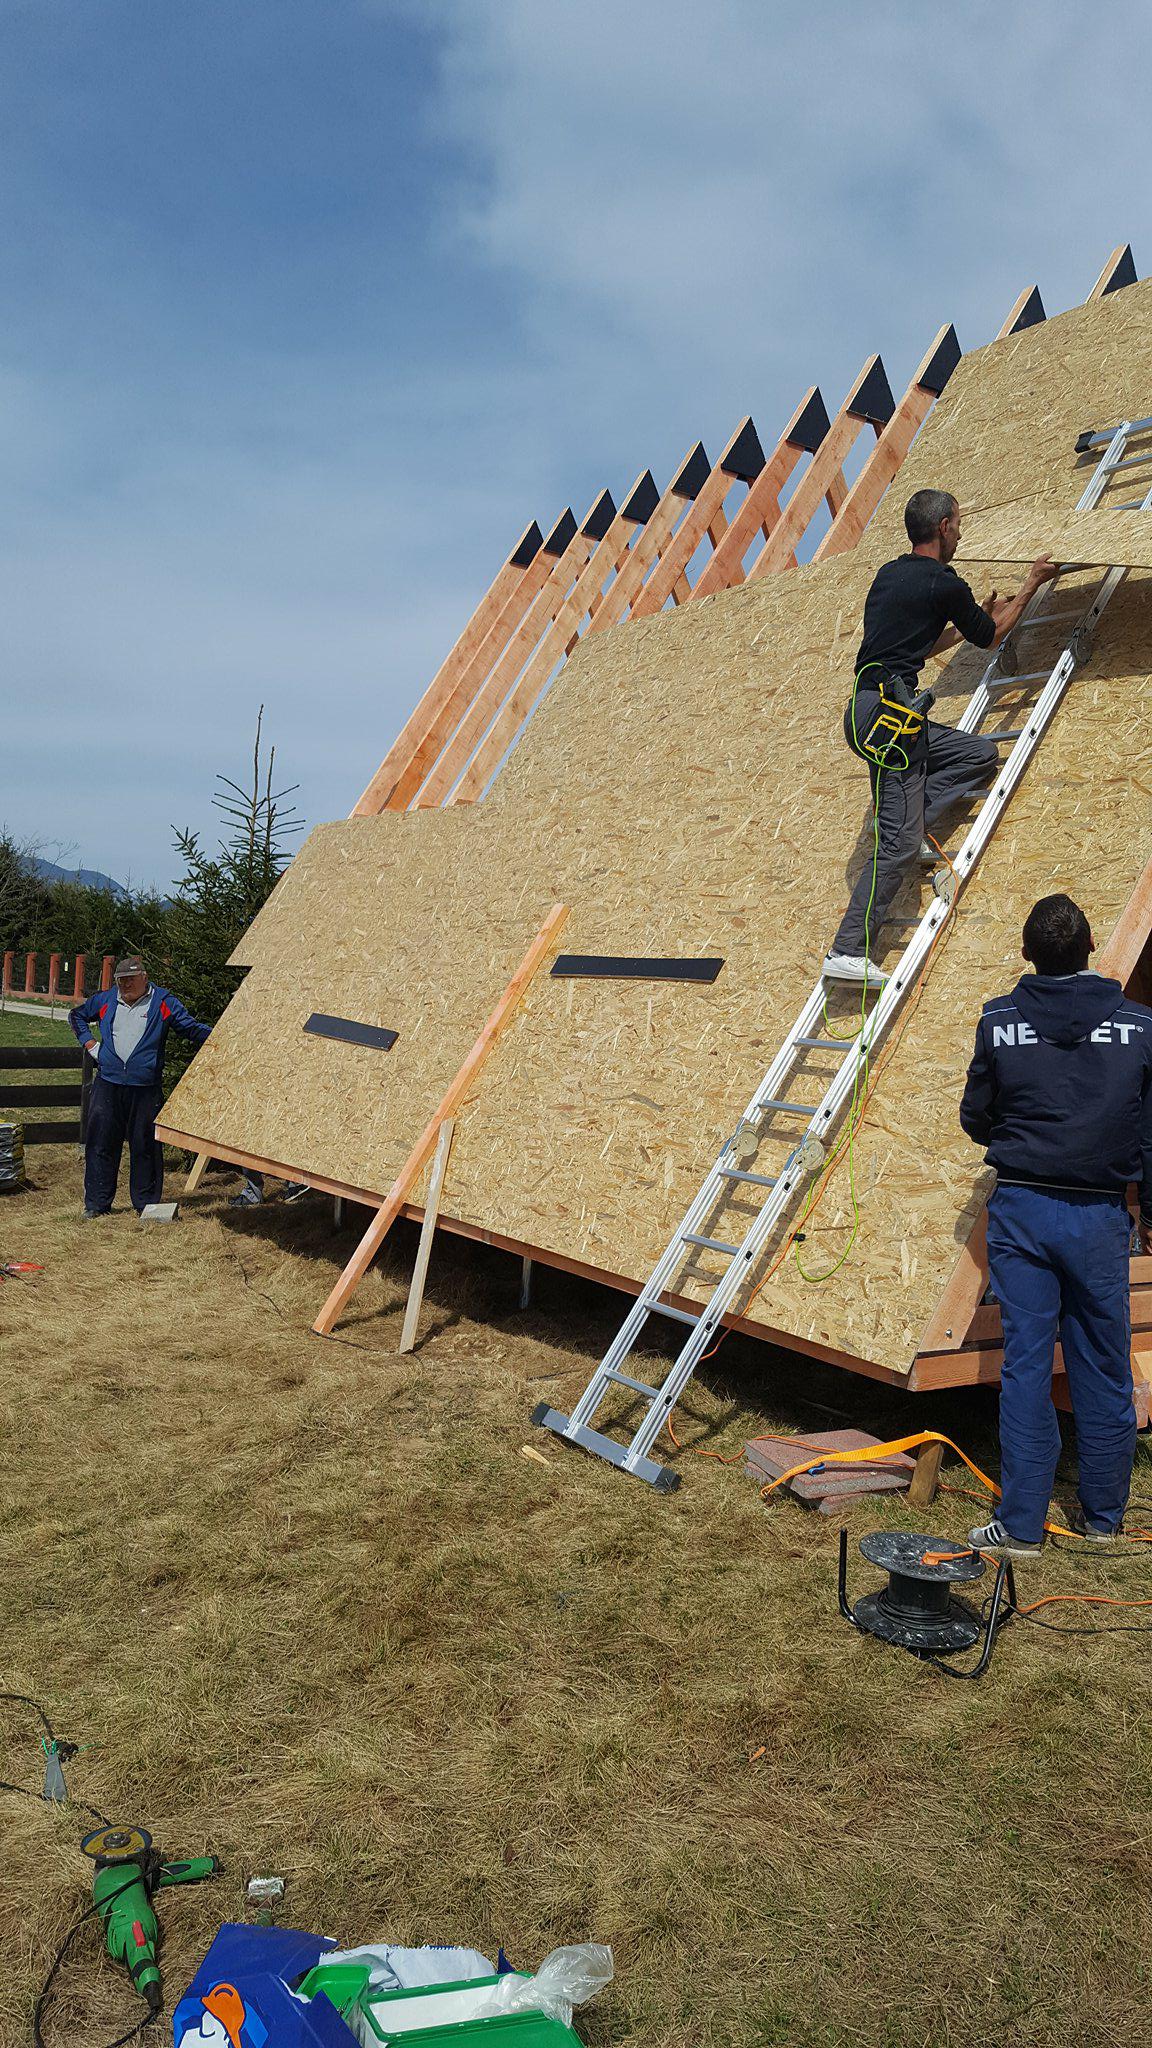
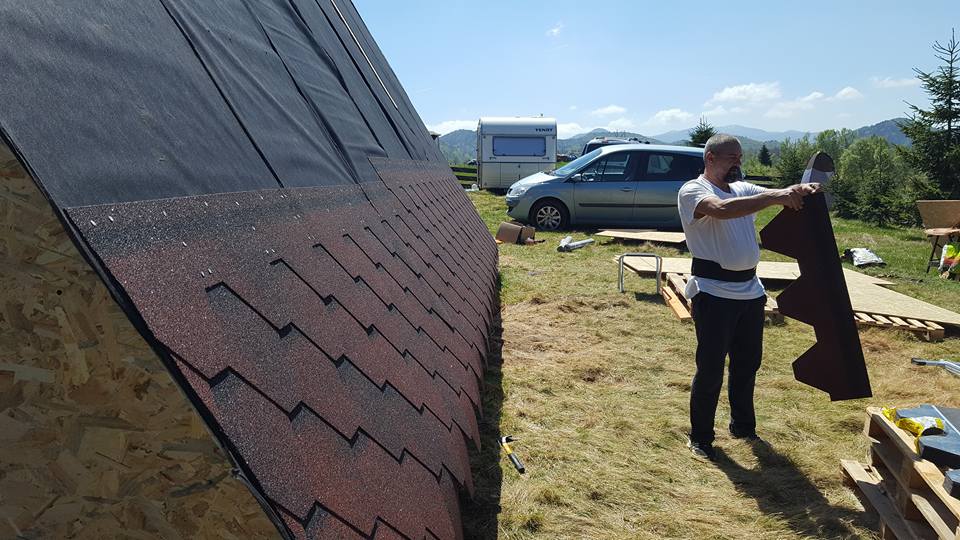
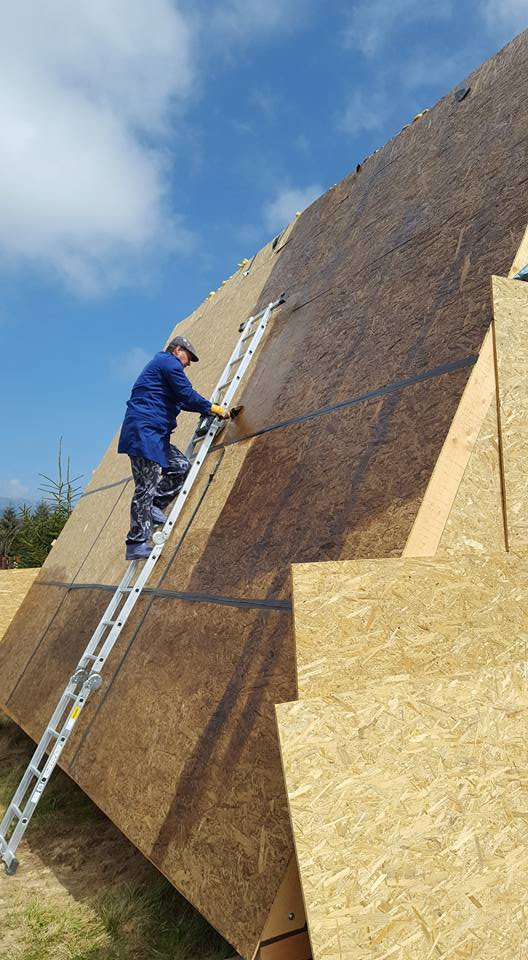
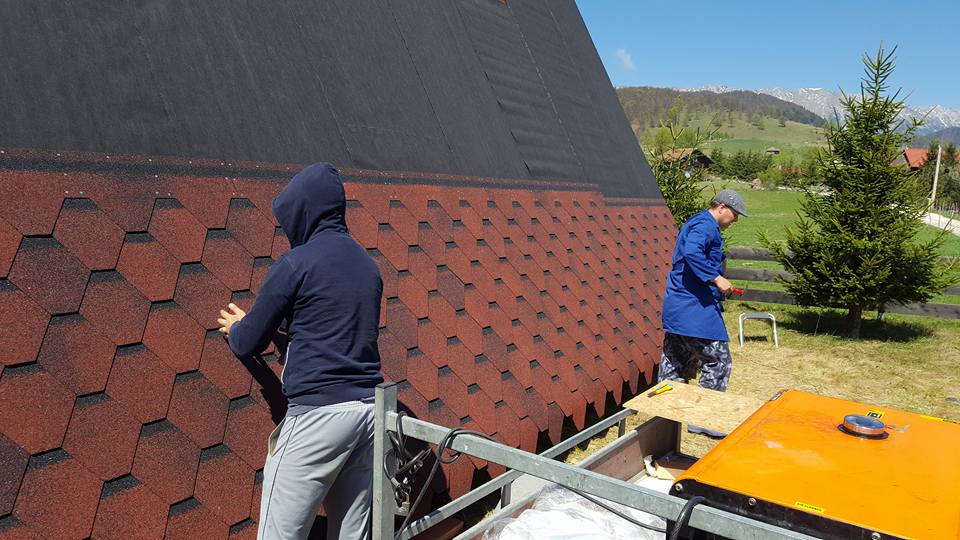
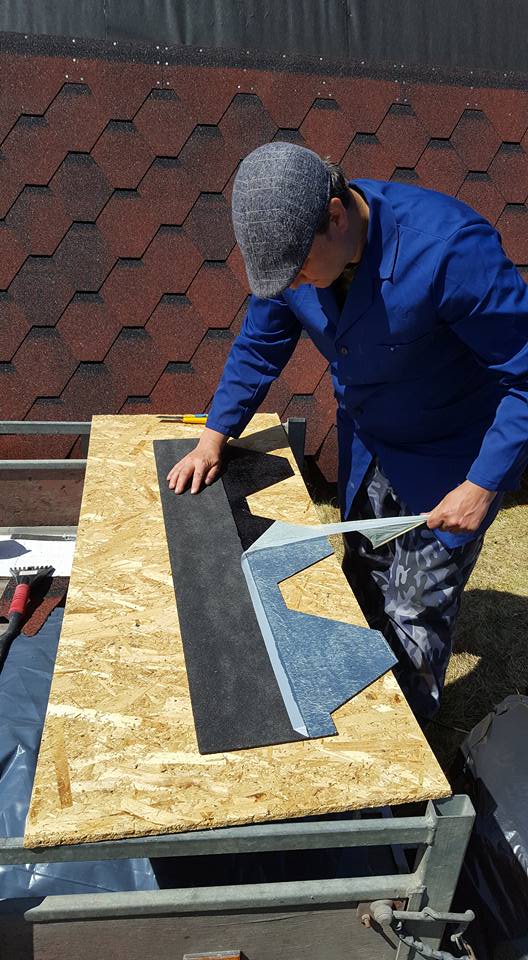
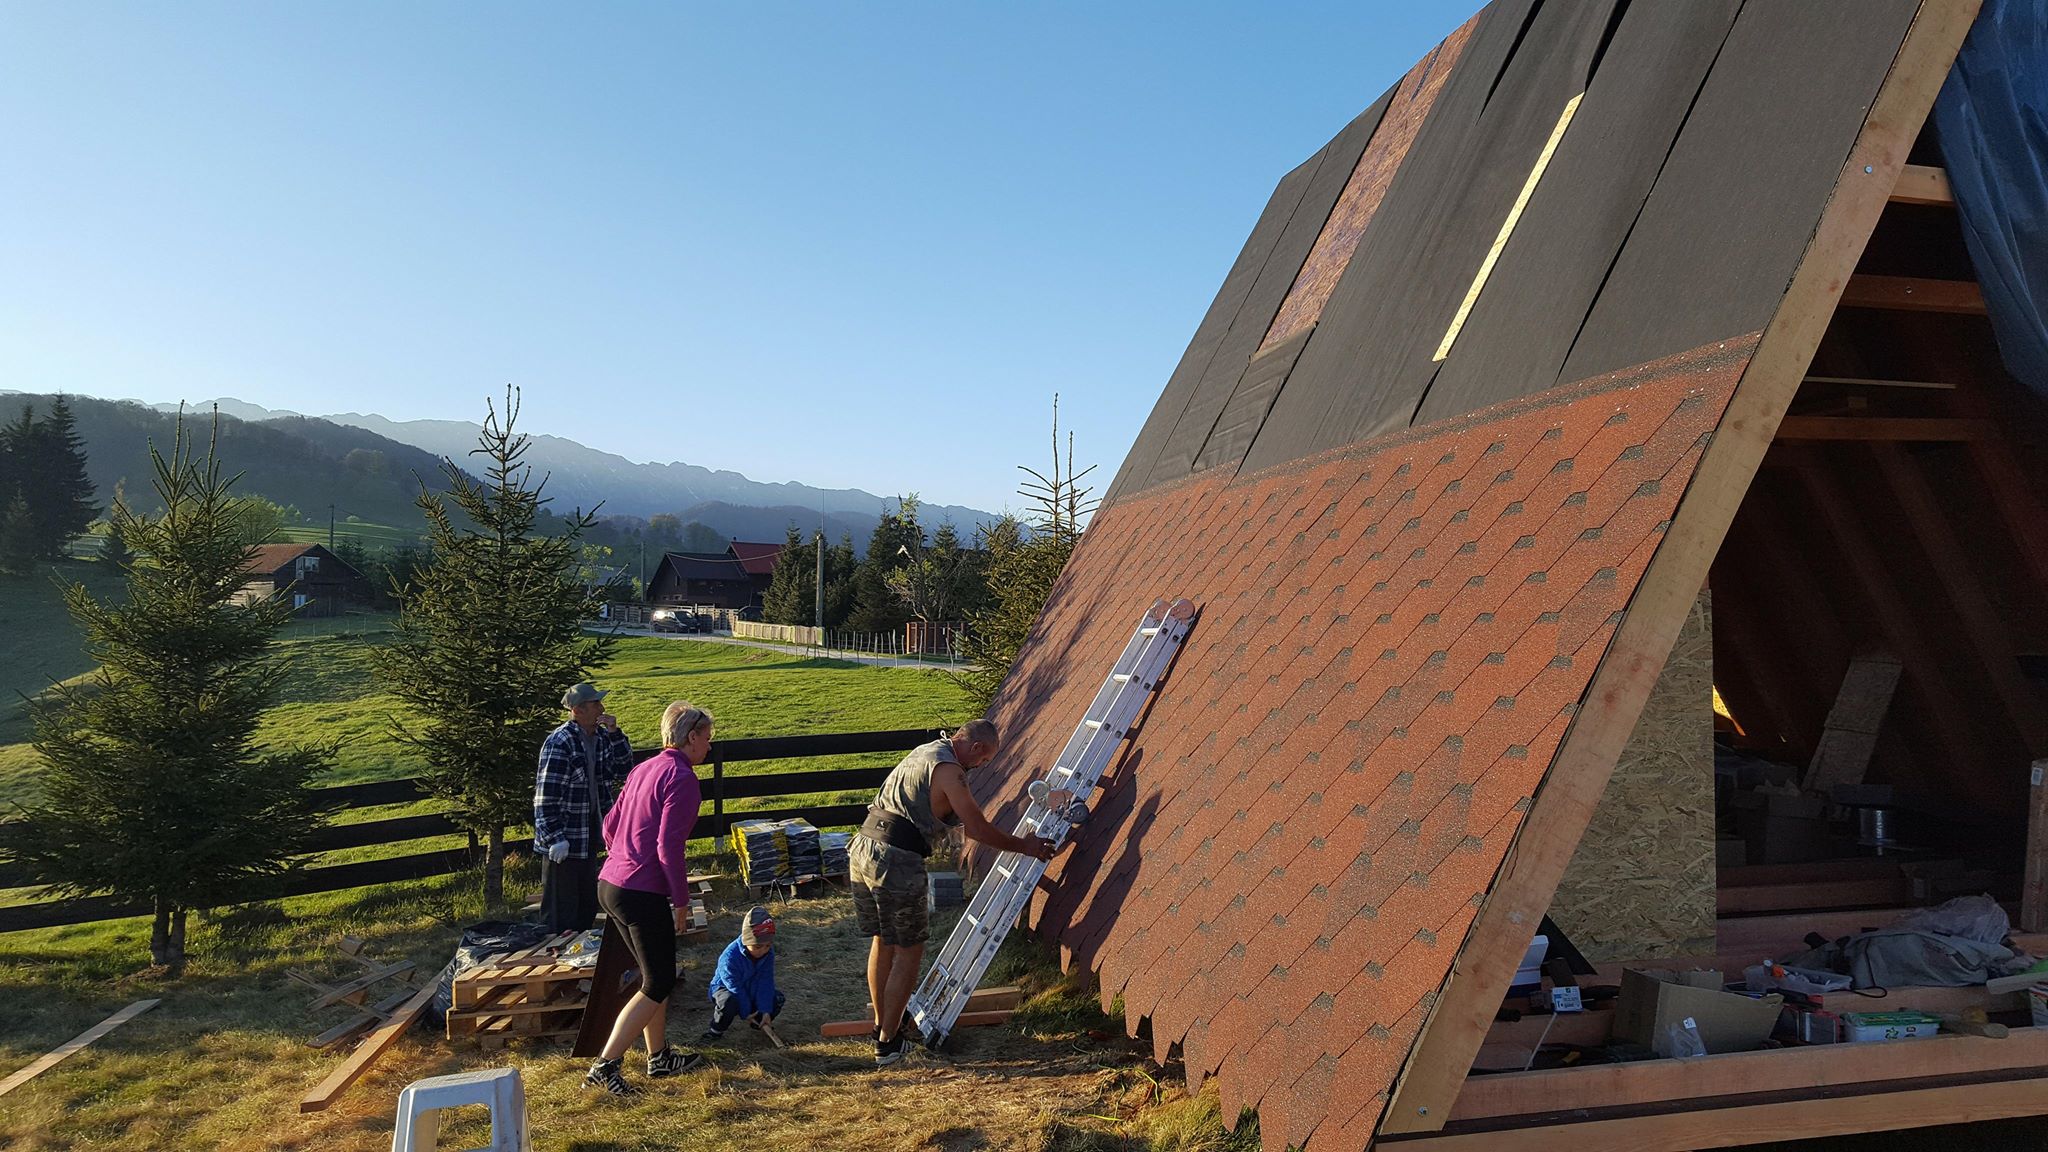
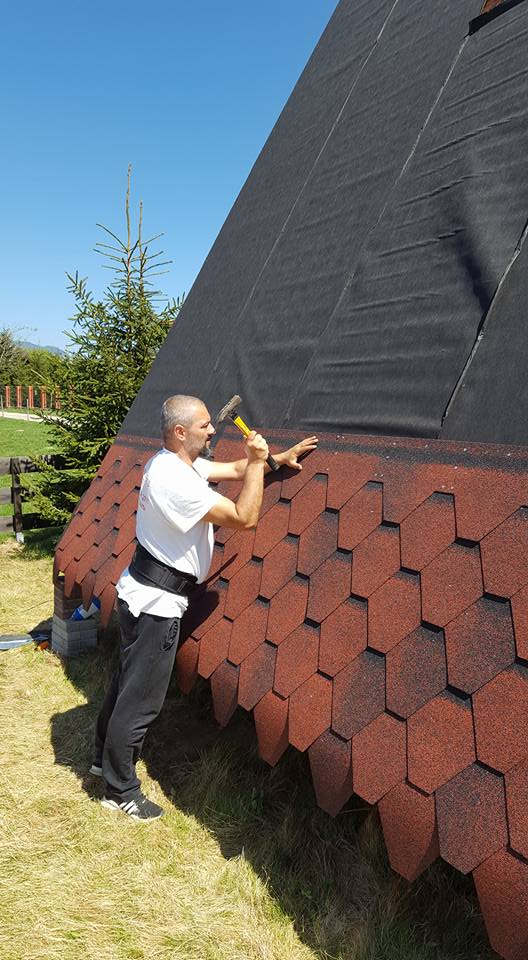
 The next stage is dedicated to the sheathing, in the case of Dan’s a-frame house, it is made of OSB boards. These are here primarily to reinforce the construction. It is the best form of bracing for the frames, and they also serve as the baseboard for the roof covering, for which Dan chose asphalt as the main material. Before the OSB boards were assembled and installed, they were coated with a special formula to prolong their lifespan. Once the OSB boards were tempered, hydro-insulation was placed on them. In the pictures below, it is the black film. Once that was done, and asphalt roof-cover was attached.

Partitions
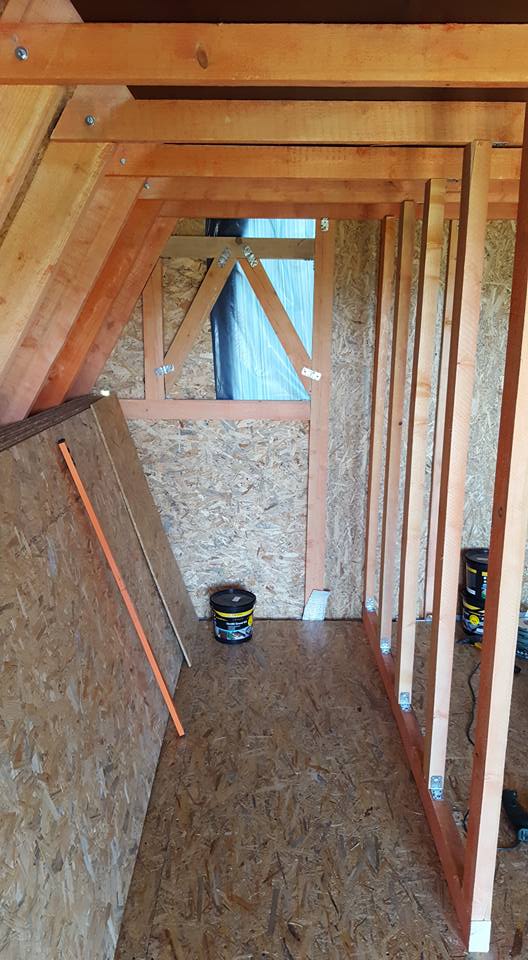
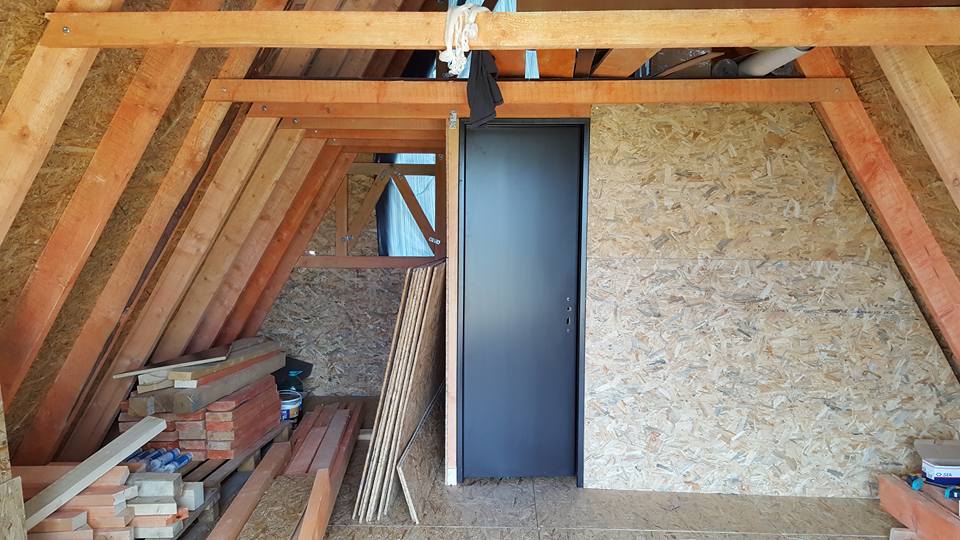
The bathroom is divided from the rest of the house’s interior, with partitions made of wooden joists and OSB boards. These partitions do not support the house’s structure. They divide the space. In this picture, you can see the timbers which join together the individual A-frames. These are important, as they serve as the reinforcing of the entire structure and hold a tiny attic where Dan will lay his head.

Doors and Windows
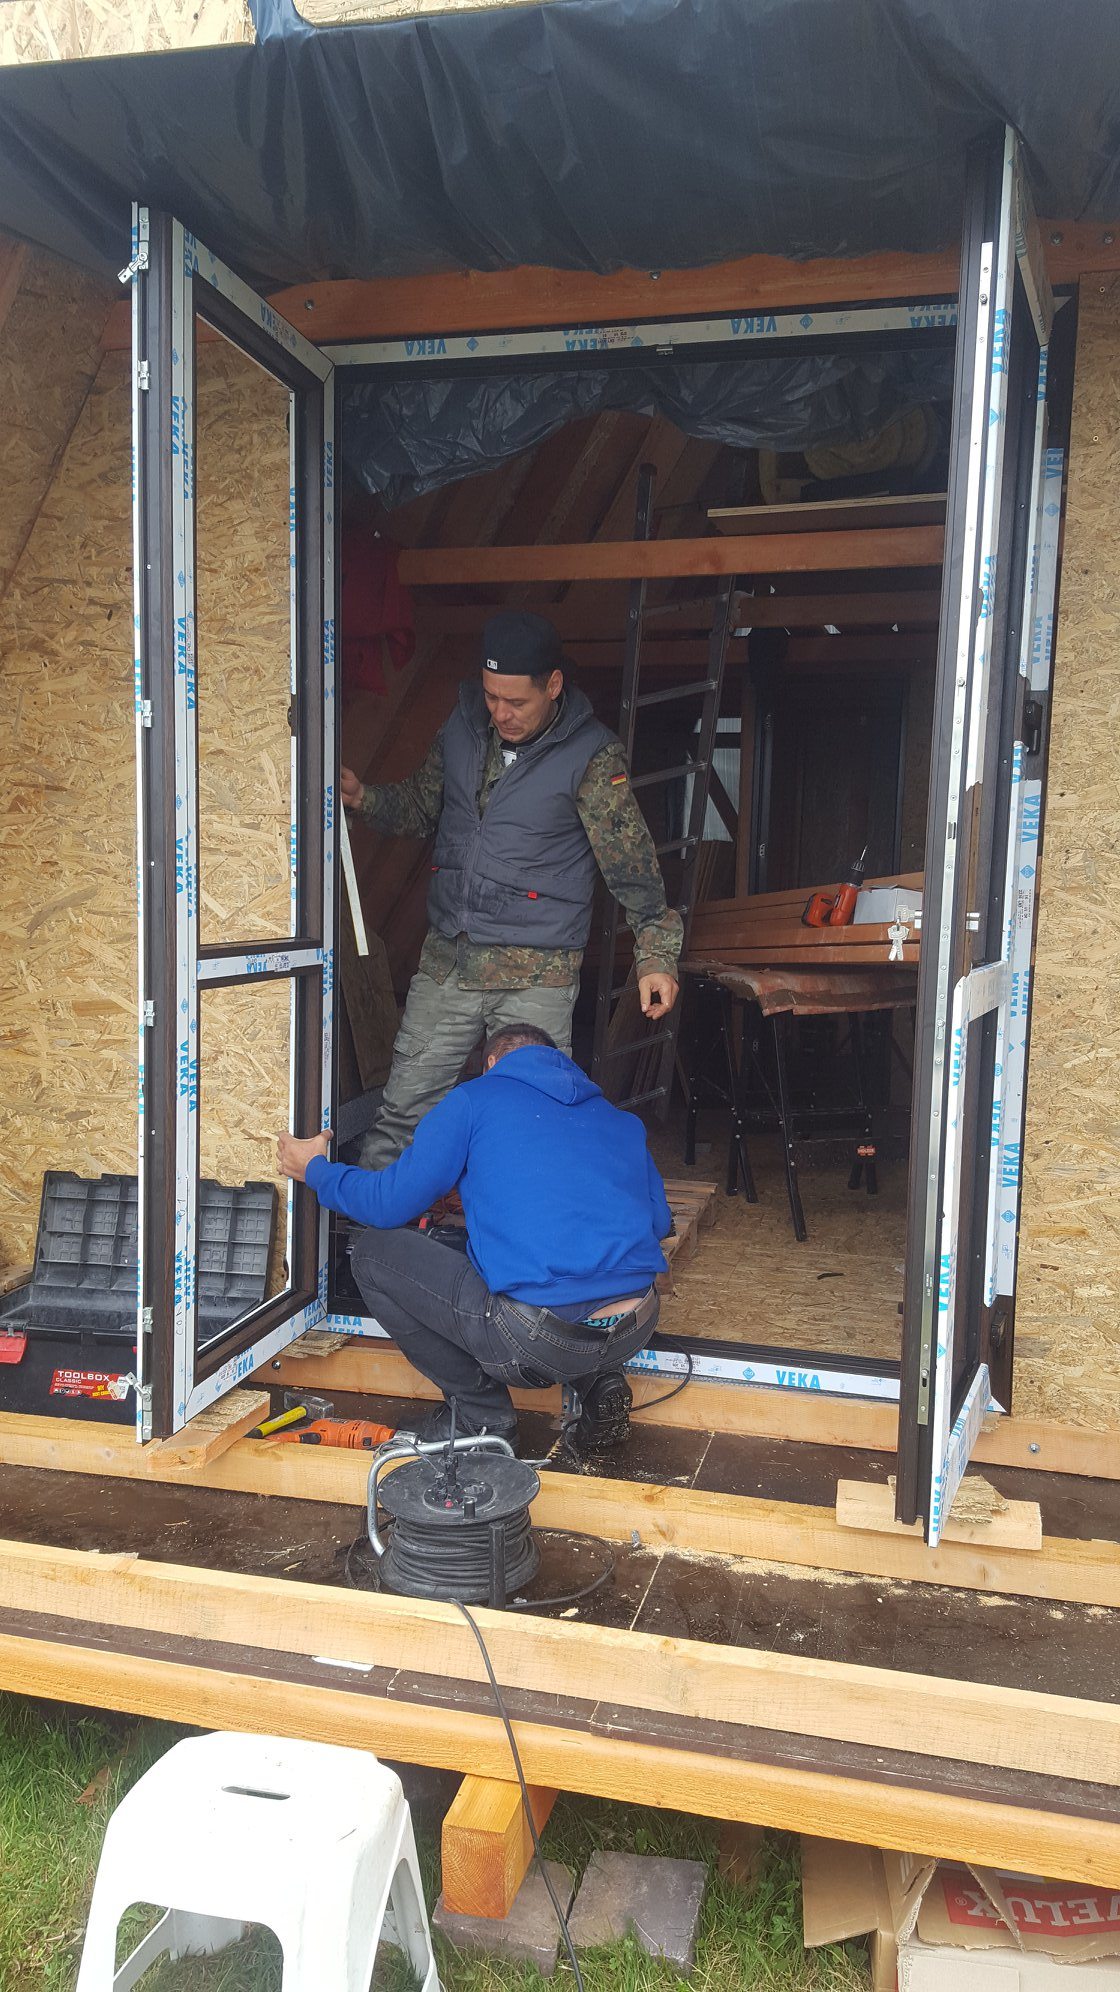
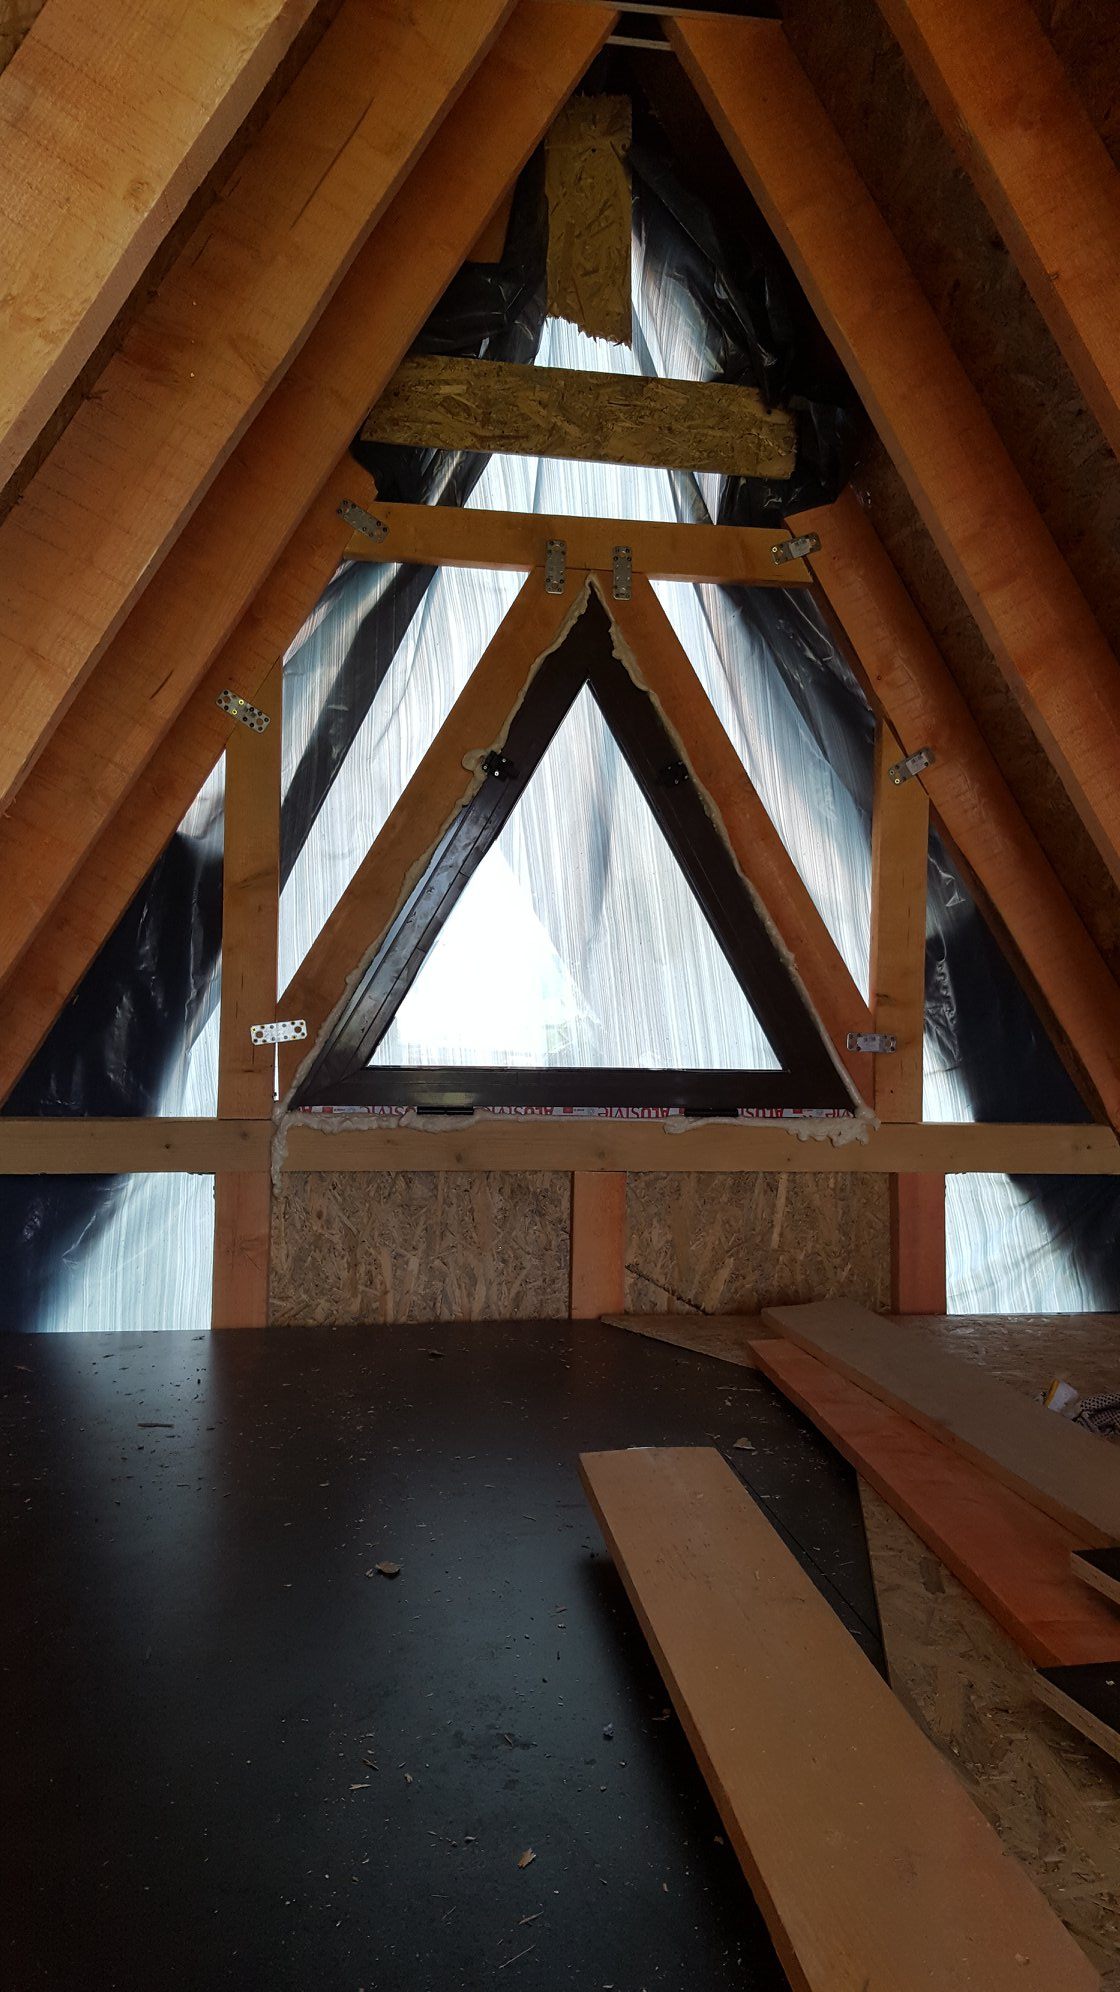
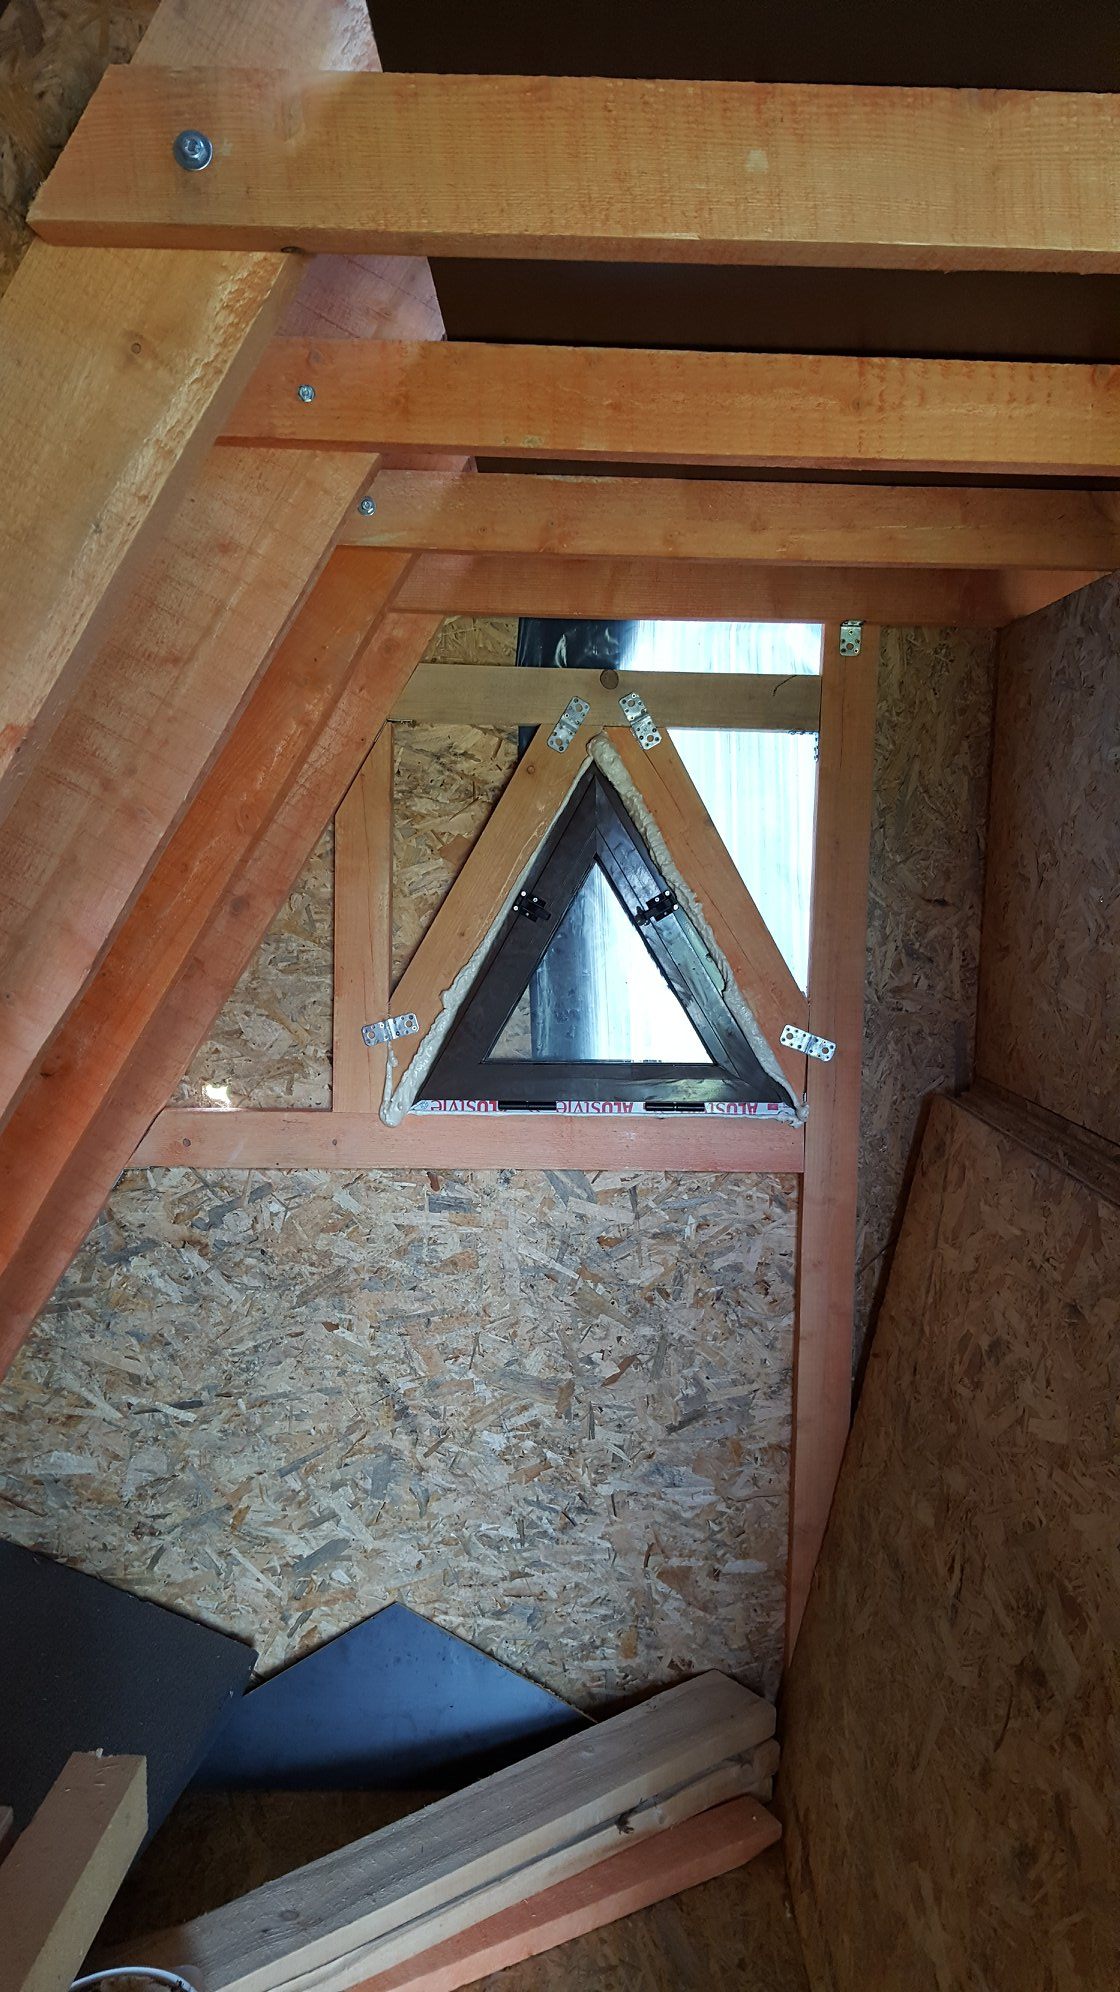
When you are done with the wooden constructions and wall framing, you can install windows and doors. Creating these openings is described in good detail in the book How to build a tiny house. However, it is advisable to leave the window and door opening for later, as they may get damaged during the building process. Until then, provisional doors and windows can be filled into the openings instead. You can make them from OSB boards and simple joints; it is a matter of only a few minutes’ work. In the pictures below, you can see protective films are still on the windows. These are better kept until the end of the building process as they protect the installed windows and doors.


Well, that’s it for now. Stay tuned for more!
The next episode will be dedicated to water piping, alternative sources of electric power, and other useful technical devices that can save your wallet and your time while leaving mother nature untouched!
Don’t get to check out our blog regularly and if you still don’t have your own copy, get How to Build a Tiny House by Joshua Woodsman ASAP!