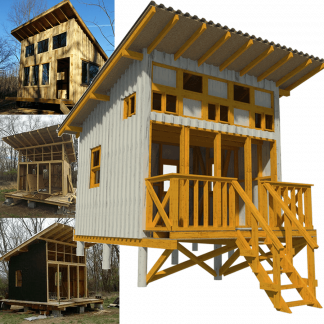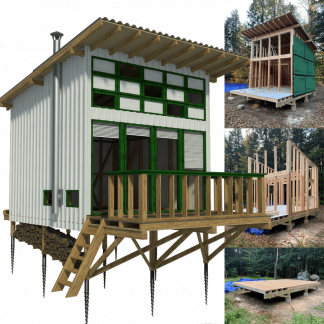


If you’re curious about how is Dan Baban, the Pin-Up Houses customer, getting on in the beautiful Carpathia, Romania building his little house, this is the right spot to read about it. He bought the plans of Alexis, the wooden A-frame tiny house, on the website about a year ago and we presented 2 parts of his building process already. (Part 1, Part 2) In the third episode about Alexis, the tiny house, you will get to know some of the finishing works Dan has implemented. Building a house yourself is always a challenge and plans of Alexis were no exception, just as you can read in the interview we have previously done with her proud owner Dan.
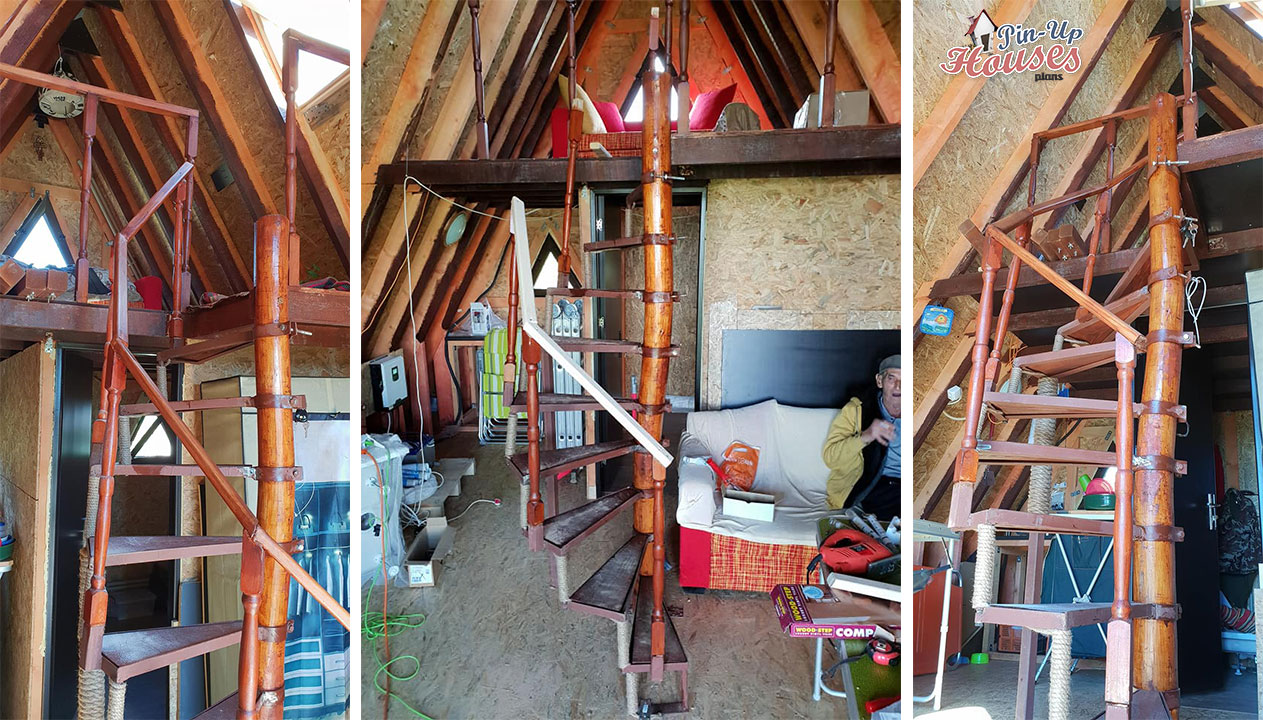
What became an absolutely necessary element were the stairs. In order to access the loft that is placed above the bathroom, and functions as the future bedroom, Dan with help of his friends and family has constructed tiny round wooden stairs.
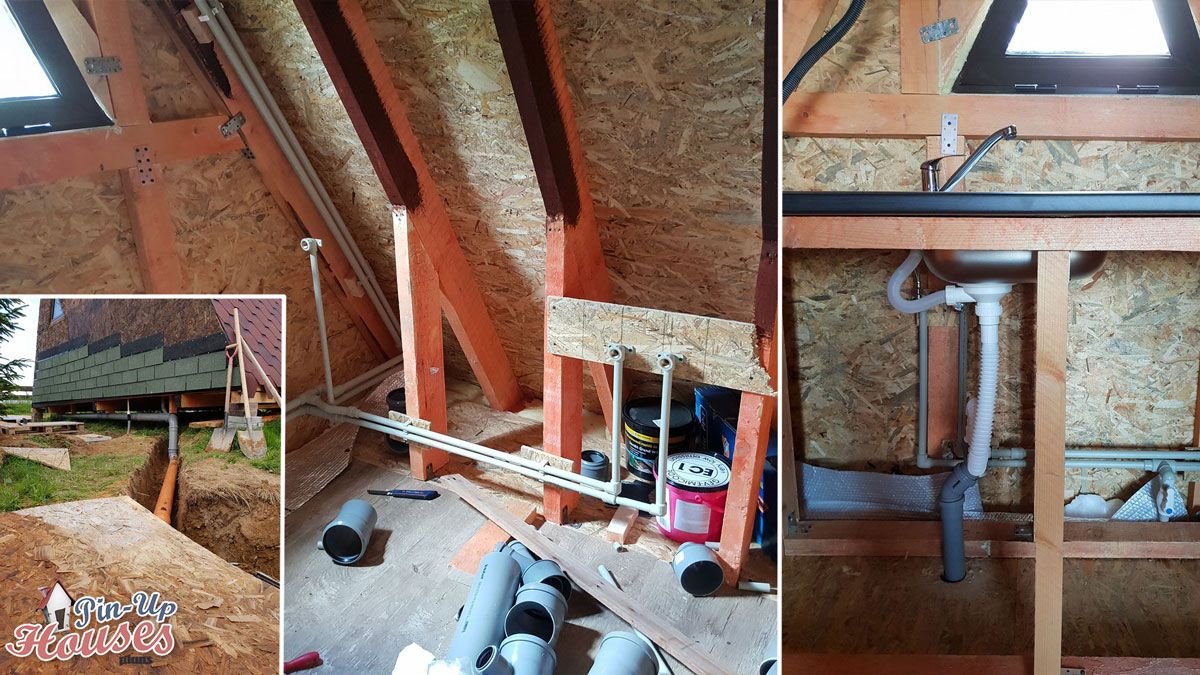
As previously mentioned in the Part 2, Dan has done a great job in implementing the sewage system. It was mainly focused on the external part. This time he let us see how he dealt with the piping inside the small house. Dan has decided for the disposal of hot and cold water in the kitchen and bathroom. In the case Dan would be dealing with the hard water, there are some useful tips on how to fit a water softener in a tiny house.
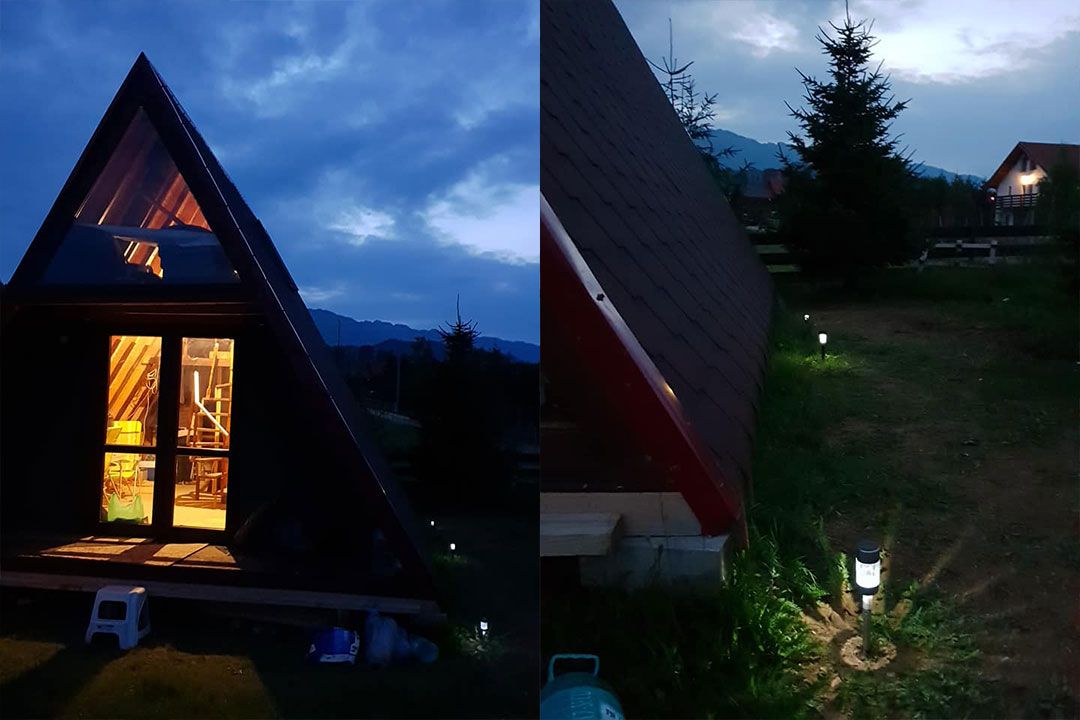
How adorable are these sceneries from Romanian mountains at night! With adding a couple of the outdoor lights, you reach the perfect romantic atmosphere. Consider the solar powered in-ground lights and stay sustainable. More hacks on making most of the sustainable tiny house are to be found in the popular post – How to make plan for a more eco-friendly home.
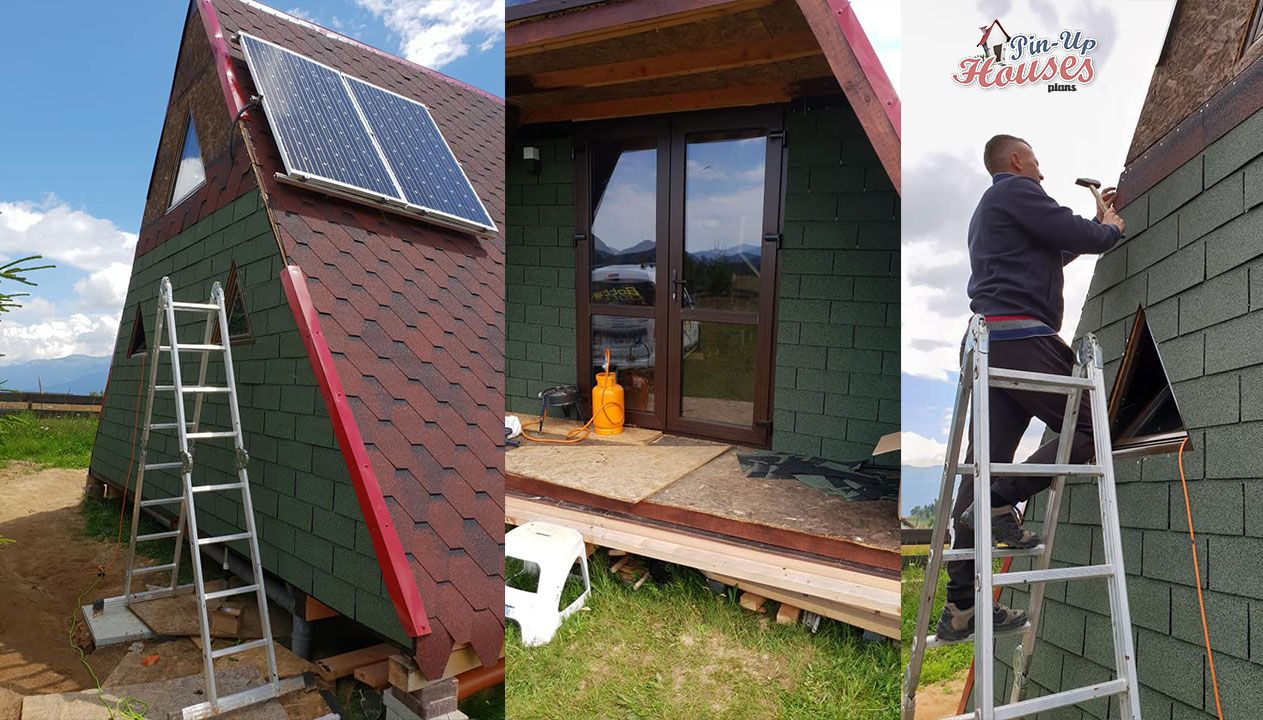
To prevent the small house from leaking water, the corners of the constructions have to be uniformly covered. The perfect material to go with is the metal sheet – laying the upper sheet over the lower one to support the natural flow of water. The A-frame house is actually very easy to deal with comparing to other Pin-Up Houses offered on the website, as it has less corners to be covered. 🙂
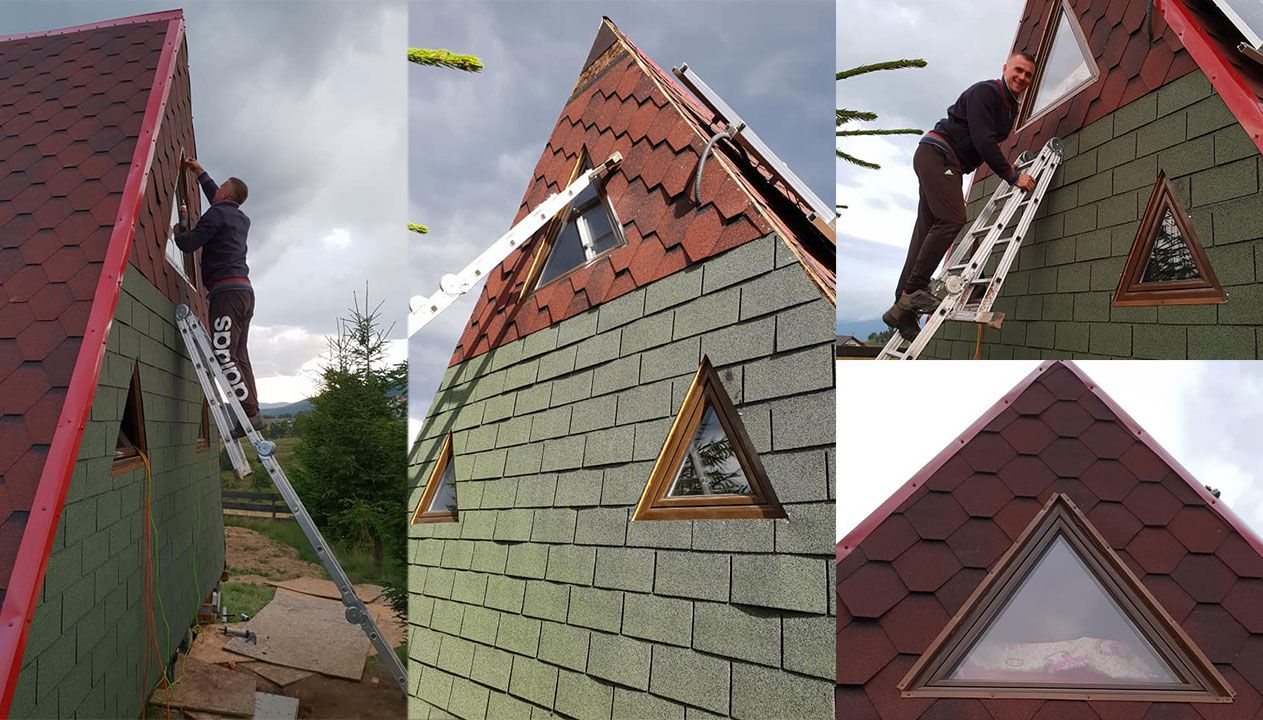
The same goes to the windows – covering up to prevent the water to get in the structure. After adding couple of nails, you’re done and ready with the external construction. If you would be interested to add up a little and learn more about window blinds or window shutters, it’s all here.
What’s next to come?
Next in the row would be the installation of sockets, switches and the whole world of interior design. In Part 2, we already got a hint of the interior of Dan’s house. If you’re wondering how to get the most of small space, check some more tips and hacks or get some inspiration of space saving ideas.
Last but not least of the tips, you can always keep an eye on what’s new on our blog or if you haven’t done so, order the book. It comes in a printed version or a PDF, whatever is your preference 🙂