Building a DIY project during winter in Colorado Springs requires a little more preparation than working during the warmer months. Whether you’re constructing a backyard shed, assembling a small cabin, installing outdoor features, or tackling a home improvement project, snow, ice, temperature changes, and shorter daylight hours can all affect your progress.
Colorado Springs enjoys plenty of sunshine throughout the year, but winter weather can be unpredictable. A storm may bring several inches of snow overnight, followed by sunny conditions the next afternoon. These changing conditions make it important to choose suitable materials, prepare your building site, and plan each stage of construction carefully.
If you’re thinking about starting a DIY project between November and March, here are some practical ways to keep your build organized and avoid common cold-weather challenges.
Understand Local Weather Before Starting Your Build
Colorado Springs sits at approximately 6,000 feet above sea level, near the base of Pikes Peak. Its elevation creates noticeable temperature fluctuations, and winter conditions can vary significantly depending on where your property is located.
Homes on the western side of the city and in nearby foothill communities may experience more snowfall and longer-lasting icy conditions than properties farther east.
Before starting construction, research the typical winter conditions around your building site. Pay attention to:
- Average daytime and nighttime temperatures.
- Expected snowfall and periods of freezing rain.
- Ground conditions and potential frost depth.
- Wind exposure and drainage around the property.
- Available daylight for outdoor construction work.
These details can help you decide which stages of your project are suitable for winter and which are better postponed until spring.
Choose Materials Designed for Your Project
Material selection is one of the most important decisions in any DIY build. Winter conditions can affect how materials behave, particularly when you’re working with wood, concrete, adhesives, sealants, and exterior finishes.
For example, lumber should be stored properly to prevent unnecessary exposure to snow and moisture. Keep building materials elevated off the ground and covered while allowing appropriate ventilation to prevent moisture accumulation.
If your project involves painting, staining, or applying exterior finishes, always check the manufacturer’s recommended temperature and humidity requirements. Many products are not designed to cure properly in freezing conditions.
Concrete work also requires additional consideration. Cold temperatures can interfere with curing, so specialized materials and appropriate protection may be necessary.
Planning your material purchases around the weather can help prevent wasted supplies and unnecessary delays.

Prepare Your Building Site for Snow and Ice
A well-prepared building site makes winter DIY projects safer and easier to manage.
Before bringing materials or equipment onto your property, clear the intended work area and establish safe access paths. Remove snow, treat icy surfaces, and make sure there is enough room to move lumber, tools, and other supplies.
If you’re building a backyard shed, workshop, or small cabin, pay particular attention to the foundation area.
Depending on your design, you may need to consider:
- Proper ground preparation and drainage.
- Foundation requirements and local frost conditions.
- Stable access for delivering building materials.
- Protection against standing water and melting snow.
- Safe storage for tools and construction supplies.
Don’t overlook drainage when planning outdoor structures. Snowmelt can expose problems that might not be obvious during dry weather, so make sure water can move away from the foundation.
Plan Each Construction Stage Around Daylight
Winter days are considerably shorter than summer days, which can affect how much work you can realistically complete.
Instead of trying to finish large sections of a project in one session, break construction into smaller, manageable stages.
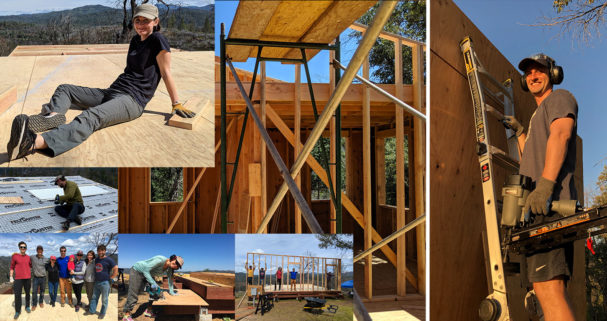
For example, a backyard shed project might follow this sequence:
- Prepare the building site and establish the foundation.
- Measure and cut lumber for the floor structure.
- Assemble the walls and framing.
- Install roof supports and exterior sheathing.
- Complete roofing, siding, and weatherproofing.
- Finish interior details when conditions allow.
Completing measurements and material preparation indoors can save valuable outdoor working time.
It’s also worth having temporary lighting available if your project involves working in a garage, workshop, or partially enclosed structure.
Protect Tools and Building Materials from Cold Weather
Cold weather and moisture can affect both construction equipment and building supplies.
Power tool batteries, for example, may lose performance in freezing temperatures. Keep spare batteries in a warmer environment and follow manufacturer recommendations for storage and charging.
Other supplies also need protection:
- Lumber: Store it on raised supports and protect it from direct exposure to rain and snow.
- Paint and sealants: Follow storage temperature requirements to prevent freezing or product damage.
- Power tools: Keep equipment dry and store it in a suitable location after use.
- Fasteners: Use appropriate corrosion-resistant hardware for exterior projects.
- Insulation: Keep insulation dry before installation to maintain its intended performance.
Organizing your workspace before construction begins can prevent unnecessary interruptions and make it easier to find everything when you need it.
Research Local Building Requirements Before Construction
Before starting a DIY structure, check whether your project requires permits, inspections, or approval from your local homeowners association.
Requirements can vary depending on the structure’s size, intended use, location, and foundation type.
For example, building a small storage shed may have different requirements from constructing a detached workshop or a backyard living space.
If you’re planning a larger project, review local zoning requirements, property setbacks, utility locations, and applicable building codes.
Taking care of these details early can prevent costly changes after construction has already started.
Use Reliable Building Plans and Prepare for Delays
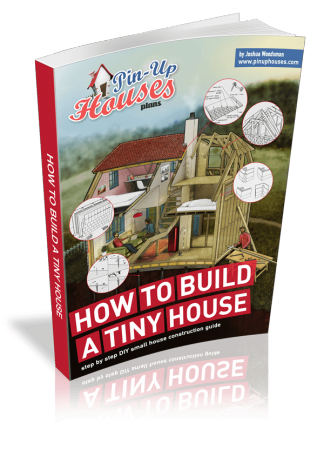
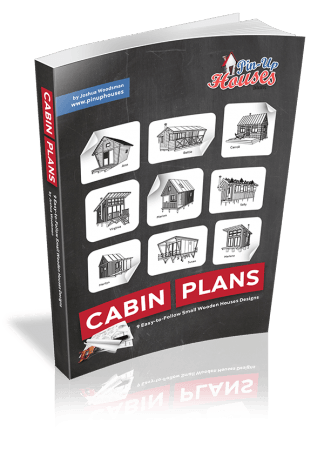
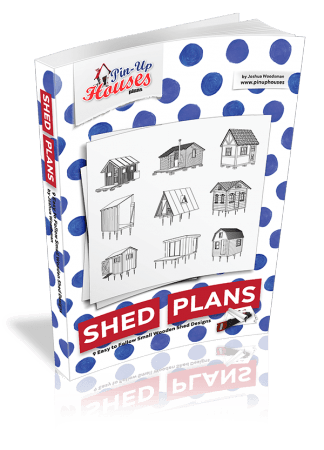
One of the easiest ways to keep a DIY project organized is to start with a detailed building plan.
A good plan should include measurements, material lists, construction steps, and diagrams that clearly explain how different components fit together.
This is particularly useful for first-time builders who want to construct a shed, workshop, garden building, or small cabin without having to figure out every measurement independently.
Before purchasing materials, review the entire plan and make sure you understand the construction sequence. Ordering everything in advance can also reduce unnecessary trips to hardware stores during poor weather.
When comparing Colorado Springs movers, consider professional assistance if your DIY project involves relocating heavy furniture, transporting workshop equipment, or moving household belongings to make room for construction.
Having the right support can make it easier to prepare your property and keep the building area organized.
Make Your New Structure Winter-Ready
If you’re building something intended for year-round use, winter is a good reminder to think carefully about insulation, ventilation, and weather protection.
For a backyard workshop or small cabin, consider how the structure will handle temperature fluctuations and moisture.
Proper roof construction, weather-resistant siding, suitable insulation, and effective ventilation all contribute to long-term durability.
Pay particular attention to doors and windows, as poorly sealed openings can allow drafts and moisture to enter.
If your project includes electrical installations or permanent heating systems, consult qualified professionals and follow applicable building and safety requirements.

Final DIY Winter Building Checklist
Before starting your project, make sure you’ve considered the following:
- Research local weather and ground conditions.
- Choose materials suitable for outdoor construction.
- Prepare a stable and properly drained building site.
- Check permits and local building requirements.
- Organize tools and protect supplies from moisture.
- Divide construction into manageable stages.
- Check product instructions for temperature limitations.
- Allow additional time for weather-related delays.
- Plan insulation and weatherproofing for long-term use.
Build Smarter with Proper Preparation
Winter doesn’t necessarily mean putting your DIY ambitions on hold. With the right building plans, suitable materials, and a realistic schedule, many home improvement and outdoor construction projects can move forward even in colder conditions.
The key is understanding how the local environment affects each stage of construction. Prepare your site, protect your supplies, and avoid rushing work when temperatures or weather conditions are unsuitable.
Whether you’re assembling a garden shed, building a backyard workshop, or creating a small cabin, thoughtful preparation will help you achieve a more durable result and enjoy the satisfaction of completing a project with your own hands.